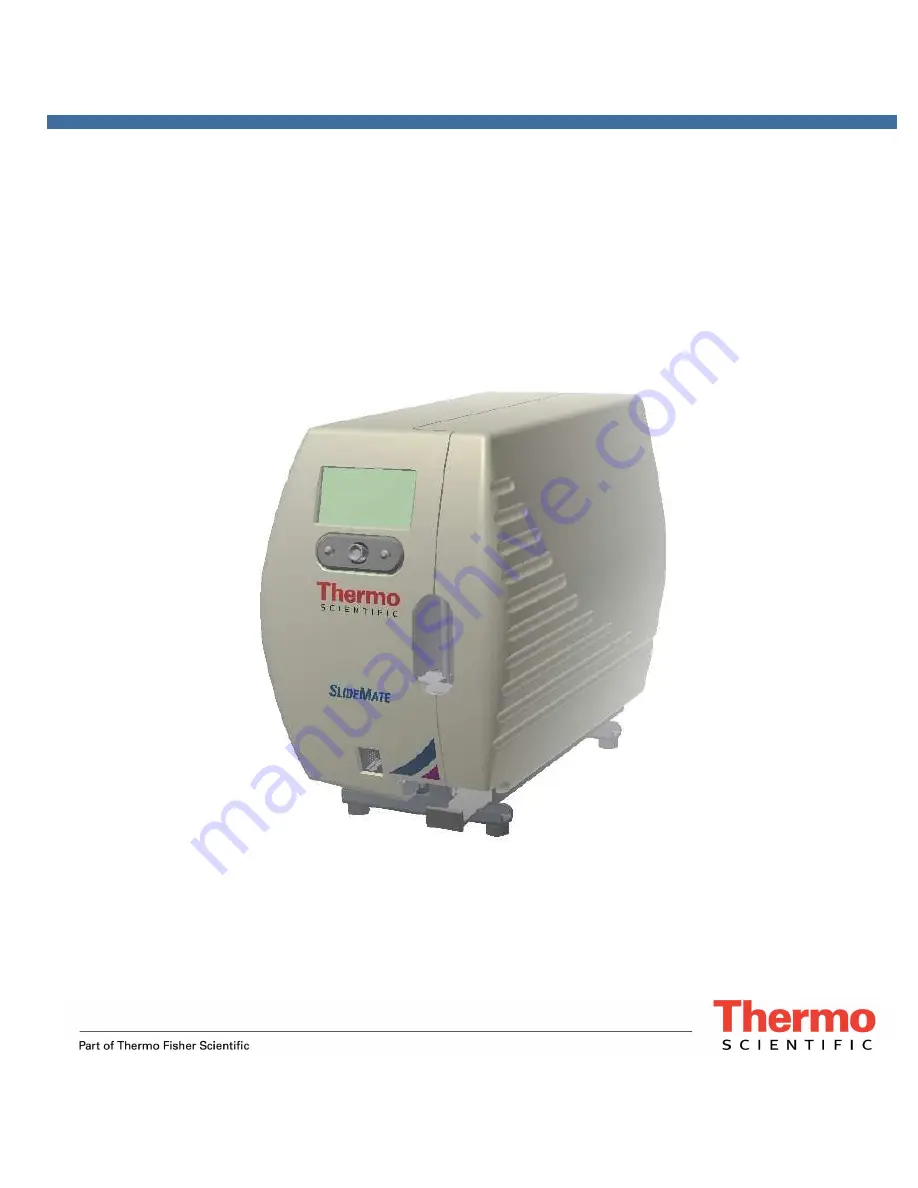
Thermo Scientific SlideMate
Operator Manual
Part Number B81310009
Страница 1: ...Thermo Scientific SlideMate Operator Manual Part Number B81310009...
Страница 2: ...duct If necessary check with Thermo Fisher or your local Thermo Fisher representative This manual may not in whole or in part be copied photocopied reproduced translated or converted to any electronic...
Страница 3: ...SlideMate Operator Guide Revision 1 20 Page ii...
Страница 4: ...IPMENT OR IN A DOCUMENT TO WARN THAT INSTRUCTIONS MUST BE FOLLOWED FOR SAFE AND CORRECT OPERATION IF THIS SYMBOL APPEARS ON THE INSTRUMENT ALWAYS REFER TO THIS OPERATOR GUIDE Warning A warning is give...
Страница 5: ...rint Driver Installation 24 9 USB Driver Installation 31 10 Configuring the HyperTerminal communication 35 10 3 HyperTerminal over Ethernet 35 10 4 HyperTerminal over USB 37 11 Sending a print job fro...
Страница 6: ...e you through the basic setup of your new SlideMate Please look through this manual and get familiar with all illustrations and the information prior to operating the machine If LabWriter is not used...
Страница 7: ...e scanner connection 1 2 Connect the provided Power supply to the unit Please make your connections in the following order Connect your USB cable optional Connect your Ethernet Crossover cable optiona...
Страница 8: ...ed slides and you verify the slides are not stuck together as it may be difficult for SlideMate to separate them Refer to the illustration below for suggestion on how to do this verification To preven...
Страница 9: ...button see Figure 9 This allows the ribbon take up reel to be rotated in the take up direction by hand Figure 5 Correct Ribbon Routing Procedure Please note the direction the ribbon feeds off the roll...
Страница 10: ...removing the accumulated ribbon simply squeeze with one hand the outer area of the roll and pull out Figure 7 Take up Reel close up view 1 6 Load slides in the Input Stack in the orientation shown bel...
Страница 11: ...r scrolling down Figure 10 Global Settings Menu Barcode height value is measured in mm Time and date can be automatically printed If Auto Print is OFF when a raster image is sent to print the operator...
Страница 12: ...ice Menu Select Port SlideMate has 3 input ports Figure 1 and 2 Delimiter this is the ASCII character that indexes the input data into the next data field End of Data this is the ASCII character that...
Страница 13: ...e the printed 2D barcode Increasing the quiet zone will enhance the readability of the barcode however will reduce the printable area Bottom quiet zone will provide the specified amount pixels of empt...
Страница 14: ...SlideMate Integration Options SlideMate Operator Guide Revision 1 20 Page 12 Figure 15 Print Image Settings with Print line formatting...
Страница 15: ...ard input shown in Figure 15 to enter text See the example in the next section where the information is entered via a keyboard but a scanner could be used as well NOTE If information is typed or scann...
Страница 16: ...ee Figure 13 has been stored in a different Data Additional information can be entered in text fields as shown below Figure 17 Setting up information in text fields Each Print Line can contain maximum...
Страница 17: ...rinted Fourth line will print the age and sex of the patient which was stored in Data Field 3 and 4 This line has been formatted using the Medium Font size Last line to print has been formatted with t...
Страница 18: ...des sequence 5 Using the Keyboard Option for Data Entry and Menu Navigation To enable the use of a Keyboard Thermo Fisher Scientific offers an optional Interface Adapter This adapter also allows simul...
Страница 19: ...rface Adapter Figure 20 Connecting the Keyboard and the Barcode Scanner 5 3 Seting up SlideMate to accept keyboard inputs Go to Input Devices see Figure 13 and configure as follows Select Port Scanner...
Страница 20: ...f data that need set up e g configuring the four groups of numbers that make up the IP address in Network Settings Menu will enable or disable the Numbers key pad on the right hand side of the keyboar...
Страница 21: ...if next step is followed To print proceed by pressing Note If Number of Slides is zero in Global Settings Menu SlideMate will ask for the number of slides to be printed by displaying the following sc...
Страница 22: ...Even in the absence of a network this can be accomplished by connecting the SlideMate to a PC using a Crossover cable Follow these steps to configure the SlideMate unit and the PC so that a static net...
Страница 23: ...s is a good indicator if the SlideMate is properly connected to a PC or a Network There are two positions the LED could be located at the bottom right or the top left Figure 26 Link LED is on bottom r...
Страница 24: ...sides of the ping are working The ping command is best run from the Command Prompt window To open the Command Prompt from Windows 7 XP click the Start button then click RUN Type CMD then click the OK...
Страница 25: ...ch one of the packets Figure 28 Successful SlideMate pinging In figure 28 below notice that one of the requests timed out This is an indication of a faulty connection or cable if the printer was not p...
Страница 26: ...tallation of SlideMate print driver in Windows 2000 XP and Win 7 Note that Figure 42 shows two screens that may not appear during the driver installation in Win 7 1 Click on Start and select Printer a...
Страница 27: ...Mate Operator Guide Revision 1 20 Page 25 3 The Add Printer Wizard window will appear Select Next Figure 32 Add Printer Wizard Screen 4 Choose Local printer attached to this computer option and click...
Страница 28: ...Select Port Menu 6 A new window will pop up to help you configure the Printer Port Enter the IP address of the SlideMate unit as shown below This IP address can be obtained from the network setup of...
Страница 29: ...Revision 1 20 Page 27 7 To finalize the Printer Port configuration select Next and Finish in the following screen Figure 36 Port Information Option 8 Select Have Disk and another window will pop up S...
Страница 30: ...r Guide Revision 1 20 Page 28 9 Locate the Driver folder provided with this manual and select the SlideMate INF file by clicking Open Click Ok in the Install from Disk window Figure 38 Printer Driver...
Страница 31: ...sion 1 20 Page 29 11 In the following screen select Default Printer and click Next Figure 40 Name Printer Window 12 Choose Do not share this printer and click Next Select No in the following screen an...
Страница 32: ...yway The driver installation will begin and when asked for file unires dll browse in the given folder Choose the file and click Open and then OK in the File needed window Figure 42 Continue Window Fig...
Страница 33: ...se USB 9 2 When connecting through USB the PC will detect the SlideMate connection and will initiate driver installation Check the option as shown to allow it to search for the drivers on the Internet...
Страница 34: ...2 9 4 This next window will let you know a search is under way Figure 46 Installing the FT232R USB UART drivers 9 5 This window let s you know the drivers for the USB Serial converter have been instal...
Страница 35: ...6 Make the selection as shown and click Next Figure 48 Found New Hardware USB Serial Port 9 7 When the necessary files have been retrieved following window will be displayed Check the option as shown...
Страница 36: ...age 34 9 8 The next window will let you know a search is under way Figure 50 Installing the USB Serial Port drivers 9 9 This window let s you know the drivers for the USB Serial Port have been install...
Страница 37: ...al readily available with Windows XP operating system will be used to send the text file 10 1 Connect the provided Power supply to the unit Plug the power cord into an electrical outlet Depending on y...
Страница 38: ...In the Host Address field type the IP address for SlideMate as found in Network Settings menu see Figure 12 In the Port number field type 13100 In the Connect using drop down list pick TCP IP Press O...
Страница 39: ...d a PC using a USB cable If an Internet connection is not available all the necessary drivers can be found on the CD that accompanies the SlideMate unit 10 4 1 Below there s a screenshot of the HyperT...
Страница 40: ...igure 57 HyperTerminal Connect window 10 4 4 The COM port picked will have to be configured prior to use Change all fields so they match the ones in the picture below When done press OK That will leav...
Страница 41: ...lar line regardless of the Number of Slides setting in Global Settings menu If more instances of are typed on the same line only the last one will matter Make sure to press Enter End of Data setting i...
Страница 42: ...find folder 11 3 To send the file to SlideMate find the Send Text File option in the Transfer menu Figure 61 Transferring a text file 11 4 A new window will appear to help you locate the file on your...
Страница 43: ...file a carriage return has been introduced That way the SlideMate unit knows it has reached the end of the line Each Print Line can contain maximum of 24 characters using the Small font Each line can...
Страница 44: ...ll be printed and each slide will be identified with its sequence number Current refers to the current slide printing and Total refers to the total number of slides in the series And finally the choic...
Страница 45: ...t process see figure 63 Use a brush similar to a toothbrush or paper towel along with IPA Isopropyl Alcohol to wipe clean these surfaces Discard the paper towel after each use The brush can be reused...
Страница 46: ...lides and ribbon as there may be a piece of broken glass that is not readily visible Using excessive force to free a jammed slide may result in broken glass flying into your eyes Touching the print he...
Страница 47: ...eload the slides and print a test to observe the quality of the print 12 4 Cleaning the print head The print head should be cleaned if any of the following are true Figure 67 Location of the heater li...
Страница 48: ...led Edges must maintain a flat surface of minimum 0 5 mm at the edges of the slide Max Allowable Slide non US 76 0mm 2 992 W x 26 00mm 1 023 H x 1 00mm 0 039 D NOTE Slides with Square Edge Beveled Edg...
Страница 49: ...ssible Cause No slide in the stack Remedy Load slides in the stack Press OK Print will resume Possible Cause A slide is jammed in the stack Remedy Remove all slides Press OK Error 5 will be displayed...
Страница 50: ...section 12 3 Removing a jammed slide from under the print head d Possible Cause Lack of a preventive maintenance routine Remedy Glass particles that slowly chip away from the slides being processed a...
Страница 51: ...b Possible Cause Cable not making good connection Remedy Unplug and reconnect cable c Possible Cause SlideMate not configured correctly Remedy Data type needs set to TEXT Make Sure SlideMate is config...
Страница 52: ...meter b Possible Cause Dirty Print head Remedy Properly clean the Print Head See section 12 4 c Possible Cause Incompatible slide type Remedy Refer to Appendix A for the list of recommended slide type...
Страница 53: ...nt out of bounds Possible Cause Incorrect choice of Datamatrix scale Remedy Change Datamatrix scale see section 2 2 for details 21 Too much data for Datamatrix Possible Cause More than 80 characters a...
Страница 54: ...cession Report Case Log Specimen Jar System can be set to read multiple barcodes for a single slide SlideMate Integration Barcode Scanner 2 SlideMate gives the user the option to format or add to the...
Страница 55: ...on Keyboard 2 S08 11805 Joe Dublin Age 63 Sex M Liver Slide 3 of 3 S08 11805 Joe Dublin Age 63 Sex M Liver Slide 2 of 3 S08 11805 Joe Dublin Age 63 Sex M Liver Slide 1 of 3 1 Data is entered using the...
Страница 56: ...Specimen Jar Scanned information is sent to SlideMate Note A Keyboard Interface kit is required to connect to SlideMate S08 11805 Joe Dublin Age 63 Sex M Liver Slide 3 of 3 S08 11805 Joe Dublin Age 6...
Страница 57: ...ideMate receives formatted images to be printed on the slides via Ethernet 4 The information is printed on the slide s Barcode Scanner PC S08 11805 Joe Dublin Age 63 Sex M Liver Slide 3 of 3 S08 11805...
Страница 58: ...mo Scientific Polysine Slides Thermo Scientific Double Frost Slides 45 Thermo Scientific Cytoslides Thermo Scientific Cytoslides coated Thermo Scientific Superfrost slides Thermo Scientific Superfrost...
Страница 59: ...x 500 B81320015 Part Spring Comp 156 x 1 00 B81320016 Part Spring Ext 180 x 1 50 B81320017 Part Top Divider Enclosure B81320018 Part Slide Cover B81320019 Part Door B81320020 Part Bracket Door Catch B...
Страница 60: ...Global 5 H Heater Line 43 HyperTerminal 14 19 20 21 22 23 I Information i ii v 5 7 8 9 11 13 14 23 25 26 38 Initialize 2 Input Device 6 Input Stack 4 Internet 14 IP address 22 29 J Jam 37 38 47 Jaws...
Страница 61: ...SlideMate Operator Guide Revision 1 20 Page 59 T TCP IP Port 29 Text fields 7 Text file 14 23 24 25 Time 5 Top Offset 5 Type 6 11 13 23 U USB 1 14 15 16 17 18 19 20 23 38 V Vertical bars 10 26...