28
3. Building the Dome
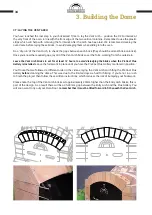
3H: ENTRY & VENT COLUMN COURSE 4
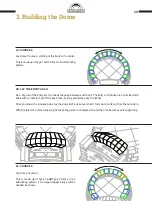
Lay bricks L4 and R4, followed by the two 25mm
thick ‘split’ bricks for the next layer of the vent arch
columns.
3I: ENTRY & VENT COLUMN COURSE 5
Lay bricks L5 and R5, followed by the two ‘springer’
bricks that complete the vent arch columns.
OPTIONAL THERMOWELL INSTALL
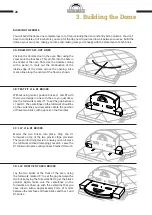
If you purchased the optional Thermowell and
Temperature Gauge to mount through the oven wall,
take the Thermowell and lubricate the stem with
vegetable oil (to prevent the mortar bonding to it).
Set it in the base of a mortar joint between rows 3 and
4 as shown. You may need to widen the joint, or grind
the corner off a brick to allow room for the stem to fit.
Fill mortar around the stem of the Thermowell and
make sure you’re happy with the angle it’s on. Continue
the build. When the mortar has set hard, slide the
Thermowell out and set it aside to be installed later,
just prior to applying the Perlite Render.
Содержание D95
Страница 1: ...D95 Brick Oven D95 PRECUT BRICK OVEN KIT Instruction Booklet ...
Страница 44: ...44 Examples ...
Страница 45: ...45 Examples ...


