4 Transmitter
25
5.
Fix the correct position of the probe shaft (
9
) with screw (
11
)
and mark (insert probe shaft as far as possible).
6.
Slide plastic bracket (
2
) on the back of the transmitter onto
bracket (
3
,
4
) until it engages.
Take the weight of the transmitter into account. Ensure that
the brackets (
4
,
6
) are fastened securely.
7.
Insert screw (
1
) through the hole on the top of the instrument
and screw into bracket (
3
).
8.
Insert probe connector (
12
) into socket until it engages.
Pos: 43 /TD/Erste Schritte/MUF 63xx/Gerät anschließen Ethernet @ 3\mod_1234779843987_79.doc @ 25897 @ 35
4.3.3.
Connecting the instrument
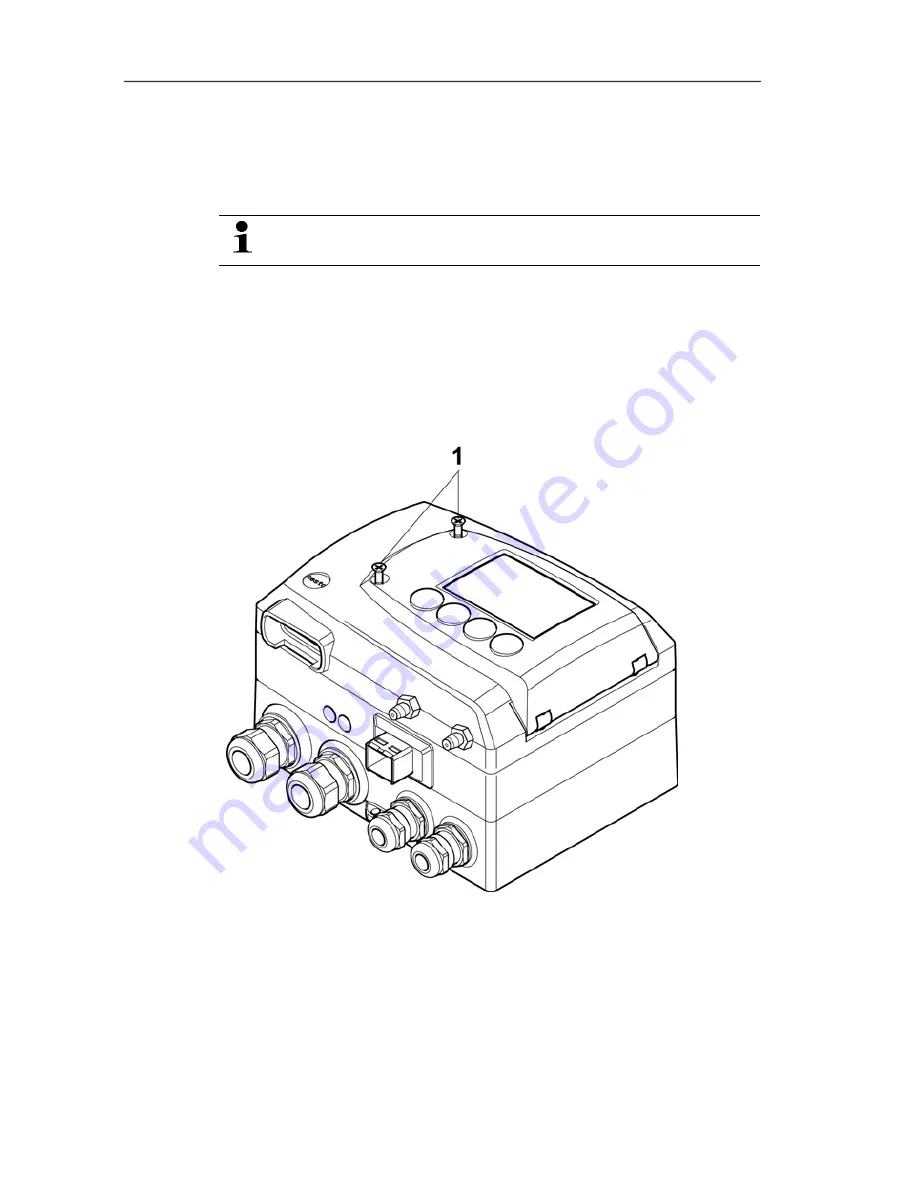
Opening the instrument
1.
Loosen screw connection (
1
) of service flap and open the flap.
1.800.561.8187
www.
Testo-Direct
.ca
All manuals and user guides at all-guides.com


