background image


TCW122B-WD_R2            ( Firmware version 2.xx ) 

Page 4 

9.


Maintenance 

Upon completion of any service or repairs to the device or once per year, safety check must be 

perform to determine that this product is in proper operating condition. 

Clean the device only with dry cloth. Do not use a liquid cleaner or an aerosol cleaner. Do not use 

a magnetic/static cleaning device (dust remover) or any kind of abrasive materials to clean the device. 


10.


Installation 

This device must be installed by qualified personnel. 
This device must not be installed directly outdoors. 
Installation consists of mounting the device, connecting to an IP network, connecting inputs and 

outputs, providing power and configuring via a web browser.  

TCW122B-WD

 can be wall or flat, not flammable surface mounted, in a clean and dry location 

room. Ventilation is recommended for installations where ambient air temperature is expected to be 
high.  

Mount the device to a wall by using two plastic dowels 8x60mm (example Würth GmbH 0912 

802 002) and two dowel screws 6x70mm (example Würth GmbH 0157 06 70). Attach the screws to the 
surface vertically. See Appendix-A, fig. 1 for mechanical details. 

Maintain spacing from adjacent equipment. Allow 50 mm of space on all sides, as shown on fig.2 

in Appendix A, this provides ventilation and electrical isolation.  


11.


 Configuration  

 Please follow the steps below for proper installation : 

1.


Mount the controller in a dry and ventilated place. 

2.


Connect the Ethernet port to a 10/100MB Ethernet network. For direct connection to a PC use 
a “crossover” cable. 

3.


Connect the I/O pins of the controller according to the required application. 

4.


Connect the power supply. 


If  the  red  LED  (STS)  blinks,  the  main  program  of  controller  is  executed.  By  default 

TCW122B-WD 

comes with the following network settings: 


IP address: 

192.168.1.2,   

Subnet Mask:

 255.255.255.0, 

Default Gateway:

 192.168.1.1 


Communication  with 

TCW122B-WD

  can  be  established  by  assigning  a  temporary  IP  address  to  the 

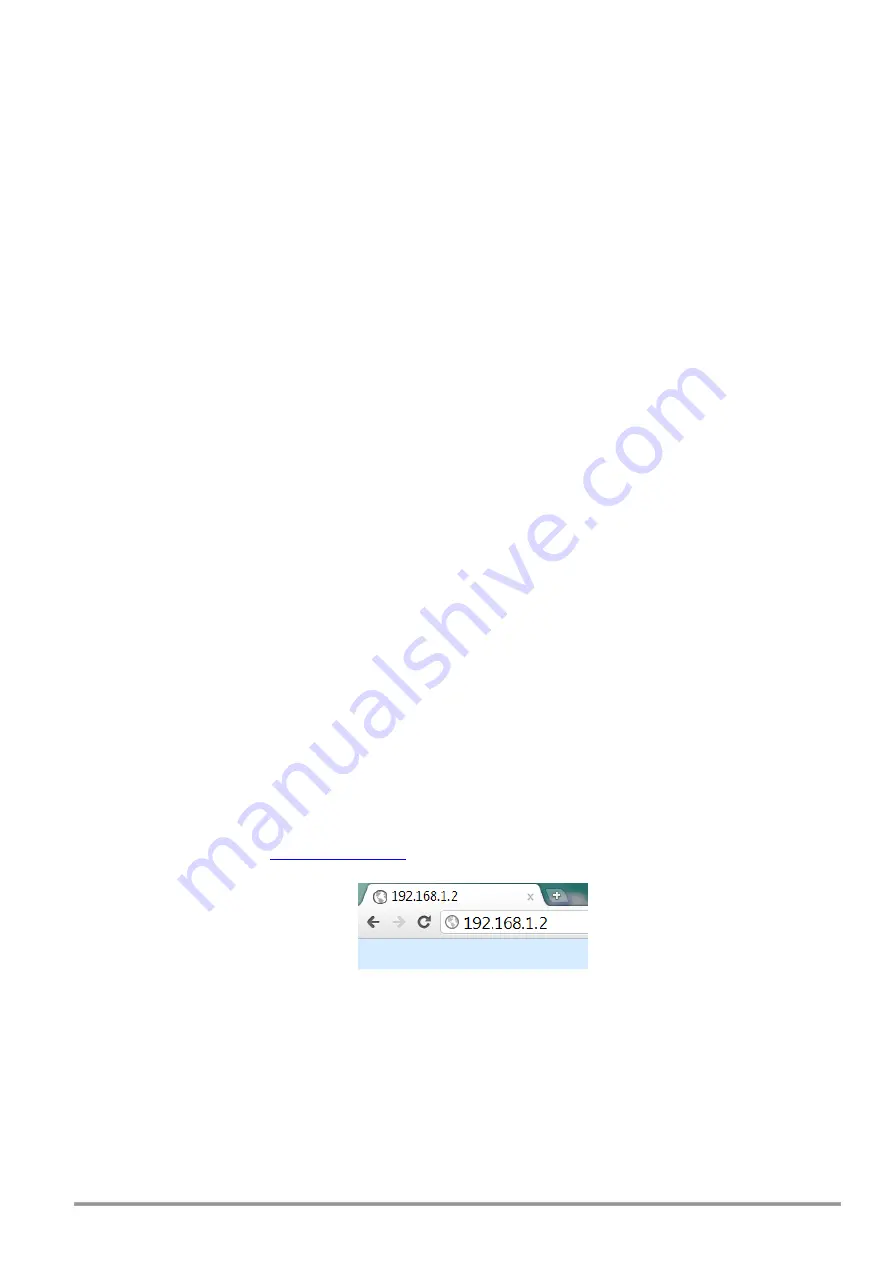
computer. This address should be in the same network (for example 192.168.1.3). To get access to the web 
interface, you should type 

http://192.168.1.2


 into the browser. 


If the network settings are correct, the “Login” page will appear.  
The  web  based  interface  allows  configuration,  monitoring  and  control.  Recommended  browser  is 

Internet Explorer at 1024x768 resolutions. 


11.1


 Login page


After  opening  the  Login  page,  authorization  data  must  be  entered  (by  default  username=admin  , 

password=admin).  It  is  recommended  to  change  the  username  and  password  to  prevent  unauthorized 
access to the controller. 

Содержание TCW122B-WD

Страница 1: ...programs TCW122B WD is suitable for IP watchdog monitoring environmental monitoring of server rooms as well for building automation remote control alarm systems etc 2 Features 10 Mb Ethernet connecti...

Страница 2: ...locations are shown below Connector 1 Power central positive Connector 2 Pin1 Digital input 1 Din1 Connector 2 Pin2 Digital input 2 Din2 Connector 2 Pin3 Ground Connector 2 Pin4 Analog input 1 Ain1 C...

Страница 3: ...or larger for wiring of digital and analog inputs and relay output of the device should be used To avoid electric shock and fire hazard do not expose this product to liquids rain or moisture Objects f...

Страница 4: ...ent equipment Allow 50 mm of space on all sides as shown on fig 2 in Appendix A this provides ventilation and electrical isolation 11 Configuration Please follow the steps below for proper installatio...

Страница 5: ...itoring page After successful authorization the Monitoring page appears The Monitoring page provides information about the state of the relays and digital inputs values of analog voltages applied on a...

Страница 6: ...is considered when the parameter goes higher than MIN HISTERESYS or lower than MAX HISTERESYS For watchdog function following parameters can be set Mode outgoing echo request or incoming echo replay m...

Страница 7: ...ateway these fields are active if IP address is static DNS these fields is mandatory if domain names are used instead of IP addresses By default DNS has the same IP address as Default gateway Host Nam...

Страница 8: ...ite Read community performs client authentication SNMP Traps enable disable SNMP trap messages IP address IP address of the receiving host Community string performs client authentication Trap Interval...

Страница 9: ...diagrams 12 1 Watchdog TCW122B WD device is set to send periodic ping to AP Local network and remote server Internet If there is no answer in Ping time out for restart the corresponding relay is activ...

Страница 10: ...ead only Device name String x 1 2 0 version read only Firmware version String x 1 3 0 date read only Release date String 14 2 Setup network OID Name Access Description Syntax x 2 1 1 0 deviceIPAddress...

Страница 11: ...ntax x 2 6 1 1 0 temperature2Min read write Temperature2 range min value INTEGER 400 1250 x 2 6 1 2 0 temperature2Max read write Temperature2 range max value INTEGER 400 1250 x 2 6 1 3 0 temperature2H...

Страница 12: ...ss IpAddress x 2 11 5 0 wdg2NumberOfRestarts read write Watchdog 2 Max Number of restarts INTEGER 1 253 14 15 Monitor and control OID Name Access Description Syntax x 3 1 0 digitalInput1State read onl...

Страница 13: ...55 255 0 Default Gateway 192 168 1 1 SNMP Configuration disabled Read Community public Write Community private 16 Firmware update TCW122B WD supports remote firmware update To update the device follow...

Страница 14: ...TCW122B WD_R2 Firmware version 2 xx Page 14 Appendix A Fig 1 Fig 2...

Страница 15: ...TCW122B WD_R2 Firmware version 2 xx Page 15...

Страница 16: ...TCW122B WD_R2 Firmware version 2 xx Page 16...

Отзывы: