OPERATING PROCEDURES
6-11
Model 8756
Operating Procedures
6
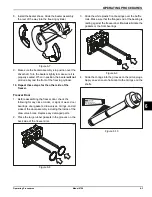
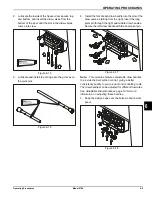
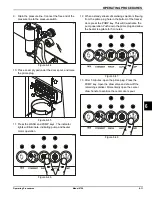
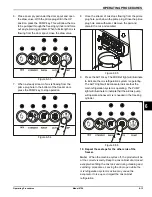
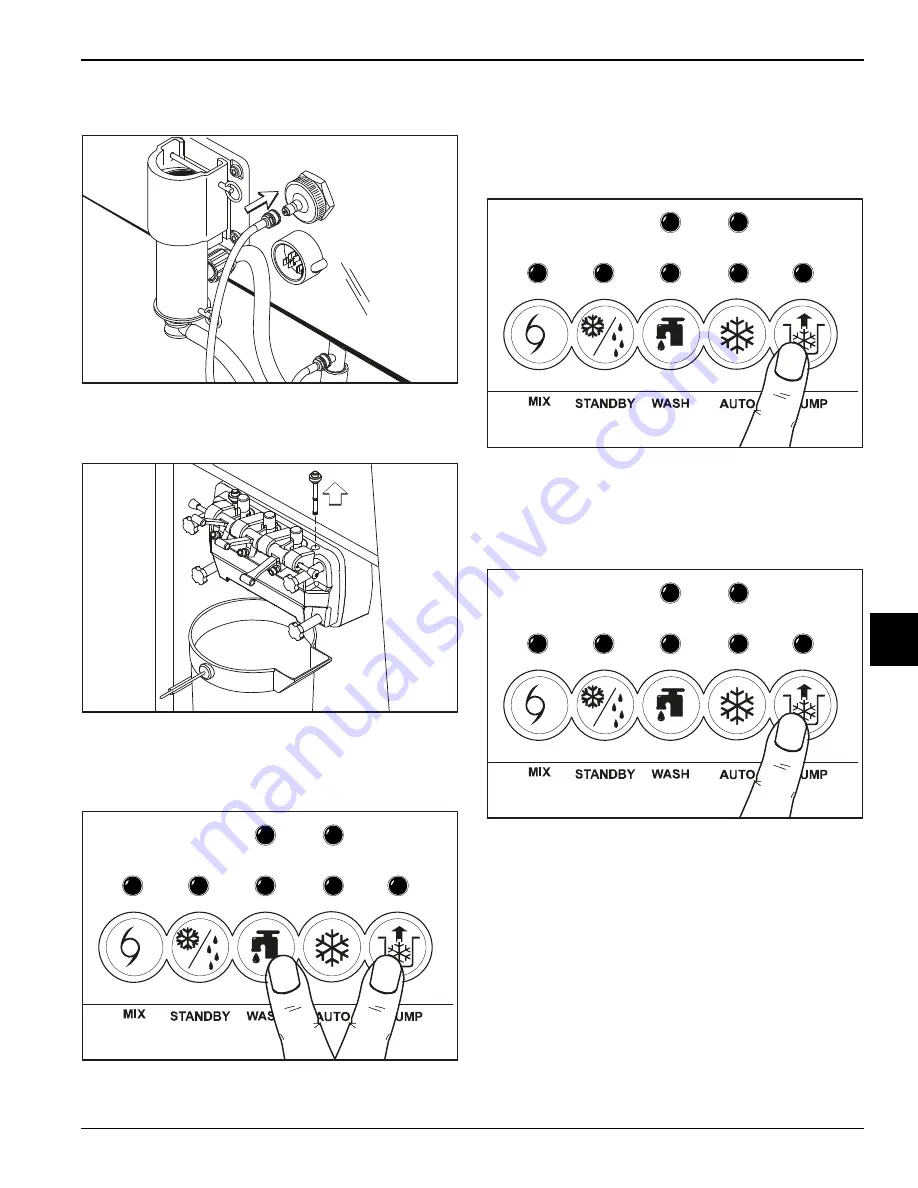
9. Drain the pressure line. Connect the free end of the
pressure line to the pressure switch.
Figure 6-44
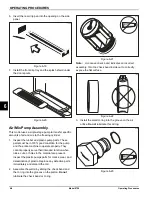
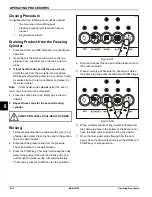
10. Place an empty pail under the door spout, and raise
the prime plug.
Figure 6-45
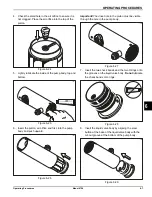
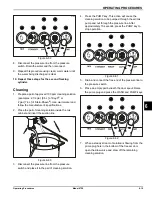
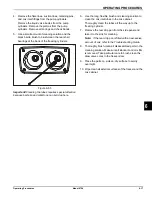
11. Press the WASH and PUMP keys. The indicator
lights will illuminate, indicating pump and beater
motor operation.
Figure 6-46
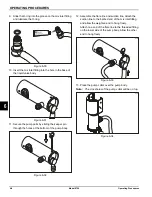
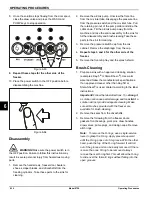
12. When a steady stream of sanitizing solution is flowing
from the prime plug hole in the bottom of the freezer
door, press the PUMP key. This will de-activate the
pump operation. Push down the prime plug and allow
the beater to agitate for 5 minutes.
Figure 6-47
13. After 5 minutes, open the prime plug. Press the
PUMP key. Open the draw valve and draw off the
remaining sanitizer. Momentarily open the center
draw handle to sanitize the center door spout.
Figure 6-48
15063
11437
13038p
13038p
13038p
Содержание Horizon 8756
Страница 18: ...4 6 OPERATOR PARTS IDENTIFICATION Model 8756 Operator Parts Identification 4 Notes ...
Страница 22: ...5 4 USER INTERFACE Model 8756 User Interface 5 Notes ...
Страница 40: ...6 18 OPERATING PROCEDURES Model 8756 Operating Procedures 6 Notes ...
Страница 46: ...8 4 TROUBLESHOOTING GUIDE Model 8756 Troubleshooting Guide 8 Notes ...
Страница 48: ...9 2 PARTS REPLACEMENT SCHEDULE Model 8756 Parts Replacement Schedule 9 Notes ...
Страница 52: ...10 4 LIMITED WARRANTY ON EQUIPMENT Model 8756 Limited Warranty on Equipment 10 Notes ...
Страница 56: ...11 4 LIMITED WARRANTY ON PARTS Model 8756 Limited Warranty on Parts 11 Notes ...
Страница 57: ...Section 12 12 1 Model 8756 Wiring Diagrams 12 Wiring Diagrams 037807 33 4 15 2015 Taylor Company c Model 8756 ...
Страница 58: ...12 2 WIRING DIAGRAMS Model 8756 Wiring Diagrams 12 Notes ...

