OPERATING PROCEDURES
6-13
Model 8756
Operating Procedures
6
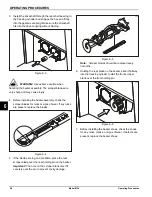
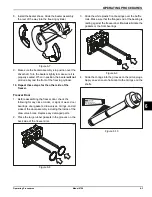
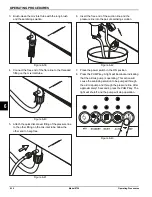
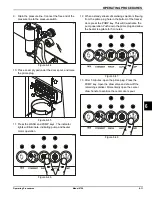
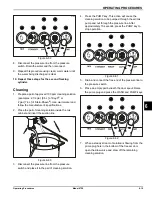
6. Place an empty pail under the door spout and open
the draw valve. With the prime plug still in the UP
position, press the PUMP key. This will allow the mix
to be pumped through the freezing cylinder and force
out any remaining sanitizer. When full-strength mix is
flowing from the door spout, close the draw valve.
Figure 6-53
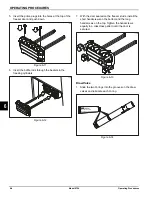
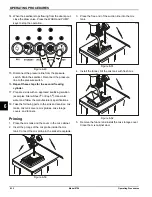
7. When a steady stream of mix is flowing from the
prime plug hole in the bottom of the freezer door,
press the PUMP key to stop operation.
Figure 6-54
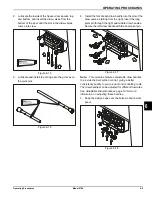
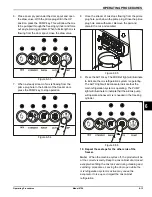
8. Once the stream of mix stops flowing from the prime
plug hole, push down the prime plug. Rinse the prime
plug hole area with water. Remove the pail and
discard the mix and sanitizer.
Figure 6-55
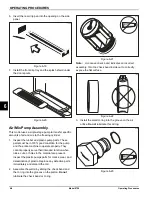
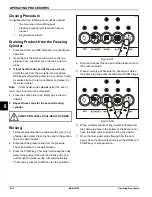
9. Press the AUTO key. The MIX Ref light will illuminate
to indicate the mix refrigeration system is operating.
The AUTO light will illuminate to indicate that the
main refrigeration system is operating. The PUMP
light will illuminate to indicate that the air/mix pump
will operate whenever mix is needed in the freezing
cylinder.
Figure 6-56
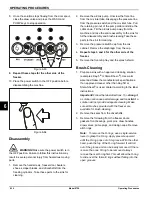
10. Repeat these steps for the other side of the
freezer.
Note:
When the machine cycles off, the product will be
at the correct viscosity. Keep the mix cabinet door closed
except when filling the mix tank and during cleaning and
sanitizing procedures. Leaving the door open while the
mix refrigeration system is active may cause the
evaporator to ice up and impair the mix cabinet
refrigeration.
13038p
13038p
11438
13038a
Содержание Horizon 8756
Страница 18: ...4 6 OPERATOR PARTS IDENTIFICATION Model 8756 Operator Parts Identification 4 Notes ...
Страница 22: ...5 4 USER INTERFACE Model 8756 User Interface 5 Notes ...
Страница 40: ...6 18 OPERATING PROCEDURES Model 8756 Operating Procedures 6 Notes ...
Страница 46: ...8 4 TROUBLESHOOTING GUIDE Model 8756 Troubleshooting Guide 8 Notes ...
Страница 48: ...9 2 PARTS REPLACEMENT SCHEDULE Model 8756 Parts Replacement Schedule 9 Notes ...
Страница 52: ...10 4 LIMITED WARRANTY ON EQUIPMENT Model 8756 Limited Warranty on Equipment 10 Notes ...
Страница 56: ...11 4 LIMITED WARRANTY ON PARTS Model 8756 Limited Warranty on Parts 11 Notes ...
Страница 57: ...Section 12 12 1 Model 8756 Wiring Diagrams 12 Wiring Diagrams 037807 33 4 15 2015 Taylor Company c Model 8756 ...
Страница 58: ...12 2 WIRING DIAGRAMS Model 8756 Wiring Diagrams 12 Notes ...

