OPERATING PROCEDURES
6-17
Model 8756
Operating Procedures
6
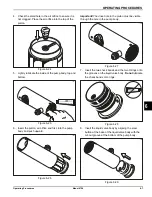
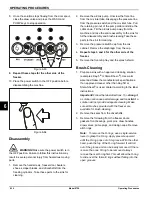
4. Remove the flare lines, suction lines, retaining pins,
and mix inlet fittings from the pump cylinders.
Remove the liquid valve bodies from the pump
cylinders. Remove the pistons from the pump
cylinders. Remove all O-rings and check bands.
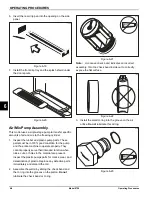
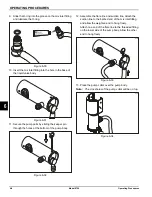
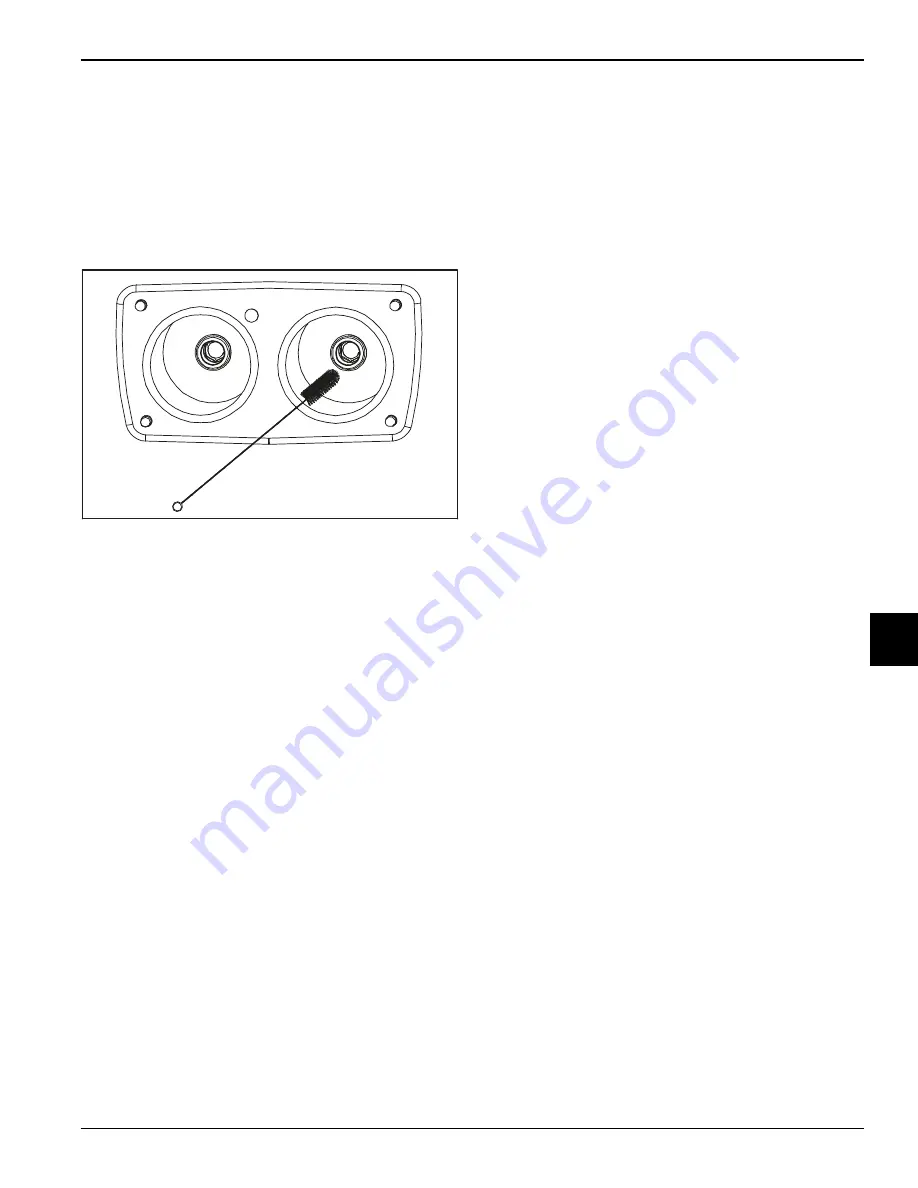
5. Use a small amount of cleaning solution and the
black bristle brush to brush-clean the rear shell
bearings at the back of the freezing cylinders.
Figure 6-65
Important!
Cleaning the tubes requires special attention
because bacteria and milkstone can build up here.
6. Use the long, flexible brush and cleaning solution to
clean the mix inlet tubes in the mix cabinet.
Thoroughly clean the tubes all the way up to the
freezing cylinder.
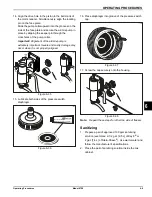
7. Remove the rear drip pan from the side panel and
take it to the sink for cleaning.
Note:
If the rear drip pan is filled with an excessive
amount of mix, refer to the Troubleshooting Guide.
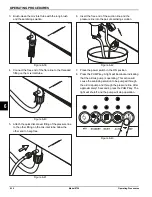
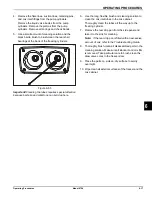
8. Thoroughly brush-clean all disassembled parts in the
cleaning solution. Make sure all lubricant and mix film
is removed. Take particular care to brush-clean the
draw valve cores in the freezer door.
9. Place the parts on a clean, dry surface to air-dry
overnight.
10. Wipe clean all exterior surfaces of the freezer and the
mix cabinet.
11439
Содержание Horizon 8756
Страница 18: ...4 6 OPERATOR PARTS IDENTIFICATION Model 8756 Operator Parts Identification 4 Notes ...
Страница 22: ...5 4 USER INTERFACE Model 8756 User Interface 5 Notes ...
Страница 40: ...6 18 OPERATING PROCEDURES Model 8756 Operating Procedures 6 Notes ...
Страница 46: ...8 4 TROUBLESHOOTING GUIDE Model 8756 Troubleshooting Guide 8 Notes ...
Страница 48: ...9 2 PARTS REPLACEMENT SCHEDULE Model 8756 Parts Replacement Schedule 9 Notes ...
Страница 52: ...10 4 LIMITED WARRANTY ON EQUIPMENT Model 8756 Limited Warranty on Equipment 10 Notes ...
Страница 56: ...11 4 LIMITED WARRANTY ON PARTS Model 8756 Limited Warranty on Parts 11 Notes ...
Страница 57: ...Section 12 12 1 Model 8756 Wiring Diagrams 12 Wiring Diagrams 037807 33 4 15 2015 Taylor Company c Model 8756 ...
Страница 58: ...12 2 WIRING DIAGRAMS Model 8756 Wiring Diagrams 12 Notes ...

