


TASCAM SS-CDR200/SS-R200/SS-R100
29
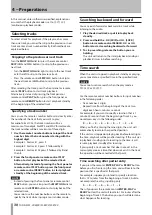
Selecting the current folder or current
playlist
If you have set the play area to be a folder or playlist
(only when using USB/SD/CF media), you can select the
applicable folder or playlist by using the
m
[SKIP]
and
,
[LOCK]
buttons (or remote control
SEARCH
m
/
,
buttons) when the home screen is open and
the unit is stopped. This folder or playlist is called the
“current folder” or “current playlist.”
NOTE
You can also select the “current folder” or “current
•
playlist” from the
FINDER
screen. (See “File and folder
operations” on page 50.)
When the audio files are MP3 or WAV format, a
•
maximum of 999 tracks are playable by this unit. If
media that contains more than 999 tracks is loaded
into the unit, the 999 tracks selected according to the
system rules will be playable. The remaining tracks
cannot be played or edited.
The SS-CDR200 is able to play CDs with a maximum of
•
99 CD audio format files.
Playback modes
The tracks in the play area can be played using one of the
following four playback modes.
Continuous playback mode (default
setting)
appears in the playback mode indication area at
the top of the Home Screen.
The tracks in the play area will play back in order of their
track numbers.
Single playback mode
appears in the playback mode indication area at
the top of the Home Screen.
Only the currently selected track will play back, and then
playback will stop.
Program playback mode
appears in the playback mode indication area at
the top of the Home Screen.
The tracks will be played back in the order programmed
in advance. (See “Program playback” on page 32.)
Random playback mode
appears in the playback mode indication area at
the top of the Home Screen.
All tracks in the play area will play back in random order
without regard to their track numbers. When all tracks
have been played back, playback will stop.
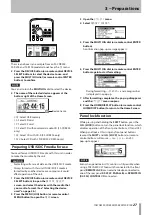
Setting the playback mode
Use the front panel of the unit and the included TASCAM
RC-SS2 remote control to set the desired playback mode
using the following procedures.
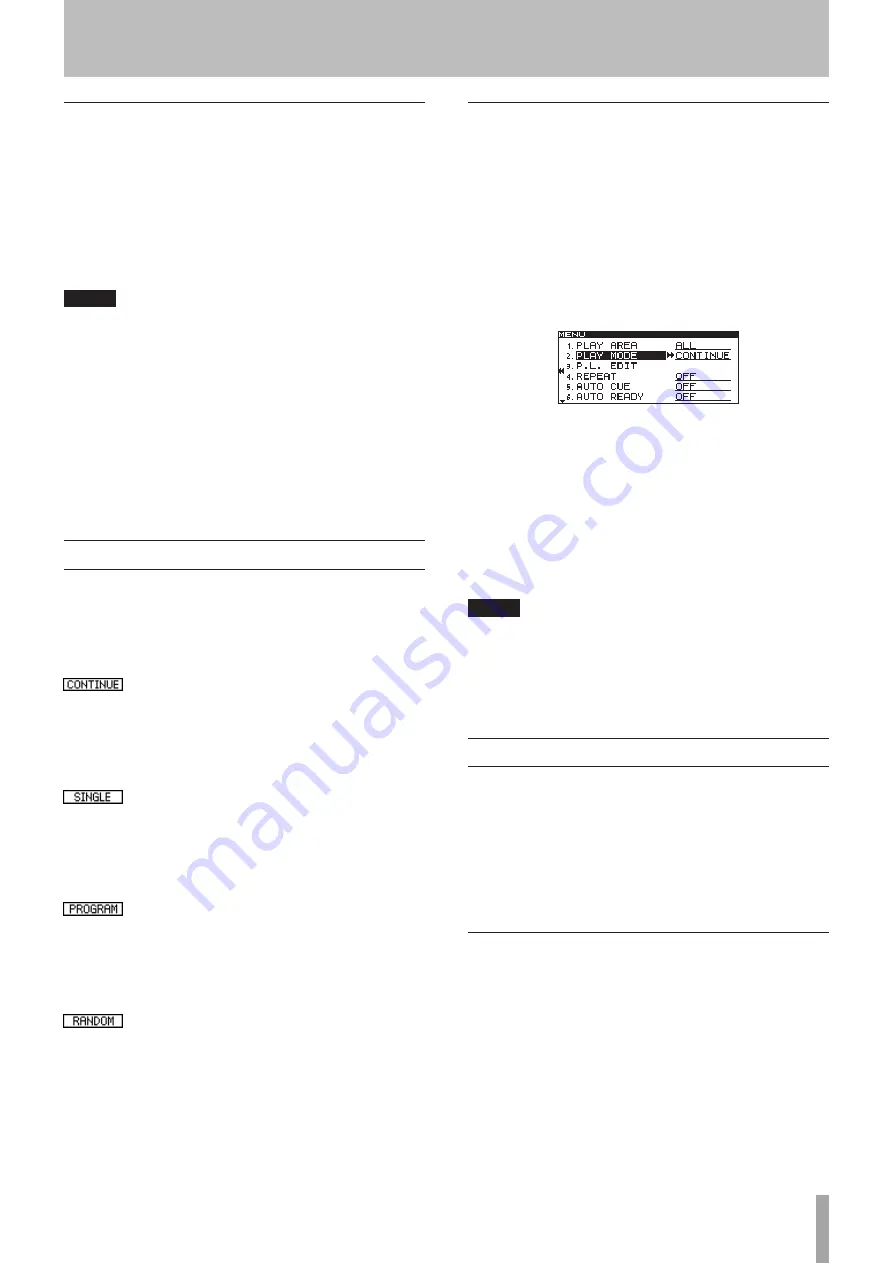
Using the menu
1 When stopped, press the MENU [JOG] button (or
remote control MENU button) to open the
MENU
screen.
2 Open the
PLAY
menu.
3 Select
PLAY MODE
.
4 Press the MULTI JOG dial or
,
[LOCK] button (or
remote control ENTER or
t
button) to move the
cursor to the right and select the setting item.
5 Turn the MULTI JOG dial (or press the remote
control
5
/
b
buttons) to set the desired playback
mode.
6 After making the setting, press the HOME/DISPLAY
button (or remote control HOME/DISP button) to
return to the Home Screen.
NOTE
In this manual, unless otherwise specified, explanations
•
assume that the playback mode is set to
CONTINUE
(continuous playback mode).
The playback mode setting is retained even after the
•
power is turned OFF.
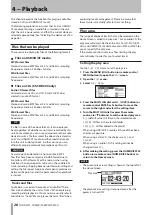
Basic playback operations
This section explains basic operations including starting
playback, playback standby and stopping.
The following explanation assume that you have
completed the necessary connections, that the unit
power is ON, the current device is set, media containing
audio files is loaded in that device and the Home Screen is
open.
Playback
To start playback, press the
PLAY
button (or remote
control
PLAY
button).
If no audio files that can be played back by this unit are on
the media, the time display area will show all zeros.
To stop playback:
Press the
STOP
button.
To pause playback and enter playback standby:
Press the
READY
button.
4 − Playback


