TANDBERG Scholar MXP Setup Guide
Once the TANDBERG Scholar MXP cart has been assembled and all components and connections have been
made to the system, the system can be powered on:
1.
Plug the system’s power cord into a power outlet.
2.
Make sure the switch on the power distribution unit on the Scholar MXP Equipment Rack is turned ON.
3.
Ensure that the Net/Video port on the touch panel is connected to the Scholar MXP Equipment Rack.
Once the system is powered-up, the touch panel will become active and run through a 15 second boot cycle.
The system is ready when the WELCOME SCREEN is displayed on the touch panel.
Page 20 of 32
TANDBERG SCHOLAR ASSEMBLY, SETUP AND USER GUIDE | D50564.01
NOTE: Before proceeding with your system, be sure to provide basic setup and configuration for the
CODEC and TOUCHPANEL by following the procedures outlined below (SYSTEM
CONFIGURATION | CODEC & TOUCH PANEL).
System Configuration | Codec & Touch Panel
The system must be configured for each installation. Network, audio, and other codec configuration settings are made
using the TANDBERG Remote Control.
CODEC CONFIGURATION
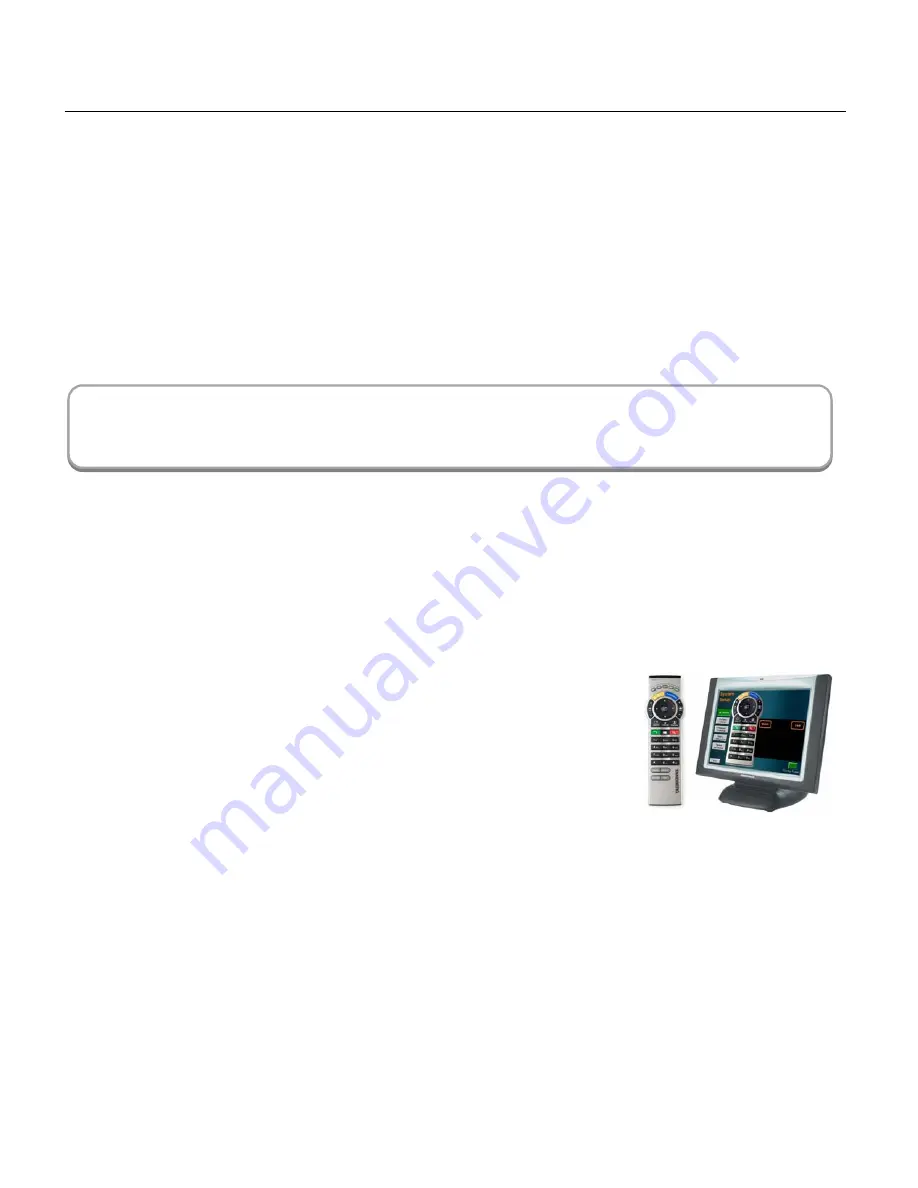
NOTE: While the touch panel is the primary source for presentation operation, the
remote is required for codec setup and menu navigation. Video switching controlled by
the remote control will not always function properly. It is recommended that you use the
touch panel to control video switching.
You can access the remote control emulator on the touch panel by entering the SYSTEM
SETUP page and selecting System Setup > IR FUNCTION. Make sure you select the FAR
END SOURCE in the video window while in this screen to view the codec’s menu. This is
done by touching FAR in the window.
You may use either the physical remote control or the touch panel emulation of the remote control – both function
identically.
1.
Press TOUCH TO START on the WELCOME PAGE after the system has run through its boot cycle.
2.
Press the OK button on the remote control to display the ‘Main Menu’ on your main display monitor. (Be sure to
point the remote in the direction of the camera as the IR sensor is located on the front of the camera.)
3.
Navigate through the menu system using the ARROW KEYS and OK. Press Cancel [ X ] to return to the previous
Menu.
NOTE: If an external IMUX or non-standard network is being used it may be necessary to configure any associated external
equipment.
NOTE: Refer the ‘TANDBERG 6000 MXP User Manual’ for detailed codec menu navigation and configuration.
Содержание Scholar MXP
Страница 15: ...CONTROL WIRING DIAGRAM Page 15 of 32 TANDBERG SCHOLAR ASSEMBLY SETUP AND USER GUIDE D50564 01...
Страница 16: ...AUDIO WIRING DIAGRAM Page 16 of 32 TANDBERG SCHOLAR ASSEMBLY SETUP AND USER GUIDE D50564 01...
Страница 17: ...VIDEO WIRING DIAGRAM Page 17 of 32 TANDBERG SCHOLAR ASSEMBLY SETUP AND USER GUIDE D50564 01...


