Maintenance
16
4.
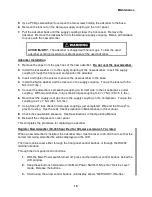
Press the ON control button. Display will show “SAVE? Y-ON N-OFF.”
5.
Press the ON control button again to complete. (Press the OFF control button to back
out of the function.) When ON is pressed, display will show: “Saving New ADS”. When
function is complete, display will again show “NEW ADS? ON=Yes.”
6.
Turn the main power switch to OFF to leave Service Level.
Through the RS232 Terminal Communication Interface
1.
Turn the compressor main power switch ON.
2.
Connect the terminal interface computer to the compressor serial port .
3.
Send a “g” to the compressor to register a new adsorber (or, alternately, send an “m” to
the compressor to return the menu of available functions and then send a “g”).
4.
Compressor will return “Are you sure? Y/N” Send a “Y” to complete the function. (“N”
will back out of the function with compressor returning “Aborted”.)
5.
When the function is complete, the compressor will return “Adsorber change registered.”
6.
Turn the compressor main power switch OFF, if desired.
Used Adsorber Venting and Disposal
For safe disposal of the used adsorber:
1.
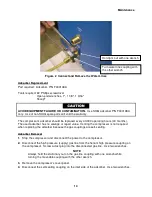
A venting adapter fitting is included with the new adsorber. Attach it to one of the self-
sealing couplings on the
used
adsorber. Vent the
used
adsorber to atmospheric pressure.
2.
Discard the used adsorber with the venting adapter fitting connected.
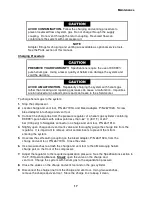
Charging or Venting
Tools required: Charge and vent tool with valve, #4Fx¼” Swagelok, P/N 267191A.
Bleed adapter, P/N 267192A
Open-end wrenches, 5/8", 3/4"
Helium gas cylinder with pressure regulator and charge line
Charging or venting is required whenever the equalization pressure of the system is outside the
range as stated in the Specifications. See Specifications in the F-70 Operating Manual.
Venting a component to atmospheric pressure is required if the component needs to be
disassembled for repairs or maintenance, including repairs to its self-sealing couplings.
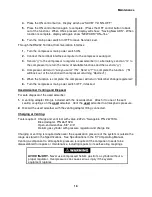
AVOID INJURY.
Never use compressed helium gas from a cylinder without a
proper regulator. Overpressure can cause serious injury if the system
equipment ruptures.
Содержание F-70H
Страница 2: ......
Страница 8: ...4 This page is intentionally blank...
Страница 10: ...6 This page is intentionally blank...
Страница 12: ...8 This page is intentionally blank...
Страница 14: ...10 This page is intentionally blank...
Страница 28: ...24 This page is intentionally blank...
Страница 40: ...Troubleshooting 36 Figure 4 F 70H Compressor Wiring Diagram...
Страница 41: ...Troubleshooting 37 Figure 5 F 70H Compressor Wiring Schematic...
Страница 42: ...Troubleshooting 38 Figure 6 F 70L Compressor Wiring Diagram...
Страница 43: ...Troubleshooting 39 Figure 7 F 70L Compressor Wiring Schematic...
Страница 46: ...42 This page is intentionally blank...

