background image

ENGLISH • 23

CHARGER DIAGNOSTICS

This charger is designed to detect certain problems that 

can arise with the battery packs or the power source. 

Problems are indicated by one LED flashing in different 

patterns.

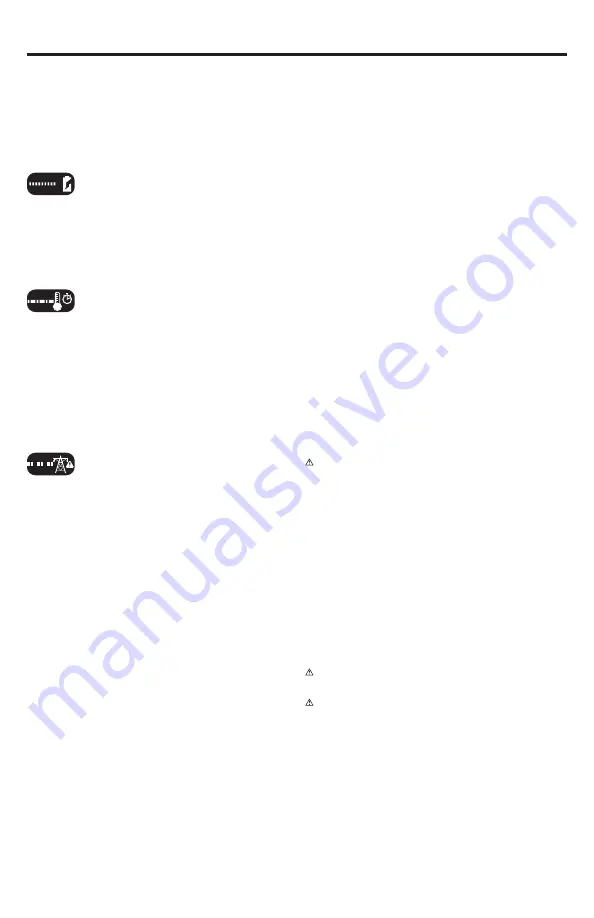
Bad battery

The charger can detect a weak or damaged 

battery. The LED flashes in the pattern 

indicated on the label. If you see this bad 

battery blink pattern, do not continue to charge 

the battery. Return it to a service center or a 

collection site for recycling.

Hot/Cold pack delay

When the charger detects a battery that is 

excessively hot or excessively cold, it 

automatically starts a Hot/Cold Pack Delay, 

suspending charging until the battery has 

normalized. After this happens, the charger 

automatically switches to the Pack Charging 

mode. This feature ensures maximum battery 

life. The light flashes in the pattern indicated 

on the label.

Problem power line

When the charger is used with some portable 

power sources such generators or sources that 

convert DC to AC, the charger may temporarily 

suspend operation. The LED flashes in the 

pattern indicated on the label. This indicates 

that the power source is out of limits.

LEAVING THE BATTERY IN THE CHARGER

The charger and battery pack can be left connected with 

the LED glowing indefinitely. The charger will keep the 

battery pack fresh and fully charged. This charger features 

an automatic tune-up mode which equals or balances the 

individual cells in the battery pack to allow it to function at 

peak capacity. Battery packs should be tuned up weekly or 

whenever the battery no longer delivers the same amount 

of work. To use the automatic tune-up mode, place the 

battery pack in the charger and leave it for at least 8 hours.

IMPORTANT CHARGING NOTES

1.  Longest life and best performance can be obtained  


if the battery pack is charged when the air temperature  


is between 65°F and 75°F (18°C - 24°C). DO NOT  


charge the battery pack in an air temperature below  


+40°F (+4,5°C), or above +105°F (+40,5°C).  


This is important and will prevent serious damage  


to the battery pack.

2.   The charger and battery pack may become warm  


to touch while charging. This is a normal condition,  


and does not indicate a problem. To facilitate the  


cooling of the battery pack after use, avoid placing  


the charger or battery pack in a warm environment  


such as in a metal shed, or an uninsulated trailer.

3.   If the battery pack does not charge properly:

 a. 

Check current at receptacle by plugging in  


  a lamp or other appliance

 b.  Check to see if receptacle is connected to a light  


  switch which turns power off when you turn out  


  the lights.

 c.  Move charger and battery pack to a location where  


  the surrounding air temperature is approximately  


  65°F - 75°F (18°C - 24°C).


d.  If charging problems persist, take the tool, battery  


  pack and charger to your local service center.

4.   The battery pack should be recharged when it fails  


to produce sufficient power on jobs which were easily  


done previously. 

5.  DO NOT CONTINUE to use under these conditions.  


Follow the charging procedure.   

6.  You may also charge a partially used pack whenever  


you desire with no adverse affect on the battery pack.

OPERATING INSTRUCTIONS

Installing and removing the battery pack 

from the tool

 Caution! Make certain the lock-off button is engaged 

to prevent switch actuation before removing or installing 

battery.


f

To install battery pack 


Insert battery pack firmly into tool until an audible click  


is heard as shown in Fig. B Ensure battery pack is  


fully seated and fully latched into position.


f

To remove battery pack 


Depress the battery release button (7) as shown in  


Fig. C and pull battery pack out of tool.

Safety warnings and instructions: Drills

 Warning! Before using tool, read all instructions and 

cautionary markings on tool.

 Warning! Drill may stall (if overloaded or improperly 

used) causing a twist. Always expect the stall. Grip the 

drill firmly with two hands to control the twisting action and 

prevent loss of control which could cause personal injury. 

If a stall does occur, release the trigger immediately and 

determine the reason for the stall before re-starting.

Trigger switch & forward/reverse button (Fig. D)


f

The drill is turned ON and OFF by pulling and  


releasing the trigger switch (1) shown in Fig. D. The  


farther the trigger is depressed, the higher the speed  


of the drill.


f

A forward/reverse control button (2) determines the  

Содержание SCD20

Страница 1: ...s Drill Driver SCD20 SCD20C2 SCD20C2K SCD201C2K MANUAL DE INSTRUCCIONES MANUAL DE INSTRU ES INSTRUCTIONS MANUAL ADVERTENCIA LEASE ESTE INSTRUCTIVO ANTES DE USAR EL PRODUCTO ADVERT NCIA LEIA ESTAS INST...

Страница 2: ...FIG A FIG B FIG C 6 8 4 3 1 2 5 7 9...

Страница 3: ...FIG G FIG F 5 4 FIG E 3 FIG D 1 2...

Страница 4: ...No exponga las herramientas el ctricas a la lluvia y evite que penetren l quidos en su interior Existe el peligro de recibir una descarga el ctrica si penetran ciertos l quidos en la herramienta el c...

Страница 5: ...a herramientas el ctricas con un mantenimiento deficiente f Mantenga las herramientas de corte limpias y afiladas Las herramientas de corte mantenidas correctamente se dejan guiar y controlar mejor g...

Страница 6: ...Los ni os deben ser supervisados para asegurarse de que no jueguen con el aparato f f El uso previsto se describe en este manual de instrucciones El uso de cualquier accesorio adaptador o la realizaci...

Страница 7: ...0Ah SC202 2A Tiempo de carga 60 min 1 Enchufe el cargador en un tomacorriente adecuado antes de insertar el paquete de bater as 2 Introduzca el paquete de bater as en el cargador 3 La luz LED titilar...

Страница 8: ...del paquete de bater as de la herramienta Precauci n Aseg rese de que el bot n de bloqueo est trabado para evitar el accionamiento del interruptor antes de extraer o instalar la bater a f f Para inst...

Страница 9: ...a retirar sujetadores Nota Al cambiar de avance a reversa o viceversa siempre libere el interruptor disparador primero Taladrado f f Use solamente brocas para taladro afiladas f f Sostenga y asegure e...

Страница 10: ...accesorios STANLEY recomendados PROTECCI N DEL MEDIO AMBIENTE Separaci n de desechos Este producto no debe desecharse con la basura dom stica normal Si llega el momento de reemplazar su producto STAN...

Страница 11: ...l insertar la bater a Se ha dejado el interruptor en la posici n de Encendido El interruptor se debe cambiar a la posici n de Apagado para evitar que la herramienta arranque de inmediato al insertar l...

Страница 12: ...abo para transportar puxar ou desconectar a ferramenta el trica Mantenha o cabo afastado de calor leo bordas afiadas ou pe as em movimento Cabos danificados ou emaranhados aumentam o risco de choque e...

Страница 13: ...os diferentes daqueles para os quais foram concebidas pode ser perigoso 5 Uso e cuidados com a ferramenta com bateria a Somente carregue com o carregador especificado pelo fabricante Um carregador que...

Страница 14: ...oa respons vel pela sua seguran a f f Crian as devem ser supervisionadas para certificar se de que elas n o brinquem com a m quina RISCOS RESIDUAIS Riscos residuais adicionais podem surgir ao usar a f...

Страница 15: ...m centro de reciclagem Retardo devido a pacote de bateria quente fria Quando o carregador detecta uma bateria muito quente ou muito fria automaticamente inicia o Retardo por pacote de bateria Quente F...

Страница 16: ...pressionando e liberando o interruptor disparador 1 mostrado na Fig D Quanto mais o disparador pressionado maior ser a velocidade da furadeira f f O bot o de avan o retrocesso 2 determina a dire o de...

Страница 17: ...ize os problemas de paradas durante uma perfura o reduzindo a press o e perfurando lentamente at o final do orif cio f f Mantenha o motor em opera o enquanto retira a broca do orif cio perfurado Isto...

Страница 18: ...ar um produto novo BATERIAS As baterias STANLEY podem ser recarregadas diversas vezes Ao final de sua vida til descarte as baterias com o devido cuidado ao meio ambiente f f Descarregue completamente...

Страница 19: ...t inserido no carregador Insira o pacote de baterias no carregador at a luz de LED ficar acesa O carregador n o est conectado Ligue o carregador numa tomada funcional Para mais detalhes consulte as No...

Страница 20: ...electric shock f If operating a power tool in a damp location is unavoidable use a residual current device RCD protected supply Use of an RCD reduces the risk of electric shock Note The term Residual...

Страница 21: ...er cord is damaged it must be replaced by the manufacturer authorized STANLEY Service Center or an equally qualified person in order to avoid damage or injury If the power cord is replaced by an equal...

Страница 22: ...f Charge only using the charger provided with the tool f f When disposing of batteries follow the instructions given in the section Protecting the environment f f Do not attempt to charge damaged batt...

Страница 23: ...ecome warm to touch while charging This is a normal condition and does not indicate a problem To facilitate the cooling of the battery pack after use avoid placing the charger or battery pack in a war...

Страница 24: ...ory fully into the chuck and tighten securely by rotating the chuck in the clockwise direction as viewed from the chuck end Warning Do not attempt to tighten or loosen drill bits or any other accessor...

Страница 25: ...tecollection Thisproductmustnotbedisposed ofwithnormalhouseholdwaste Shouldyoufindoneday thatyourSTANLEYproductneedsreplacement orifitisof nofurtherusetoyou donotdisposeofitwithhousehold waste Makethi...

Страница 26: ...The switch must be moved to Off to prevent the tool from immediately starting when battery is inserted Battery pack will not charge Battery pack not inserted into charger Insert battery pack into char...

Страница 27: ...5D 51 65 Bodega 23 Complejo Log stico San Cayetano Bogot Colombia Tel 744 7100 Solamente para prop sito de Chile Importado por Black Decker de Chile S A Avenida Andr s Bello 2457 Oficina 1603 Providen...

Отзывы: