22
3
Confirm “MENU:OK” is displayed, and then push
the menu lever.
The unit starts printing the current menu settings.
4
Shift the menu lever to the left.
“READY” is displayed and the unit enters the
normal printing mode.
Printing
Before starting a print job, always check the following
points:
• Unit connected correctly? (page 11)
• Printer driver installed? (page 11)
• Paper loaded correctly? (page 13)
• Menu settings and adjustments done correctly?
Starting a Print Job
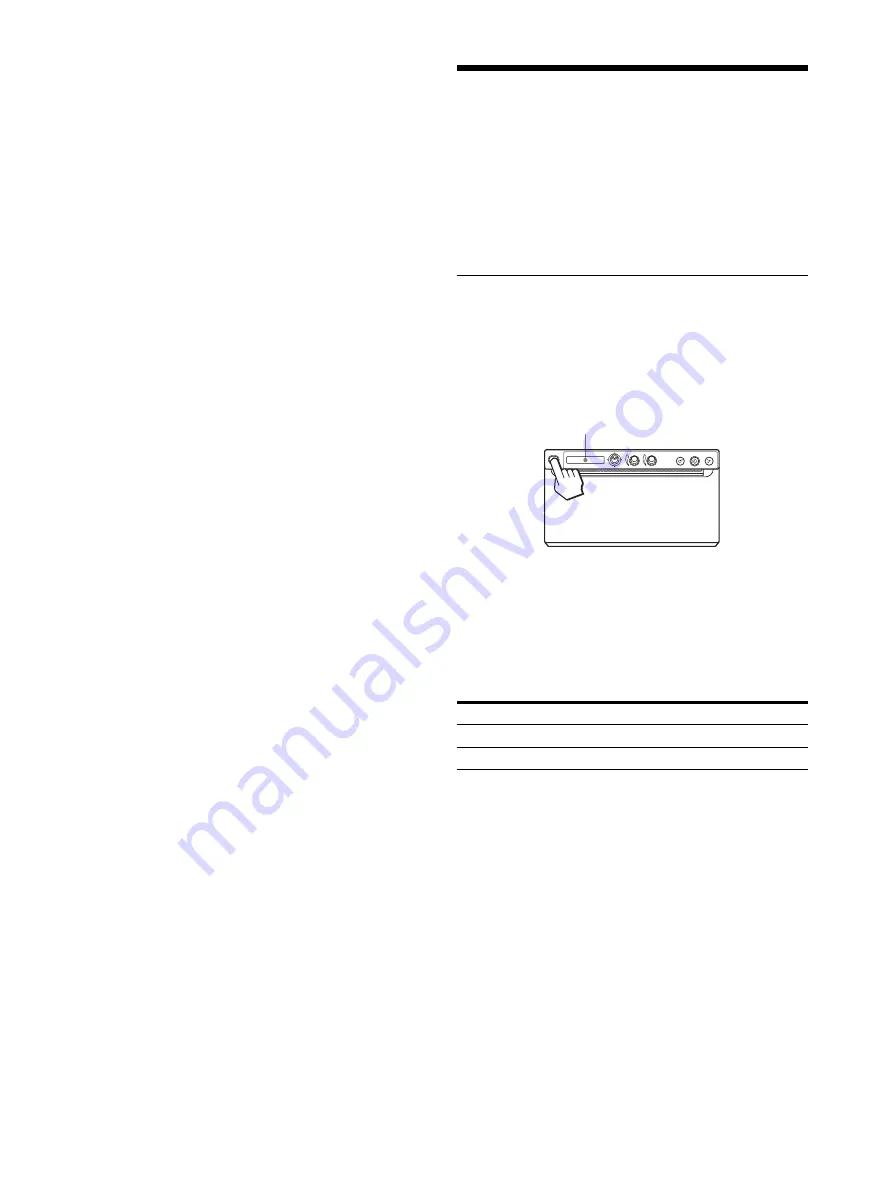
1
Press the
1
On/standby switch to on.
The back light on the
1
On/standby switch and
LCD lights in green, and “READY” is displayed on
the LCD.
2
Execute the print job with the software application.
When the message is displayed on the LCD
If a problem occurs, the back light on the LCD lights in
orange and the error message stating the problem is
displayed on the LCD.
XX indicates the selected paper type.
“S” means UPP-110S, “HD” means UPP-110HD, and
“HG” means UPP-110HG.
When the unit stops printing
When printing almost black images continuously, the
thermal head protection circuit may shut down the unit
to prevent the thermal head from overheating. In such a
case, the message “COOLING” is displayed on the
LCD.
Leave the unit until the head cools down and this
message disappears.
Message
Cause and remedy
EMPTY:XX
Paper is not loaded. Load paper.
DOOR:XX
The door is open. Close the door.
LCD


