1-15
UP-D70XR
28
Operation
Selecting the Gamma Curve
Notes
• Be sure to select the gamma curve prior to adjusting the halftone (GAMMA
item) on the COLOR ADJUST menu explained in “Adjusting the Printout” on
page 24.
• This function is effective only when using the UPC-8811 or the UPC-8817 Color
Printing Pack.
1
Press the MENU button.
Note
If you do not press any button for approximately 15 seconds after pressing the
MENU button, the printer is automatically reset to standby status.
2
Display the GAMMA ADJUST menu by pressing the
◊
or
√
button.
The GAMMA ADJUST menu appears.
< CG > PHOTO
GAMMA AD J US T
The printer enters the gamma curve selection mode.
3
Select the desired gamma curve by pressing the
ı
or
∫
button
< CG > PHOTO
GAMMA AD J US T
Desired printout
Select
A printout of image data created by computer graphics application
CG
programs.
A printout of image data such as human beings, scenery and so on
PHOTO
created with photographic imaging programs.
The gamma curve is fixed to PHOTO when you use printing packs other than
the UPC-8811 or the UPC-8817.
4
To exit from the gamma selection mode, press the MENU button again.
The printer returns to standby status.
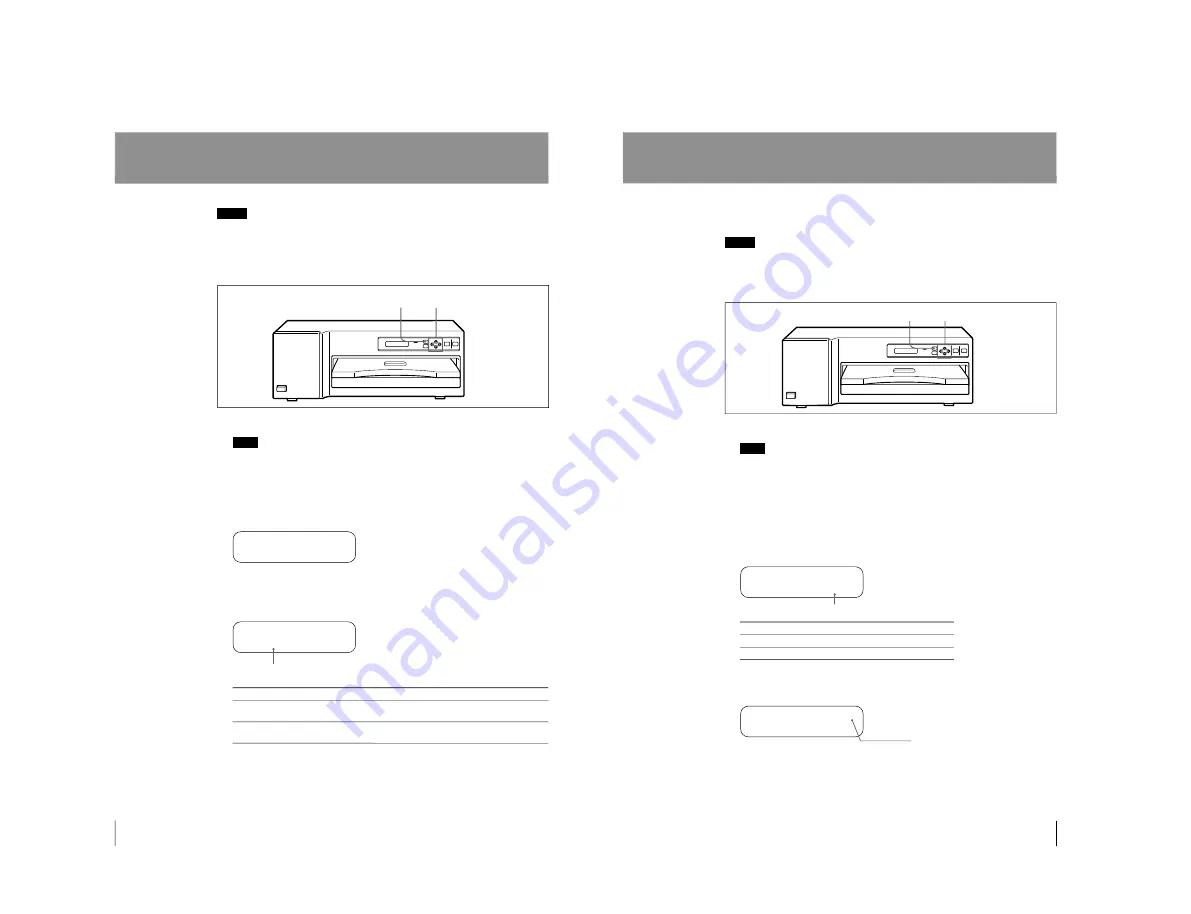
1, 4 2, 3
Position < > over the desired gamma curve by pressing
the
ı
or
∫
button.
29
Operation
Setting the Margin Print Option
You can set whether the top and bottom margins of the printout are to be printed or
not when using the UPT-731BL blue thermal film.
Notes
• The next printout will be printed with the values newly set by the following
procedure.
• This setting is effective only when using UPT-731BL blue thermal film. This
setting does not affect other printing packs.
1
Press the MENU button.
Note
If you do not press any button for approximately 15 seconds after pressing the
MENU button, the printer is automatically reset to standby status.
2
Display the MARGIN PRINT menu on the printer window display by pressing
the
◊
or
√
button.
The MARGIN PRINT menu appears.
The printer enters the margin print setting mode.
3
Select the desired setting by pressing the
◊
or
√
button.
MARGIN PRINT ON FF
<OFF>
Desired margin print option
Select
To print the margin.
ON
To leave the margin blank (i.e., unprinted).
OFF
If you select ON, go to step 4. If you select OFF, go to step 5.
4
Set the print density of the margin.
MARGIN PRINT <ON> FF
OFF
You can set the print density to any of 256 steps from 00 to FF.
ı
: The print density becomes lighter (up to 00).
∫
: The print density becomes darker (up to FF).
5
To exit from the margin print setting mode, press the MENU button again.
The printer returns to standby status.
1, 5 2, 3, 4
Position < > over the desired setting by pressing the
◊
or
√
button.
Display the desired print density by
pressing the
ı
or
∫
button.
Содержание UP-D70XR
Страница 1: ...DIGITAL COLOR PRINTER UP D70XR SERVICE MANUAL Volume 1 1st Edition ...
Страница 4: ...2 UP D70XR 6 Troubleshooting 6 1 Mechanical Section 6 1 6 2 Electrical Section 6 3 ...
Страница 6: ......
Страница 27: ...1 21 UP D70XR 80 Divers Sony Corporation Printed in Japan ...
Страница 28: ......
Страница 50: ......
Страница 84: ......
Страница 94: ......


