34
(GB)
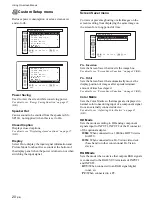
Adjusting the Picture Position
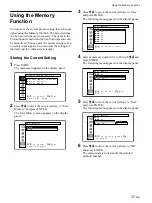
1
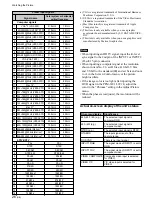
In the Screen Control menu, press
M
/
m
to move
the cursor (yellow) to “Screen Shift” and press
ENTER.
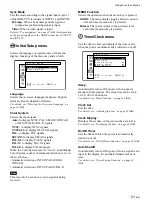
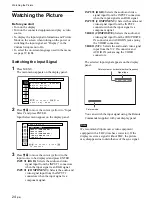
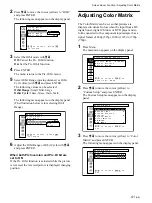
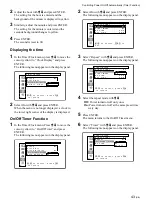
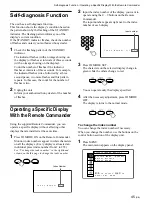
The following menu appears on the display panel.
H
S h i f t
0 0
V
S h i f t
0 0
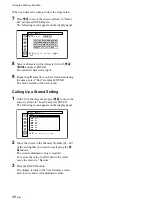
2
The
M
/
m
/
<
/
,
buttons move the picture
vertically and horizontally.
<
/
,
: Move the picture left and right
M
/
m
: Move the picture up and down
Horizontal picture position is displayed on the
screen with adjustment values ranging from LEFT
(128) to RIGHT (127). Vertical picture position is
displayed on the screen with adjustment values
ranging from BOTTOM (128) to TOP (127). The
factory preset value is 00.
3
Press ENTER.
The menu returns to the Screen Control menu.
Resizing and Positioning the Picture
Resizing and Positioning
the Picture
You can shift the position of the picture so that it fits
the screen, or adjust the vertical and horizontal size of
the picture separately.
Operation is explained in these operating instructions for
the state in which the MENU Function is set to “On/Off”.
Refer to “Screen Control Menu” on page 18 (GB) for
further details regarding the Screen Control menu.
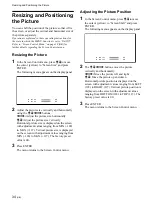
Resizing the Picture
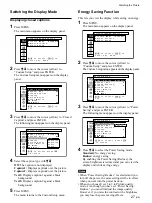
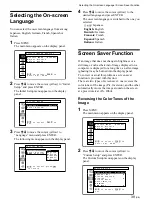
1
In the Screen Control menu, press
M
/
m
to move
the cursor (yellow) to “Screen Size” and press
ENTER.
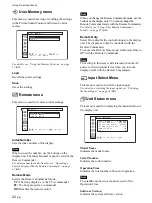
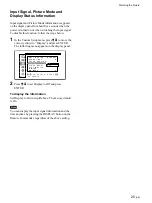
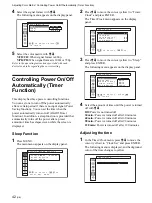
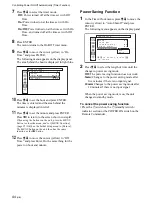
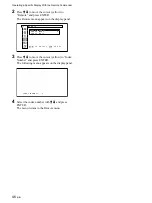
The following menu appears on the display panel.
H
S i z e
0 0
V
S i z e
0 0
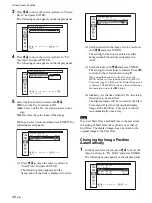
2
Adjust the picture size vertically and horizontally
using the
M
/
m
/
<
/
,
buttons.
<
/
,
: Adjust the picture size horizontally
M
/
m
: Adjust the picture size vertically
Horizontal picture size is displayed on the screen
with adjustment values ranging from MIN (–128)
to MAX (+127). Vertical picture size is displayed
on the screen with adjustment values ranging from
MIN (–128) to MAX (+127). The factory preset
value is 00.
3
Press ENTER.
The menu returns to the Screen Control menu.
Содержание PFM-32C1
Страница 53: ...53 JP ...
Страница 199: ......
Страница 297: ......
Страница 298: ...2 CS 警告 为避免引发意外的火灾或遭受雷击的危险 请勿将 本机置于雨点所及或者潮湿的地方 输出插座应安装于装置附近使用方便的地方 ...
Страница 311: ...15 CS 连接 使用电缆夹 可用附带的电缆夹 5 个 有效地捆扎扬声器电 缆 请按下图所示的方法安装电缆夹 1 2 后视图 取下去皮 纸遮盖物 请按图所示 的方法粘贴 电缆夹 ...
Страница 346: ......
Страница 347: ......
Страница 348: ...Sony Corporation Printed in Japan ...

