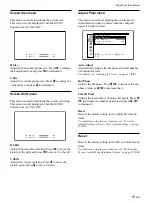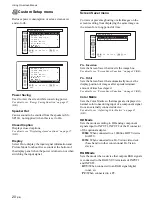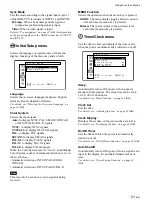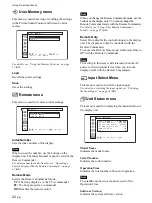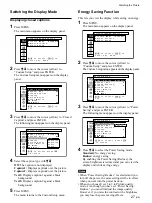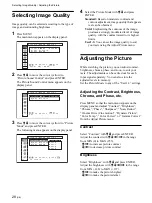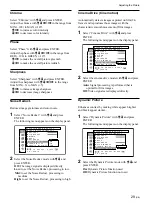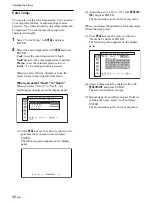
33
(GB)
3
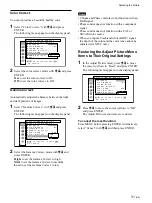
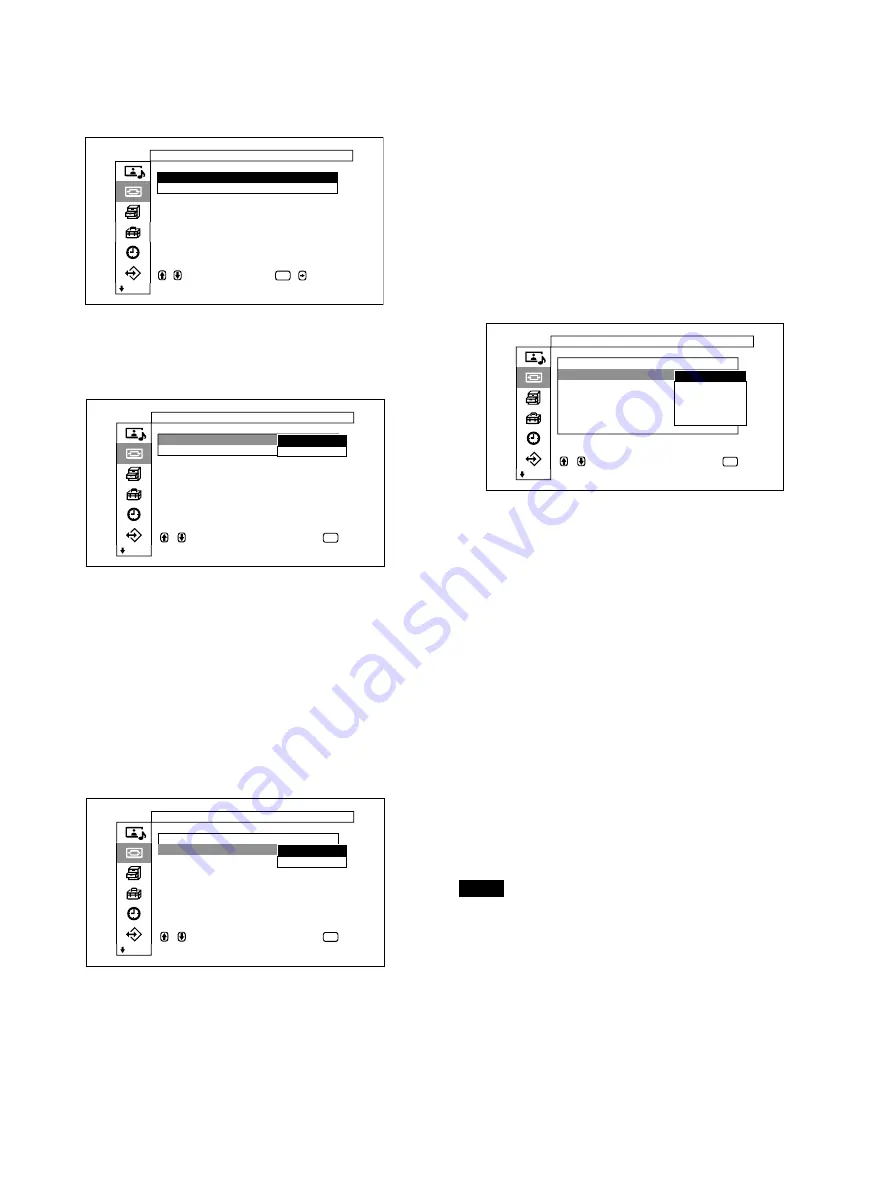
Press
M
/
m
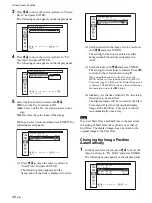
to move the cursor (yellow) to “Wide
Setup” and press ENTER.
The following menu appears on the display panel.
,
t o
s e l e c t ,
,
t o
ENTER
S c r e e n
C o n t r o l
A u t o
W i d e
:
O f f
4 : 3
M o d e
:
4 / 3
S y n c
M o d e
:
H / C o m p
s e t
W i d e
S e t u p
4
Press
M
/
m
to move the cursor (yellow) to “Auto
Wide” and press ENTER.
The following menu appears on the display panel.
S c r e e n
C o n t r o l
A u t o
W i d e
4 : 3
M o d e
,
t o
s e l e c t ,
p r e s s
t o
r e t u r n
ENTER
W i d e
S e t u p
O f f
O n
5
Select an Auto Wide setting using the
M
/
m
button.
Off: Images are reproduced as-is.
On: The image is enlarged and displayed in the
most appropriate aspect ratio.
6
Press ENTER.
The menu returns to the Wide Setup menu.
7
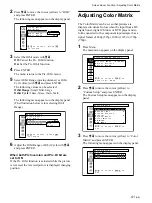
Select “4:3 Mode” with
M
/
m
and press ENTER.
The following menu appears on the display panel.
S c r e e n
C o n t r o l
W i d e
S e t u p
A u t o
W i d e
4 : 3
M o d e
,
t o
s e l e c t ,
p r e s s
t o
r e t u r n
ENTER
4 / 3
E x p d . 4 / 3
8
Select the 4:3 Mode with
M
/
m
.
4/3: Pictures with a 4:3 aspect ratio are displayed
as-is.
Expd.4/3: Pictures with a 4:3 aspect ratio are
displayed after being enlarged to an aspect
ratio of 16:9.
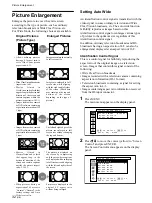
Picture Enlargement
9
Press ENTER.
The menu returns to the Screen Control menu.
Setting the Wide Mode
Pictures can also be enlarged in the desired wide
mode regardless of the type of picture.
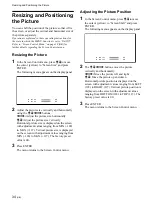
1
In the Screen Control menu, press
M
/
m
to move
the cursor (yellow) to “Wide Mode” and press
ENTER.
The following menu appears on the display panel.
S c r e e n
C o n t r o l
W i d e
S e t u p
W i d e
M o d e
:
S c r e e n
Z o o m
:
S c r e e n
S i z e
S c r e e n
S h i f t
A d j u s t
P i x e l
R e s e t
,
t o
s e l e c t ,
p r e s s
t o
r e t u r n
ENTER
E x p d . 4 / 3
L e t t e r b x
R e s t o r e
S u b t i t l e
4 / 3
2
Select the Wide Mode with
M
/
m
.
Expd.4/3: Enlarges 4:3 pictures full-screen to
16:9 pictures.
Letterbx: Enlarges the picture all the way to the
left and right edges of the screen. (Black bars
may remain on the top and bottom of the
screen depending on the type of picture.)
Restore: Extends the left and right sides of the
picture over the entire screen without changing
the top and bottom.
Subtitle: Enlarges the picture all the way to the
left and right edges of the screen and
compresses only the area where captions are
displayed.
4/3: Displays the picture without enlarging.
3
Press ENTER.
The menu returns to the Screen Control menu.
Notes
• If you set Wide Mode, the Auto Wide function is
disabled. If you want to use the Auto Wide function,
reset it to “On.”
• The top or bottom of the picture may be cut off or
the captions may not be completely contained on the
screen depending on the type and size of picture.
• Please be aware that if this unit is used for
commercial purposes, or is used for public viewing
in coffee shops or hotels, and that if the wide screen
switching function is used, screen compression or
elongation can result, and there may be some
infringement on copyrights as defined under the
copyright laws.
Содержание PFM-32C1
Страница 53: ...53 JP ...
Страница 199: ......
Страница 297: ......
Страница 298: ...2 CS 警告 为避免引发意外的火灾或遭受雷击的危险 请勿将 本机置于雨点所及或者潮湿的地方 输出插座应安装于装置附近使用方便的地方 ...
Страница 311: ...15 CS 连接 使用电缆夹 可用附带的电缆夹 5 个 有效地捆扎扬声器电 缆 请按下图所示的方法安装电缆夹 1 2 后视图 取下去皮 纸遮盖物 请按图所示 的方法粘贴 电缆夹 ...
Страница 346: ......
Страница 347: ......
Страница 348: ...Sony Corporation Printed in Japan ...

