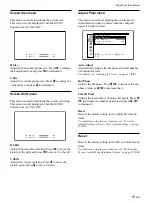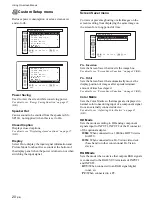
21
(GB)
Using On-screen Menus
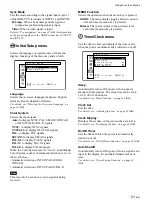
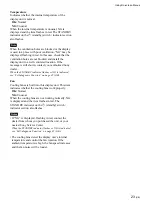
Sync Mode
Sets the mode according to the signal input at pin 13
of the RGB/YUV terminals of INPUT1 and INPUT2.
H/Comp: When a horizontal periodic signal or
composite synchronizing signal is input
Video: When a video signal is input
Refer to “Pin assignment” on page 49 (GB) for information
on the pin assignments of the RGB/Y connectors of INPUT1
and INPUT2.
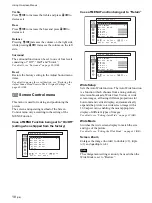
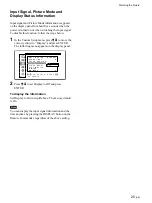
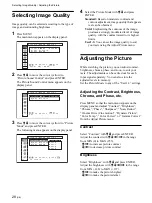
Initial Setup menu
Selects the language or signal source of the menu
display, functions of the menu key and so forth.
I n i t i a l
S e t u p
C o l o r
S y s t e m
:
M E N U
F u n c t i o n :
O n / O f f
s e t
,
t o
s e l e c t ,
,
t o
ENTER
L a n g u a g e
:
E n g l i s h
Language
Selects the on-screen language (Japanese, English,
German, French, Spanish or Italian).
For details, see “Selecting the On-screen Language” on
page 39 (GB).
Color System
Selects the input signal.
Auto: to display NTSC, PAL, SECAM/NTSC4.43
or NTSC/PAL-M/PAL-N signals
NTSC: to display NTSC signals
NTSC4.43: to display NTSC4.43 signals
PAL: to display PAL signals
SECAM: to display SECAM signals
PAL-M: to display PAL-M signals
PAL-N: to display PAL-N signals
PAL60: to display PAL60 signals
When the Color System is set to “Auto”, an additional
Color System capable of automatic detection is set in
the level below.
• Automatic detection of NTSC/PAL/SECAM/
NTSC4.43
• Automatic detection of NTSC/PAL-M/PAL-N
Note
This can only be set when a video signal is being
received.
MENU Function
Selects the operation when the menu key is pressed.
On/Off: The menu display toggles between on and
off each time the menu key is pressed.
Return: The cursor returns to the previous level
each time the menu key is pressed.
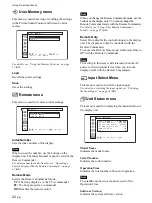
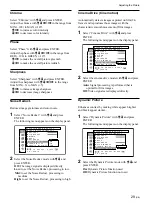
Timer/Clock menu
Sets the time or timer and displays the time or sets
when the power is automatically switched on or off.
T i m e r / C l o c k
S l e e p
:
O f f
C l o c k
S e t
C l o c k
D i s p l a y
:
O f f
O n / O f f
T i m e r
:
O f f
A u t o
S h u t o f f
:
O f f
s e t
,
t o
s e l e c t ,
,
t o
ENTER
Sleep
Automatically turns off the power when a preset
amount of time elapses. The sleep time can be set to
30, 60, 90 or 120 minutes.
For details, see “Sleep Function” on page 42 (GB).
Clock Set
Sets the time.
For details, see “Adjusting the time” on page 42 (GB).
Clock Display
Displays the set time on the screen when set to On.
For details, see “Displaying the time” on page 43 (GB).
On/Off Timer
Sets the time at which the power is automatically
turned on or off.
For details, see “On/Off Timer Function” on page 43 (GB).
Auto Shutoff
Automatically turns off the power when a signal is not
input to the display for a predetermined amount of
time.
For details, see “Power Saving Function” on page 44
(GB).
Содержание PFM-32C1
Страница 53: ...53 JP ...
Страница 199: ......
Страница 297: ......
Страница 298: ...2 CS 警告 为避免引发意外的火灾或遭受雷击的危险 请勿将 本机置于雨点所及或者潮湿的地方 输出插座应安装于装置附近使用方便的地方 ...
Страница 311: ...15 CS 连接 使用电缆夹 可用附带的电缆夹 5 个 有效地捆扎扬声器电 缆 请按下图所示的方法安装电缆夹 1 2 后视图 取下去皮 纸遮盖物 请按图所示 的方法粘贴 电缆夹 ...
Страница 346: ......
Страница 347: ......
Страница 348: ...Sony Corporation Printed in Japan ...

