6-1 Overview of Editing Functions
Chapter 6 Editing Functions
6-14
Chapter 6
Editing Functions
6-8 Trimming
6-8-2 End Trimming
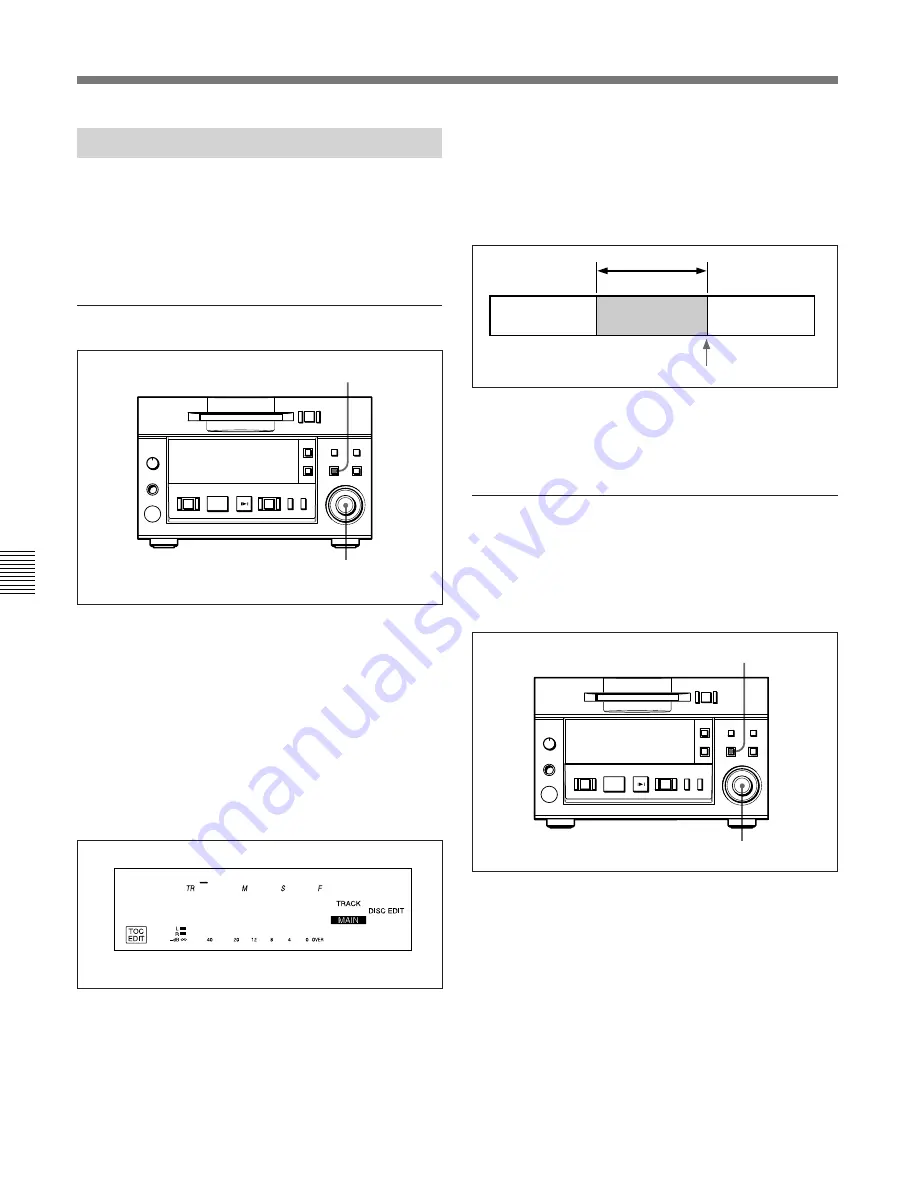
By entering a trimming specification at the end of a
track, you can eliminate the ending position without
actually erasing sound data on the disc.
“END” appears in the display when you select a track
with end-trimming specification.
To trim the end of a track
1
Press the EDIT/NO button.
The Edit menu appears.
2
Turn the AMS control until “010:End Trim ?”
appears.
3
Press the AMS control to display “ET In ?”, then
press the control again.
The display for selecting the track to be trimmed
appears.
4
Turn the AMS control to select the track to be
trimmed.
5
Press the AMS control.
Rehearsal playback starts to allow you to specify
the trimming point.
6
Turn the AMS control to specify the amount to be
trimmed.
Pressing the
0
/
)
button allows you to select
“F” (frame), “S” (second)”, or “M” (minute) as the
unit for adjusting the end of Rehearsal playback.
7
Press the AMS control.
“Complete!!” appears and playback starts for
confirming the results of the operation.
To trim the end of a track during
Rehearsal playback
Locating the trimming position during Rehearsal
playback eliminates the read to use the Edit menu to
do the same thing.
1
Locate the trimming position through Rehearsal
playback.
For details, see “5-2-4 Rehearsal Playback” on page 5-3.
2
Press the EDIT/NO button.
3
Turn the AMS control until “010-01:ET In ?”
appears.
4
Press the AMS control.
“Complete!!” appears and playback starts for
confirming the results of the operation.
E T I n T r 1
001 00 01 85
1
2 – 7
p
(P
0
)
=
+
r
Rehearsal playback
Trimming point will be set at the end of Rehearsal playback.
3,4
2
p
(P
0
)
=
+
r


