4-1 Selecting the Input Signal
Chapter 4 Recording
4-2
Chapter 4
Recording
If the inserted disc contains recorded material, the MD
deck will automatically record new material at the end
of the existing material and with a new track number.
1
Select the input signal using the Setup menu (see
page 4-1).
2
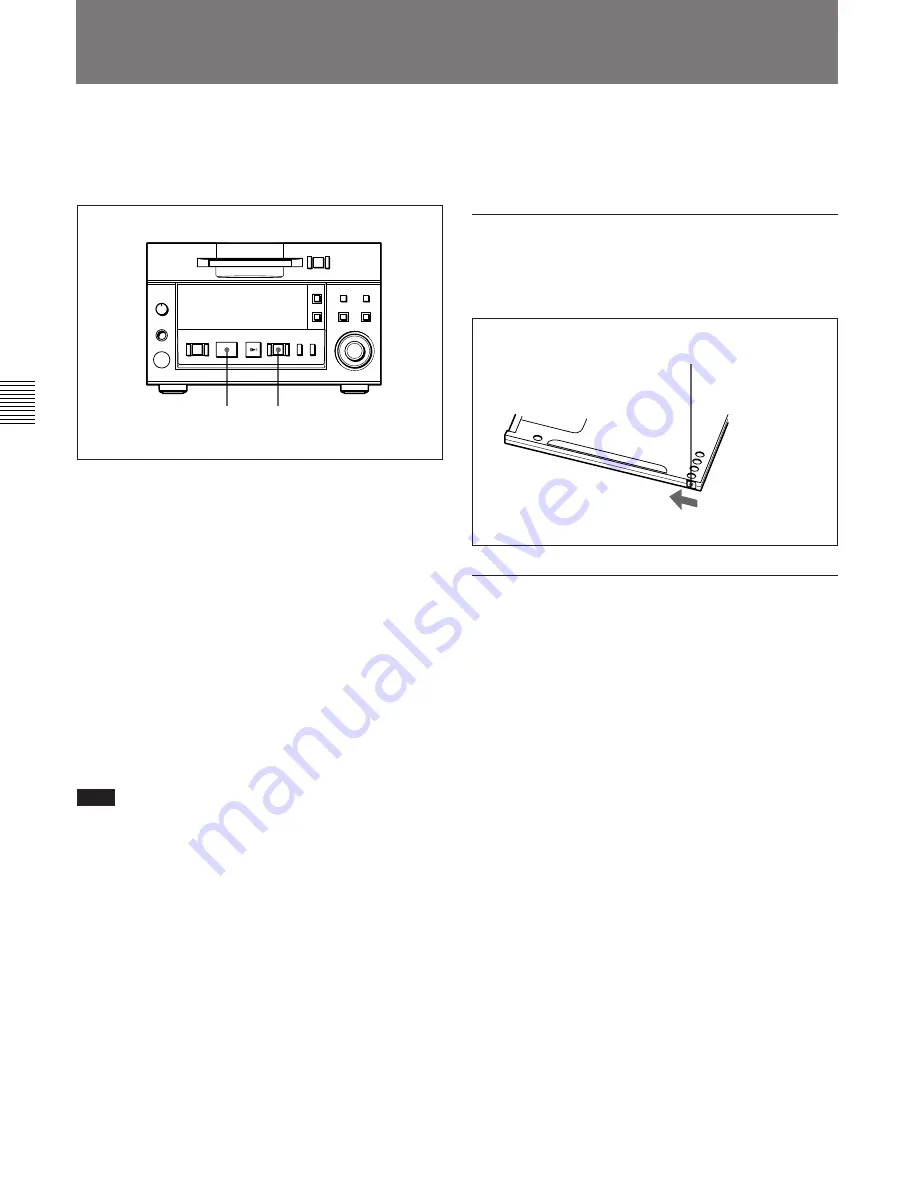
Press the REC button.
The MD deck enters recording pause. (The REC
button lights up and the PLAY/PAUSE button
flashes.)
3
Press the PLAY/PAUSE button.
Recording starts. (The REC and PLAY/PAUSE
buttons light up.)
4
Play the sound source to be recorded.
The number of the track being recorded and
elapsed recording time appear in the display.
Note
When “VariSpeed On” is selected for menu item F07,
it will take about 10 seconds for the MD deck to enter
recording pause.
Recording a track number manually during
recording
Press the REC button at the place you want to add a
track number.
To stop recording
Press the STOP button.
To stop recording temporarily
Press the PLAY/PAUSE button.
To resume recording, press the PLAY/PAUSE button
again.
To eject the disc
Press the STOP button to stop the MD, then press the
EJECT button.
Preventing accidental erasure
Slide the record-protect tab to open the slot. To allow
recording again, slide the tab to close the slot.
To record in monoaural mode
The monouaral recording mode allows you to record
about twice as much material on the same amount of
the tape than stereo recording mode. Use the Setup
menu to choose monouaral recording mode.
1
Press the EDIT/NO button while holding down the
STOP button.
The Setup menu appears in the display.
2
Turn the AMS control to select “F04:Stereo Rec.”
3
Press the AMS control.
The indication flashes and the display for setting
the recording mode appears.
4
Turn the AMS control clockwise to display
“F04:Monoral Rec,” then press the AMS control.
The “MONO” indication lights up.
5
Press the EDIT/NO button to exit from the Setup
menu.
4-2 Recording Procedure
3
2
p
(P
0
)
=
+
r
Rear of the disc
Record-protect tab
Slide the tab in the
direction of arrow.


