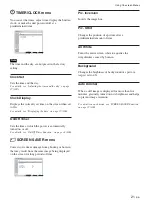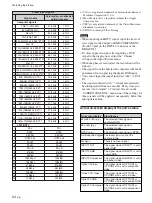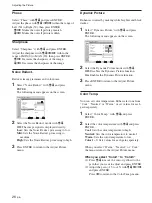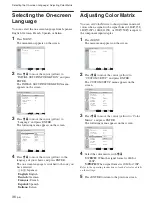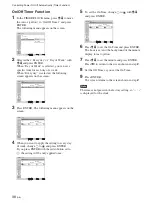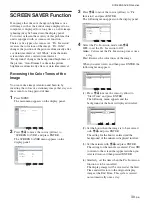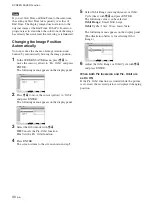
30
(GB)
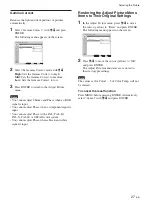
(2) Select “OK” with
M
/
m
and press ENTER.
All the items of “Adjust Screen” menu are
adjusted automatically.
Note
Due to patterns in the image, there may be times when
noise continues to occur even after you have used
Auto Adjust. In such cases, adjust the dot phase
manually.
Those three signals, 1024
×
768@60, 1280
×
768@60,
1360
×
768@60 (all CVT compatible), cannot
automatically be distinguished from one another.
Every time you execute “Auto Adjust,” the
appropriate settings for those three signals will be
applied consequently. Repeat “Auto Adjust” until the
most appropriate setting is applied for the current
input signal.
You can confirm the current setting by the
information on the current input signal displayed in
the upper left of the screen when you press DISPLAY
on the Remote Commander.
Adjusting manually
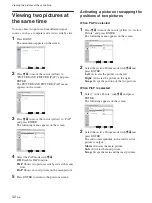
(1) Select the item you want to adjust and press
ENTER.
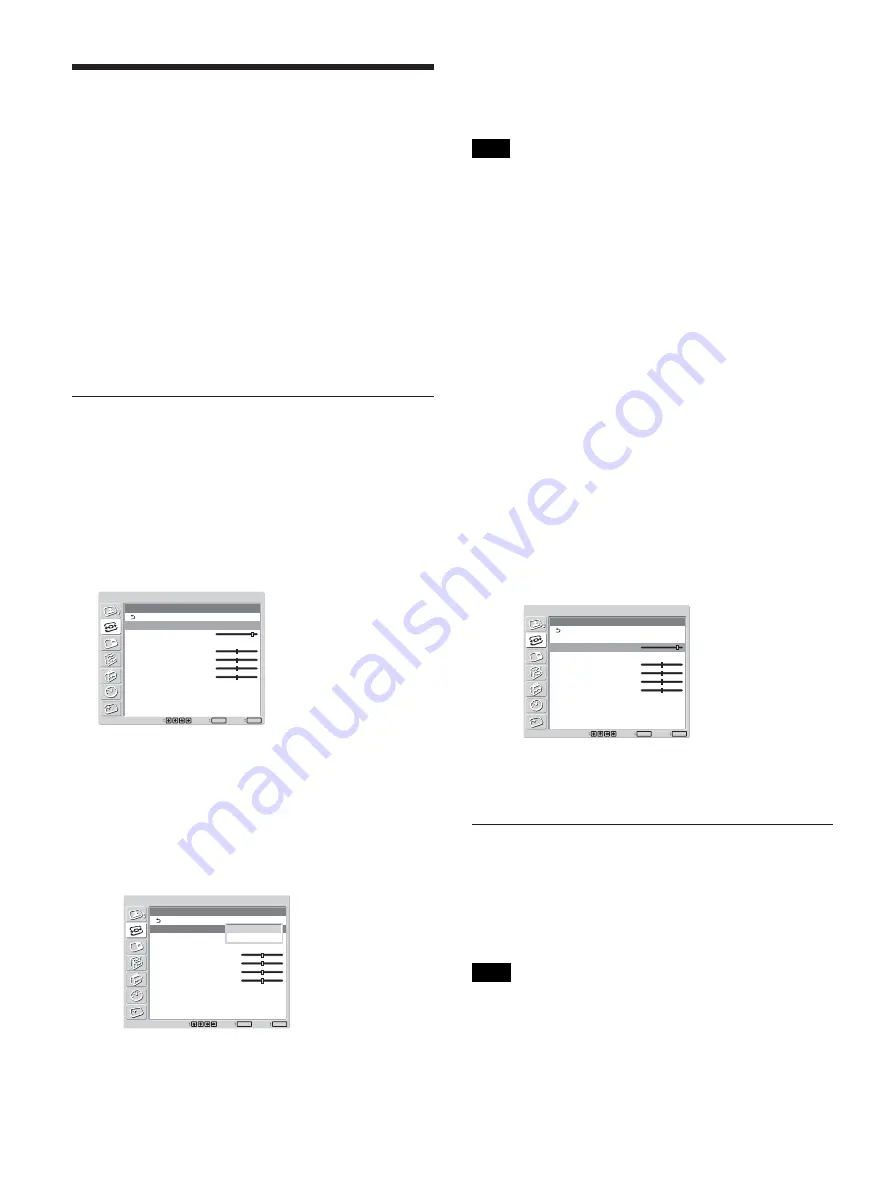
The following appears on the screen. (When
you select “Dot Phase”)
SCREEN CONTROL
Adjust Screen
Auto Adjust
Dot Phase:
Total H Pixel:
H Size:
H Shift:
V Size:
V Shift:
Reset
28
1344
30
30
30
30
Set
ENTER
Exit
MENU
Select
(2) Adjust the screen with
M
/
m
/
<
/
,
, then press
ENTER.
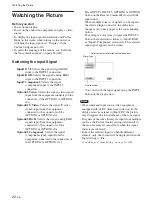
Dot Phase
Select “Dot Phase” with
M
/
m
and press ENTER.
Adjust the dot phase with
M
/
m
/
<
/
,
until the
characters and vertical lines appear best, then press
ENTER.
Note
This item is valid only for an analog computer signal.
Resizing and Positioning the Picture
Resizing and Positioning
the Picture
You can shift the position of the picture to fit the
screen, or adjust the vertical and horizontal size of the
picture separately.
Adjusting the Size, Position, or the
Pixels of the Picture
Press MENU to show the main menu and adjust “Dot
Phase,” “Total H Pixel,” “H Size,” “H Shift,” “V
Size,” or “V Shift” on the Adjust Screen menu.
Adjust screen
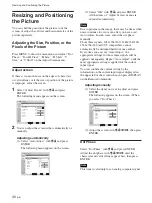
If there is too much noise on the edges of characters
or vertical lines or if the size or position of the picture
is improper, adjust the screen.
1
Select “Adjust Screen” with
M
/
m
and press
ENTER.
The following menu appears on the screen.
SCREEN CONTROL
Adjust Screen
Auto Adjust
Dot Phase:
Total H Pixel:
H Size:
H Shift:
V Size:
V Shift:
Reset
28
1344
30
30
30
30
Set
ENTER
Exit
MENU
Select
2
You can adjust the screen either automatically or
manually.
Adjusting automatically
(1) Select “Auto Adjust” with
M
/
m
and press
ENTER.
The following menu appears on the screen.
SCREEN CONTROL
Adjust Screen
Auto Adjust
Dot Phase:
Total H Pixel:
H Size:
H Shift:
V Size:
V Shift:
Reset
28
1344
30
30
30
30
Set
ENTER
Exit
MENU
Select
Cancel
OK
Содержание FWD-50PX2
Страница 199: ...51 DE ...
Страница 249: ...51 ES ...
Страница 301: ...53 IT ...
Страница 315: ...15 CS 连接 1 2 3 后视图 要拔下交流电源线时 捏住交流插头固定器并将其释放 然后抓住插头并 拔下交流电源线 布置电缆 使用电缆夹 可用附带的电缆夹 6 干净利索地捆扎电缆 请 按下图所示的方法安装电缆夹 ...
Страница 350: ...50 CS ...
Страница 351: ...51 CS ...
Страница 352: ...Sony Corporation Printed in Poland ソニー株式会社 108 0075 東京都港区港南 1 7 1 ...

