16
(GB)
Using On-screen Menus
Using On-screen Menus
Operating Through Menus
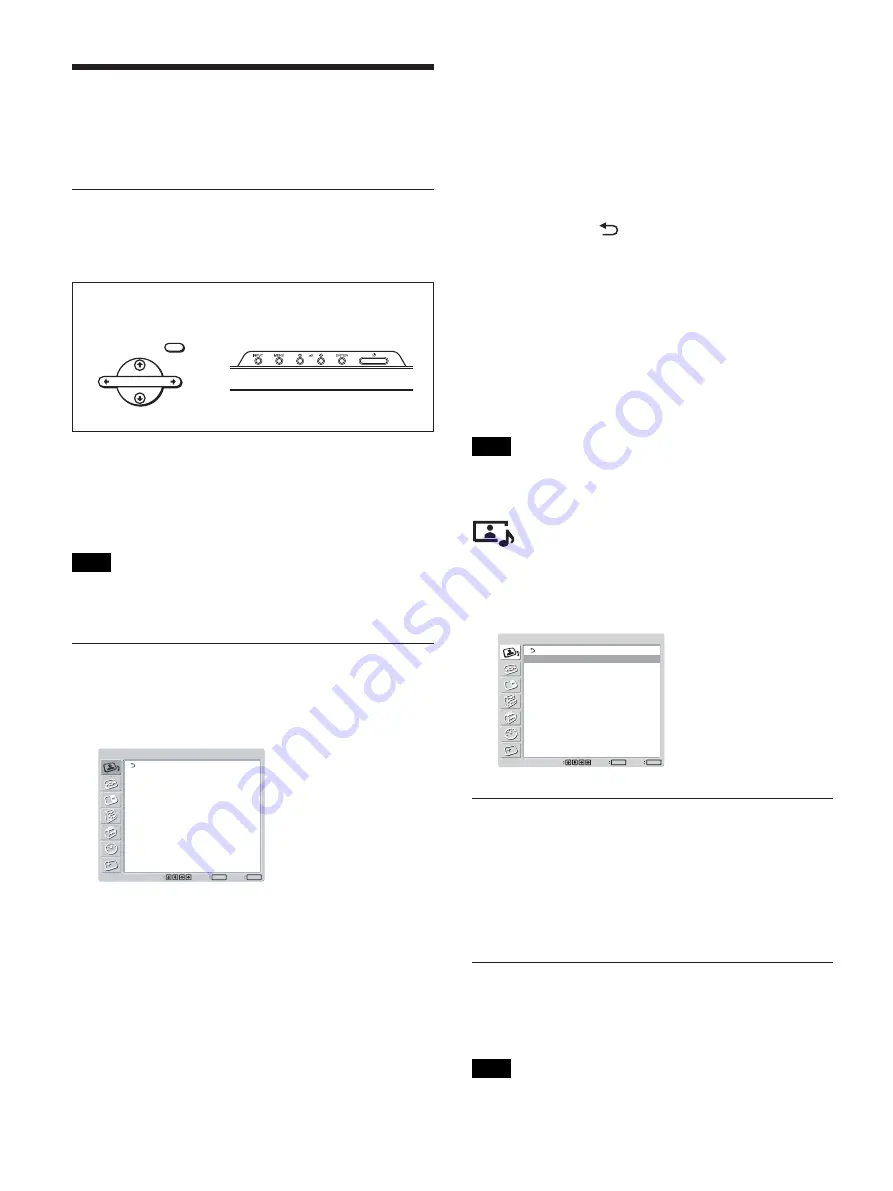
Menu operating buttons
Use the buttons on the display unit or the Remote
Commander for menu operations.
MENU
ENTER
Operation of the unit is explained in these operating
instructions for the case of operation using the Remote
Commander. The
M
/
m
and ENTER buttons on the
Remote Commander have the same functions as the
M
/
m
and ENTER buttons on the display.
Note
Operation may differ in some cases since there is no
<
/
,
button on the display.
Configuration of the menu
1
Press MENU.
The main menu appears on the screen.
PICTURE/SOUND CONTROL
Picture Mode:
Adjust Picture
Adjust Sound
Standard
Set
ENTER
Exit
MENU
Select
2
Press
M
/
m
to move the cursor (yellow) to the main
menu items you want to select and press ENTER.
The cursor moves to the next menu.
3
Press
M
/
m
to move the cursor (yellow) to the item
you want to select and press ENTER.
The menu for the selected item appears.
Select a different item by repeating this procedure.
4
Press
M
/
m
to adjust or select the setting and press
ENTER to set it.
The setting is registered and the menu returns to
the previous menu.
To complete the configuration and return to the
normal screen, press MENU.
To return to the previous menu level, press
M
/
m
to
move the cursor to
and press ENTER or
<
.
To Switch the On-screen Language
You can select the desired on-screen language for
menus and messages from among six languages.
“ENGLISH” is set as the factory default language.
For details on switching the on-screen language, see
“Selecting the On-screen Language” on page 36 (GB).
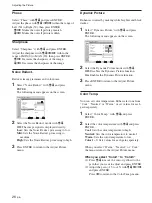
Menu Guide
Note
Items that cannot be set or adjusted (depending on the
setting or the type of signal input) show in dark gray.
PICTURE/SOUND CONTROL
menu
Adjusts the quality of sound and picture.
PICTURE/SOUND CONTROL
Picture Mode:
Adjust Picture
Adjust Sound
Standard
Set
ENTER
Exit
MENU
Select
Picture Mode
Sets the image quality suitable for the type of picture
or the brightness of the location where the unit is
installed.
For details, see “Selecting Image Quality” on page 25
(GB).
Adjust Picture
You can make fine adjustment of the picture.
Set Picture Mode to any of “User1” to “User3” first.
Note
You cannot adjust the following items when Picture
Mode is set to “Vivid” or “Standard.”
For details, see “Adjusting the Picture” on page 25 (GB).
Remote Commander
Control button section
Содержание FWD-50PX2
Страница 199: ...51 DE ...
Страница 249: ...51 ES ...
Страница 301: ...53 IT ...
Страница 315: ...15 CS 连接 1 2 3 后视图 要拔下交流电源线时 捏住交流插头固定器并将其释放 然后抓住插头并 拔下交流电源线 布置电缆 使用电缆夹 可用附带的电缆夹 6 干净利索地捆扎电缆 请 按下图所示的方法安装电缆夹 ...
Страница 350: ...50 CS ...
Страница 351: ...51 CS ...
Страница 352: ...Sony Corporation Printed in Poland ソニー株式会社 108 0075 東京都港区港南 1 7 1 ...

