1-4
Preparations
Chapter
2 Pla
ybac
k
and Recording
18
(GB)
Chapter 2
Playback and Recording
2
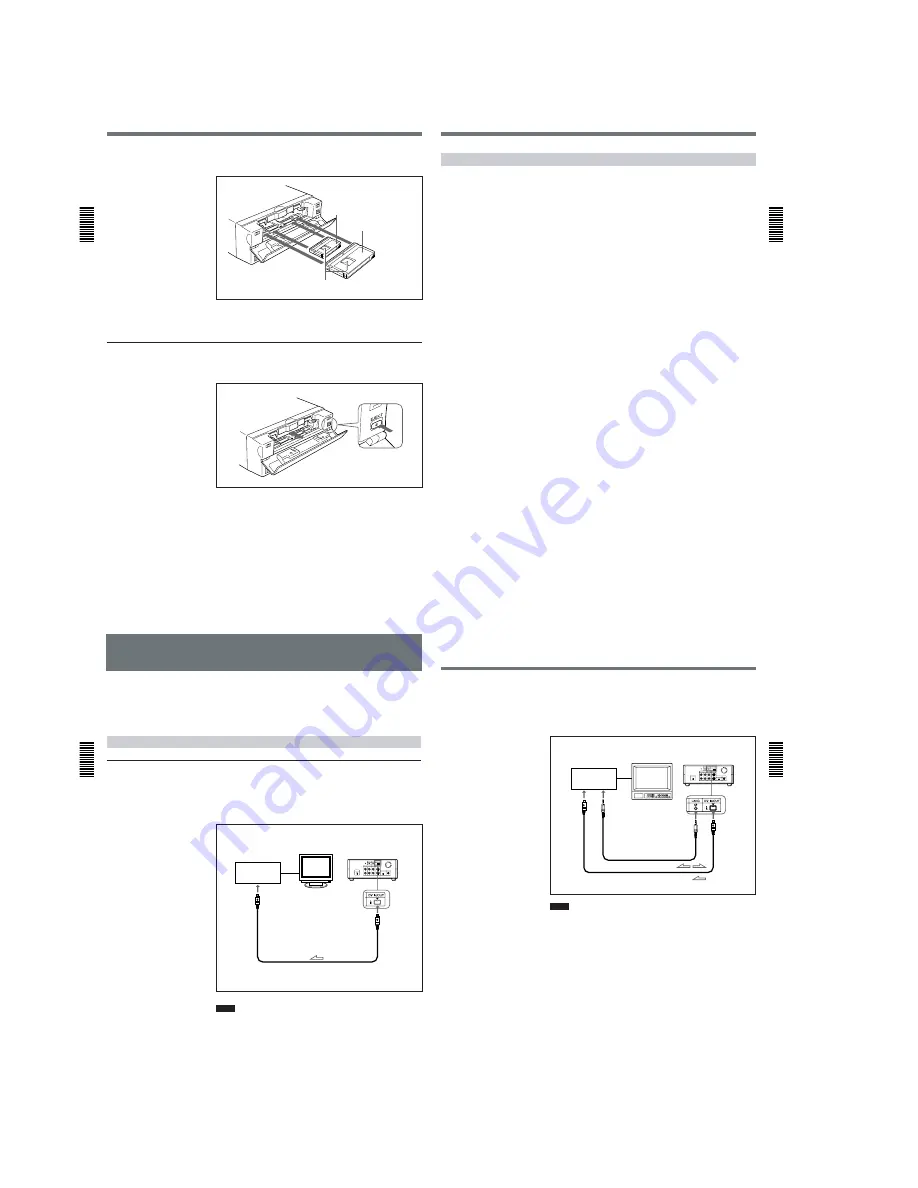
After checking the tape for slack, hold the cassette so that the tape
window is facing upward, then insert it into the unit.
The cassette is automatically loaded into the unit.
3
Close the cassette lid.
To eject the cassette
1
With the unit powered on, open the cassette lid. Press the EJECT
button located at the right side of the cassette compartment.
The cassette is unloaded and ejected.
2
Remove the cassette from the unit. Close the cassette lid.
Mini cassette
Insert the mini cassette into the
center of the cassette compartment.
Standard cassette
Tape window facing upward
Chapter 2
Pla
ybac
k
and Recording
Chapter 2
Playback and Recording
19
(GB)
Notes on Recording/Playback
No compensation for contents of the recording
Contents of the recording cannot be compensated for if recording or
playback is not successful due to a malfunction of the unit, video tape, etc.
Copyright precautions
On recording
You cannot record any software having copyright protection signals on
this unit. If you start recording protected video and audio signals, a
warning appears on the monitor screen and the unit stops recording.
On playback
If you play back a software having copyright protection signals on this
unit, you may not be able to copy it onto other equipment.
Limitations caused by the difference in format
The unit can record and play back tapes recorded in DVCAM format. It
can also record and play back tapes recorded in DV format (SP mode).
However, due to the difference in format, you may not be able to record or
edit some tapes affected by recording conditions of the tape.
For details, see “Compatibility of DVCAM and DV Format ” on page 55 (GB).
Playback
Chapter
2 Pla
ybac
k
and Recording
20
(GB)
Chapter 2
Playback and Recording
Playback
This section describes the necessary connections, settings, and operations
to perform playback on this unit. The same settings and operations apply
whether you are using the unit for dubbing or as a stand-alone
videocassette player.
Connections for Playback
To equipment with a DV jack
Connecting to a computer
The video and audio signals are sent to a computer with virtually no
deterioration in quality, enabling high-quality uploading. The signal flow
is automatically detected so you do not need to make separate connections
for input and output.
Notes
•Set DV EE OUT on the VTR SET menu to OFF.
For details on the VTR SET menu, see “VTR SET menu” on page 43 (GB).
• With the DV connection, data codes (recording date/time, camera data)
recorded on the source tape are transmitted from this unit (player).
Recorder
Player
Computer
Monitor
DSR-11
to the
DV jack
i.LINK cable (DV cable) (not supplied)
l
: Signal flow
Chapter 2
Pla
ybac
k
and Recording
Chapter 2
Playback and Recording
21
(GB)
Connecting to another VCR
The video and audio signals are sent to another VCR with virtually no
deterioration in quality, enabling high-quality recording. The signal flow is
automatically detected so you do not need to make separate connections
for input and output.
Notes
• Set DV EE OUT on the VTR SET menu to OFF.
For details on the VTR SET menu, see “VTR SET menu” on page 43 (GB).
• With the DV connection, the sound is recorded in the same audio
recording mode as that of the source tape. To record in a different audio
recording mode from the source tape, use the analog connection instead.
• With the DV connection, data codes (recording date/time, camera data)
recorded on the source tape are transmitted from this unit (player). As a
result, when you play back a recorded tape on this unit and press the
DATA CODE button on the Remote Commander, the same data codes
recorded on the source tape are displayed on the monitor screen.
• As for the LANC connection, see “Notes for a LANC connection” on the
next page.
Recorder
Player
Other VCR
Monitor
DSR-11
to the
DV jack
to the
LANC jack
LANC cable (not supplied)
i.LINK cable (DV cable) (not supplied)
l
: Signal flow


