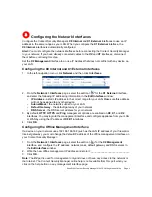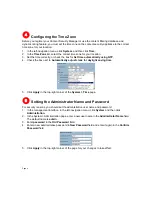
SonicWALL Content Security Manager 2100 CF Getting Started Guide Page 7
Connecting the Content Security Manager to Your Network
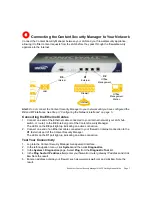
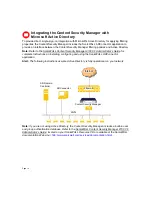
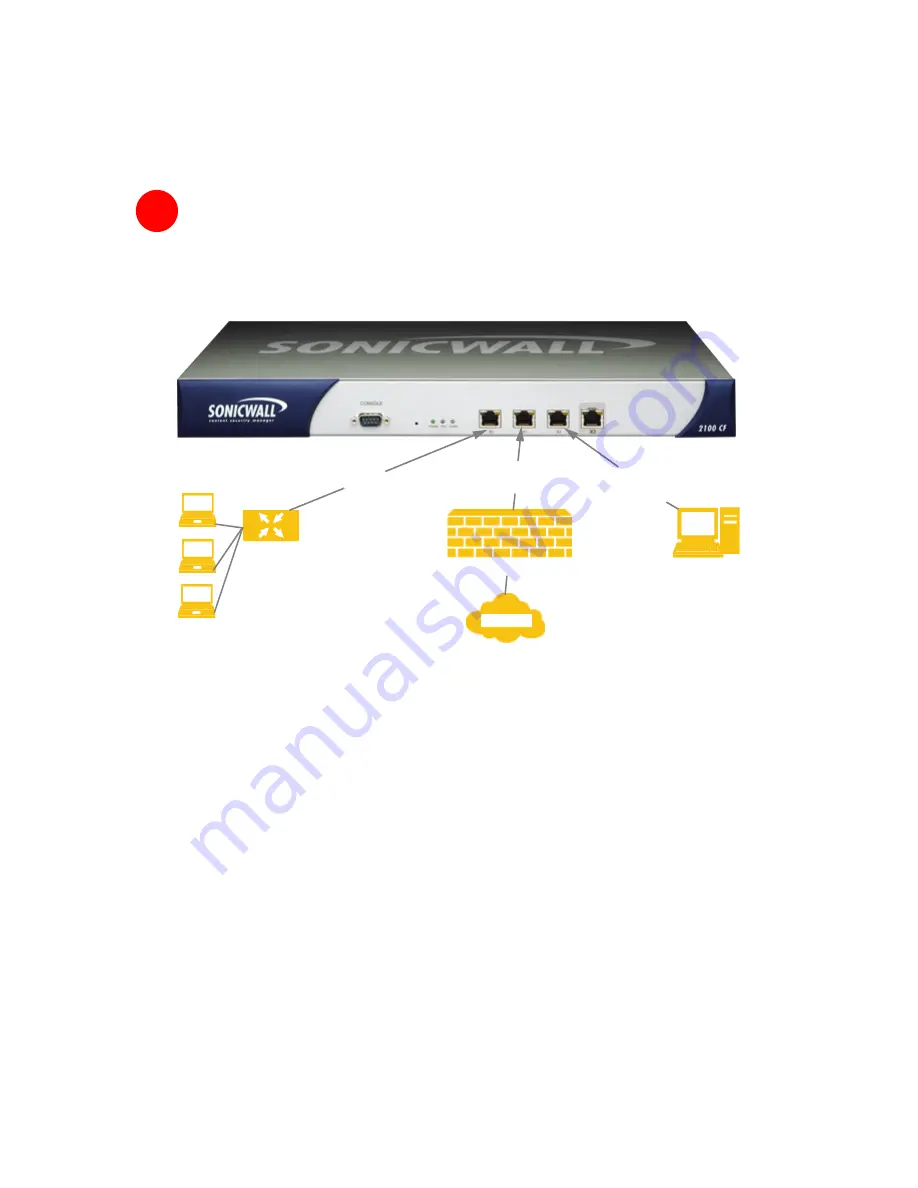
Connect the Content Security Manager between your LAN and your firewall/security appliance,
allowing it to filter content requests from the LAN before they pass through the firewall/security
appliance to the Internet.
Alert:
Do not connect the Content Security Manager to your network until you have configured the
X0
and
X1
interfaces. See Step 3, “Configuring the Network Interfaces” on page 5.
Connecting the Ethernet Cables
1. Connect one end of the Ethernet cable connected to your internal network (your LAN hub,
switch, or router) to the
X0
(Internal) port of the Content Security Manager.
The LEDs on the
X0
port light up indicating an active connection.
2. Connect one end of an Ethernet cable connected to your firewall or internet connection to the
X1
(External) port of the Content Security Manager.
The LEDs on the
X1
port light up indicating an active connection.
Test Your Connectivity
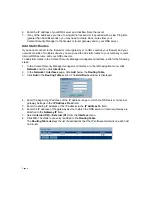
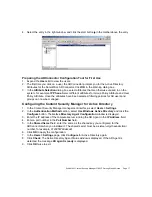
1. Log into the Content Security Manager management interface.
2. In the left-navigation menu, click
System
and then click
Diagnostics
.
3. In the
System > Diagnostics
page, Select
Ping
from the
Diagnostic Tool
list.
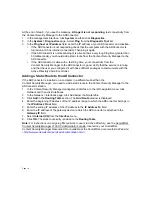
4. In the
Ping host or IP address
field, enter your firewall or router gateway IP address and click
Go
. Note the result.
5. Enter an address outside your firewall, such as
www.sonicwall.com
and click
Go
. Note the
result.
6
X0
Internal
X1
External
X2
Offline
Management
Firewall
Internet
Offline
Management
Station
LAN


