


Version 1.0.15
113
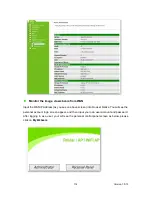
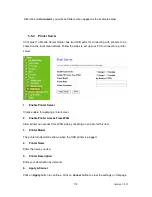
Click on
Back
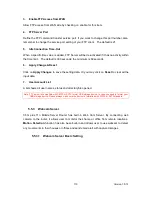
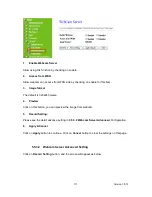
button for returning to Webcam Basic Setup screen.
9.
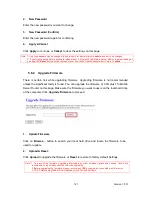
Apply Change & Reset
Click on
Apply Changes
to save the setting data. Or you may click on
Reset
to clear all the
input data.
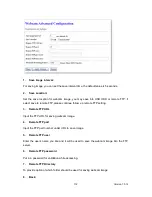
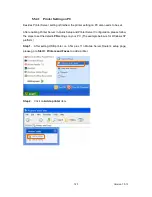
5.5.3.3
Application for Web Cam era
1.
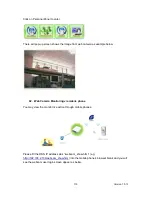
Web Camera Monitoring Application
Monitor your home or take pictures with a Webcam via 3.5G plus 11n Mobile Server Router;
one can set up the monitoring or recording of all images into the USB HDD for reviewing.
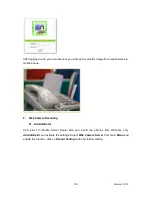
Often marketed as surveillance tools for home or office security; network Webcams are now
being employed by early adopters for more personal matters, such as watching kids and
monitoring pets. The Webcam can be remotely accessed and controlled via a browser. In
addition, record and monitor live actions with USB webcam; then view the image through
Internet browsers or 3.5G mobile phones.
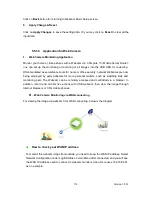
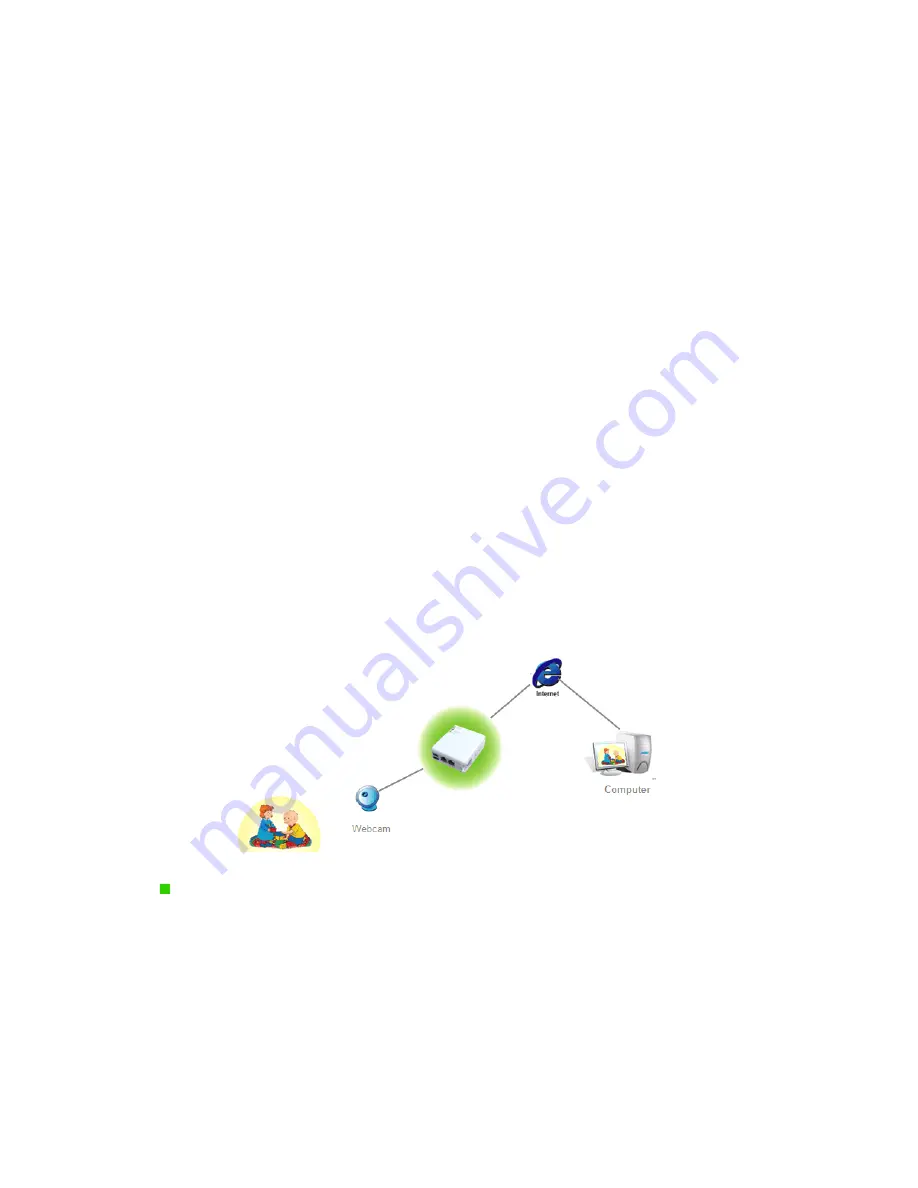
01. Web Camera Monitoring via WAN connectin g
For viewing the image via webcam from WAN connecting, below is the diagram.
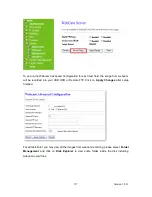
How to check your WAN IP address
To monitor the webcam image from outside, you need to know the WAN IP address. Select
Network Configuration under Log & Status on main Menu after connected, and you will see
the WAN IP Address used to connect to webcam monitor screen. Here uses 192.168.2.51
as an example.
Содержание 3G11nMRW
Страница 1: ...Version 1 0 15 1 3G11nMRW 3 5G plus 11n Mobile Server Router User Manual ...
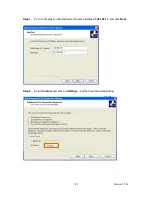
Страница 15: ...Version 1 0 15 15 Step 2 Click on Properties Step 3 Double click on Internet Protocol TCP IP ...
Страница 19: ...Version 1 0 15 19 If it can t work it will show Request timed out ...
Страница 67: ...Version 1 0 15 67 ...
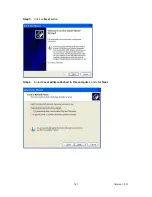
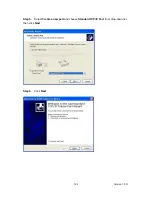
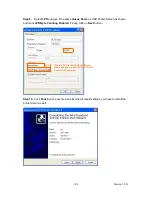
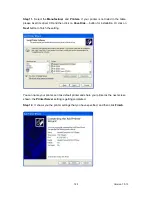
Страница 121: ...Version 1 0 15 121 Step 3 Click on Next button Step 4 Select Local printer attached to this computer and click Next ...
Страница 158: ...Version 1 0 15 158 3 While scanning is successful the information of the wireless card appears in the windows below ...
Страница 160: ...Version 1 0 15 160 4 When you can see the IP information below the connection is established ...
Страница 173: ...Version 1 0 15 173 Step 3 Click on Next button Step 4 Select Local printer attached to this computer and click Next ...
Страница 191: ...Version 1 0 15 191 6 6 Logout Click Logout on the bottom menu to exit and go back to GUI login home page ...
Страница 208: ...Version 1 0 15 208 4 When you can see the IP information below the connection is established ...
Страница 241: ...Version 1 0 15 241 Step 2 Fill in the form as required and then click on Create Account button ...
Страница 244: ...Version 1 0 15 244 Step 9 Your hostname has been created when you see the followi ng page ...