


19
en
heat shrink tubing
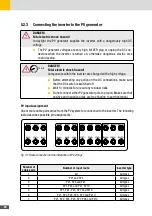
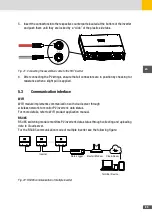
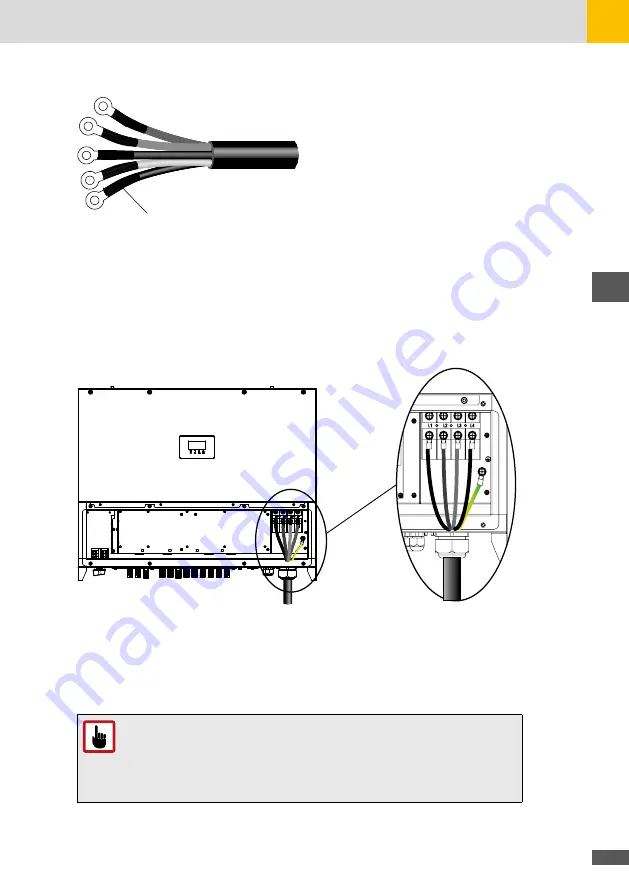
Fig. 12: Connecting the OT terminals to the AC cable
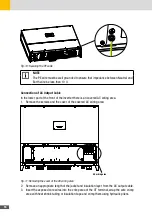
4. Loosen the locking cap from the AC output waterproof cable connector at the bottom of
the inverter and remove the plug from the locking cap.
5. Route the AC output power cable into the locking cap and the AC output connector at the
inverter bottom and connect the AC cable to L1, L2, L3, N and PE on the AC terminal block,
tighten them using screws driver (torque 12 Nm).
Fig. 13: Connecting AC Cables
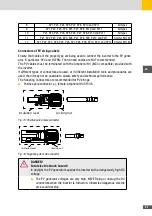
6. Thighten the locking cap on the AC output waterproof cable connector (torque 12 Nm).
7. Replace the cover of the AC wiring area and tighten the according four screws on the
cover (torque 3 Nm).
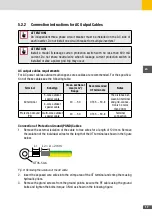
ATTENTION!
For operation convince and safety the inverter requires multi-stranded wire
and crimping terminals with proper crimping tool before wiring. To avoid
potential risk a overcurrent protection device (125 A / 400 VAC) is recom-
mended to add on the output terminal.
Содержание 10260200
Страница 1: ...Instruction Manual SolarMax SHT series 50SHT 60SHT...
Страница 4: ...4...
Страница 39: ...39 en Notes...


