10
Quick Start Guide
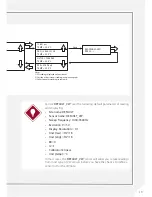
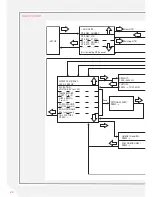
1. Remove the VWnote from its carry case.
2. Switch on the VWnote, go to ‘
READ
’ in the main menu and follow the
procedures below to take a reading:
•
Connect a VW sensor to the VWnote using the
sensor lead
•
Select your site from the site list and then your sensor
from the sensor list
BEFORE YOU GO
TO SITE:
WHEN YOU ARE IN
THE FIELD:
1. Place the VWnote on charge, ensuring that you follow the charging
procedure outlined in ‘
Detailed VWnote user Guide - Charging the
VWnote’
is followed.
2. Switch on the VWnote.
3. Select ‘
DATE/TIME
’ from the main menu to set the VWnote internal
clock to the current date and time.
4. Select ‘
INFO
’ to confirm that the firmware version is V2.01 or later.
If the firmware needs updating, follow the instructions for firmware
update in the
‘Maintenance Quide - Firmware And Software Update’
section of this manual.
5. Test the reading function as follows:
•
Connect a VW sensor to the VWnote using the sensor lead
•
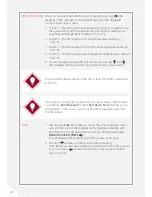
Go to ‘READ’ in the main menu and select ‘DEFAULT’ on the
top of the site list and ‘DEFAULT_VW’ from the top of the
sensor list
•
Press to start reading
•
Check the VW reading and the temperature reading
6. If you have a pre-prepared configuration file containing your custom
sensor list, go to ‘
CFG IMPORT
’ in the main menu to load the sensor
list into the VWnote (for more details, see the ‘
Detailed VWnote user
Guide’
section of this manual).
7. Switch off the VWnote by going to ‘
OFF
’ in the main menu and
pressing .
8. Unplug the sensor lead from the VWnote. Replace the sensor
connector cap and the USB port cap.
9. Place the VWnote in its carry case along with the sensor lead and
a flash drive, ready to take to site.
TIP
Follow the troubleshooting guide in
Appendix B
of this manual if the
readings are unstable or incorrect.
Содержание RO-1 VW Note
Страница 21: ...21 ...


