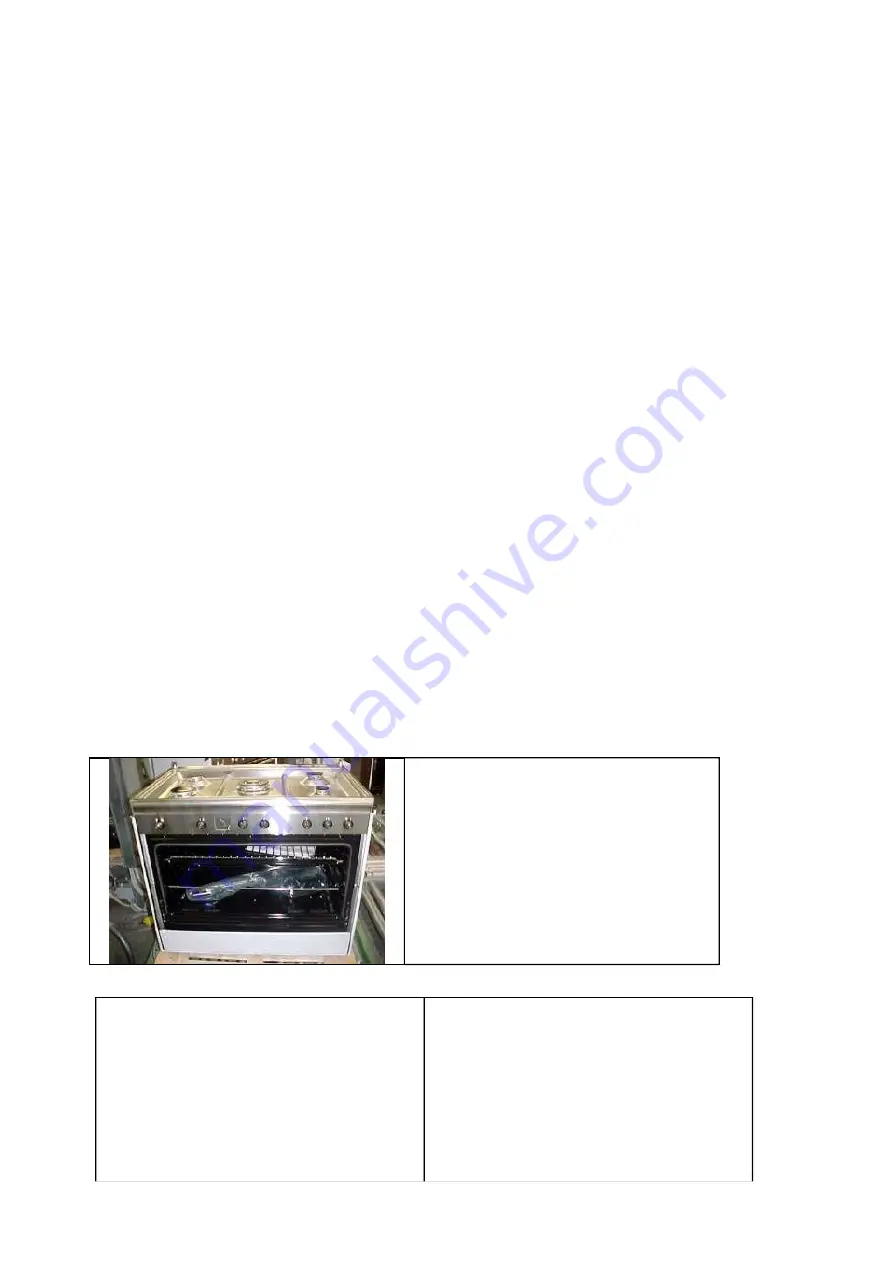
The hereby test method describes how to check the correspondence between the temperature pointed out on the
thermostat knob serigraphy and the temperature measured in the centre of the oven. This method can be carried out
even for the electric and gas ovens ( even those belonging to a cooker or to a cooker block).
Test conditions
The appliance is installed as explained in the instruction manual. If the oven is fitted in a cooker including other
heating elements, all these elements are switched off during the test. The room temperature during the test has to be
included between 20° and 25°C.
Test description
1.
Position a thermocouple in the centre of useful volume of the oven fixing it to a oven grid and setting it in a way
that the hot joint is as much as possible near to the centre of the useful volume of the oven.
2.
if it is possible position a thermocouple even on the thermostat bulb in the middle of the length of the sensitive
part (it is necessary to keep the sensitive element shielded from the direct grill heat)
3.
Set the desired function through function knob
( do not use the GRILL and LOWER elements)
4.
Set the lowest temperature among those available on thermostat knob you would like to check
5.
Let the appliance working till the temperature becomes stable;this happens when the thermostat completely
switches on/off for 3 cycles. After the temperature has reached its stability, record the values noticed when the
thermocouples swith on/ff for at least 3 cycles.
6.
Estimate the average temperature in the middle of the oven muffle carrying out the average of the 6 recorded
values.
7.
End the test and let that the appliance cools down until reaching a thermic balance between the thermostat body
and the ambient.
8.
Repeat the test for the following temperature values and eventually check them with other oven functions.
8. Access to the inner parts of the appliance
8.1. Free-standing cookers
Take out the lid and the door oven, in order to make easier the access into the inner parts and the possibility to work
on over the unit.
1.How the unit looks in an optimal work condition
2.Take out the knobs of the tap of the clock in order
to take out the front panel, unscrewing the 3 screws
showed in the picture
22


