107
To change this . . .
Do this . . .
Change Scan Paths
Click
Change Scan Paths
if you want your
computer to search for media files which differ
from the one currently specified (see step 2).
Media Scan Types
Click on the checkbox of the file types on the
list to be included, then click
Set Types
.
Media Scan Control
Click
Start Scan
to start scanning.
Media Scan Details
(Previous Scan)
Displays the result of the latest scan by showing
the total number of image files, audio files,
video files, rejected files, and scan time.
Media Database Controls
The
Delete Database
will delete the playlist.
NOTE: After importing the contents into your NAS system RAID via SAMBA connection,
click Start Scan again.
2.
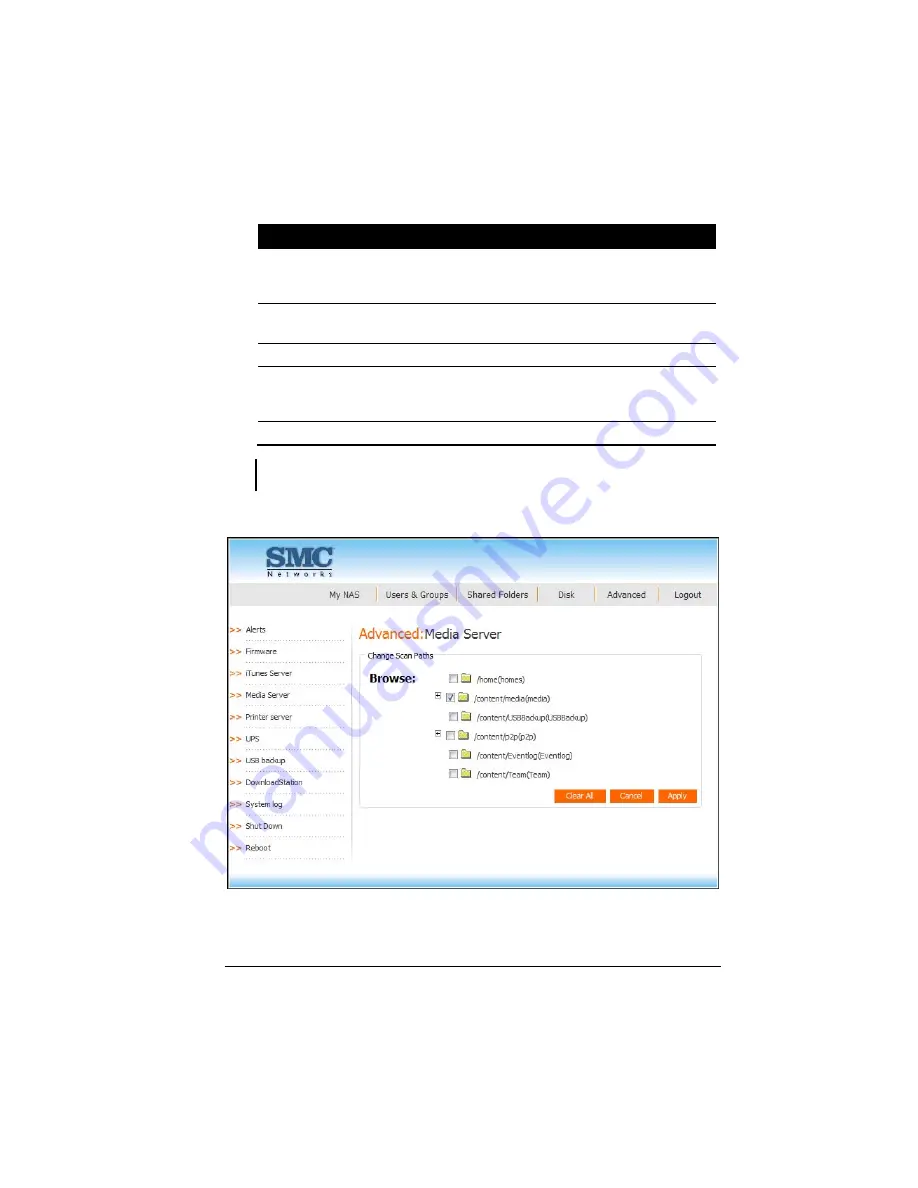
Upon clicking
Change Scan Paths
the following screen would appear.
3.
Select the desired scan path(s).
Содержание NAS04 - annexe 3
Страница 1: ...USER GUIDE SMCNAS04 SMCNAS24 TigerStore SMB Network Attached Storage Server...
Страница 2: ...SMCNAS04 SMCNAS24 User s Guide Revision 1 8 February 2008...
Страница 7: ......
Страница 11: ......
Страница 21: ......
Страница 27: ......
Страница 31: ...20 4 Click Finish when the following screen appears to exit installation...
Страница 32: ...21 5 Click Setup NAS Discovery Utility 6 The following screen appears Click Next...
Страница 37: ...26 14 The following screen appears...
Страница 49: ...38 18 When the hard disk drive appears on screen click CONFIGURE 19 The following screen appears Click OK...
Страница 54: ...43 25 The system will reboot and the following screen appears wait for approximately 3 5 minutes...
Страница 55: ...44 26 After rebooting log in by root again and no password is required...
Страница 56: ...45 27 The following screen appears click Upgrade 28 When the confirmation message appears click OK...
Страница 65: ...54 6 The system will reboot and the following screen appears wait for approximately 3 5 minutes...
Страница 66: ...55 7 After rebooting it will display your new RAID mode log in again...
Страница 67: ...56 8 The following screen appears click Upgrade 9 When the confirmation message appears click OK...
Страница 81: ...70 1 Click Network setting and the following screen appear...
Страница 83: ...72 Enable FTP Server To enable FTP server take note of the following z Transfer Mode Default is passive mode...
Страница 86: ...75 z Click File and the following screen appears...
Страница 98: ...87 3 Click Shared Folders and the following screen appears...
Страница 99: ...88 4 Select the shared folder and click Assign Access The following screen appears...
Страница 126: ...115 6 Select the shared folder e g USBBackup or sdb1 and click Assign Access The following screen appears...
Страница 127: ...116 7 Select the authorized user s and grant access right Read Only or Read Write Then click Apply...
Страница 141: ......
Страница 143: ...132 For non JAVA based...


