78
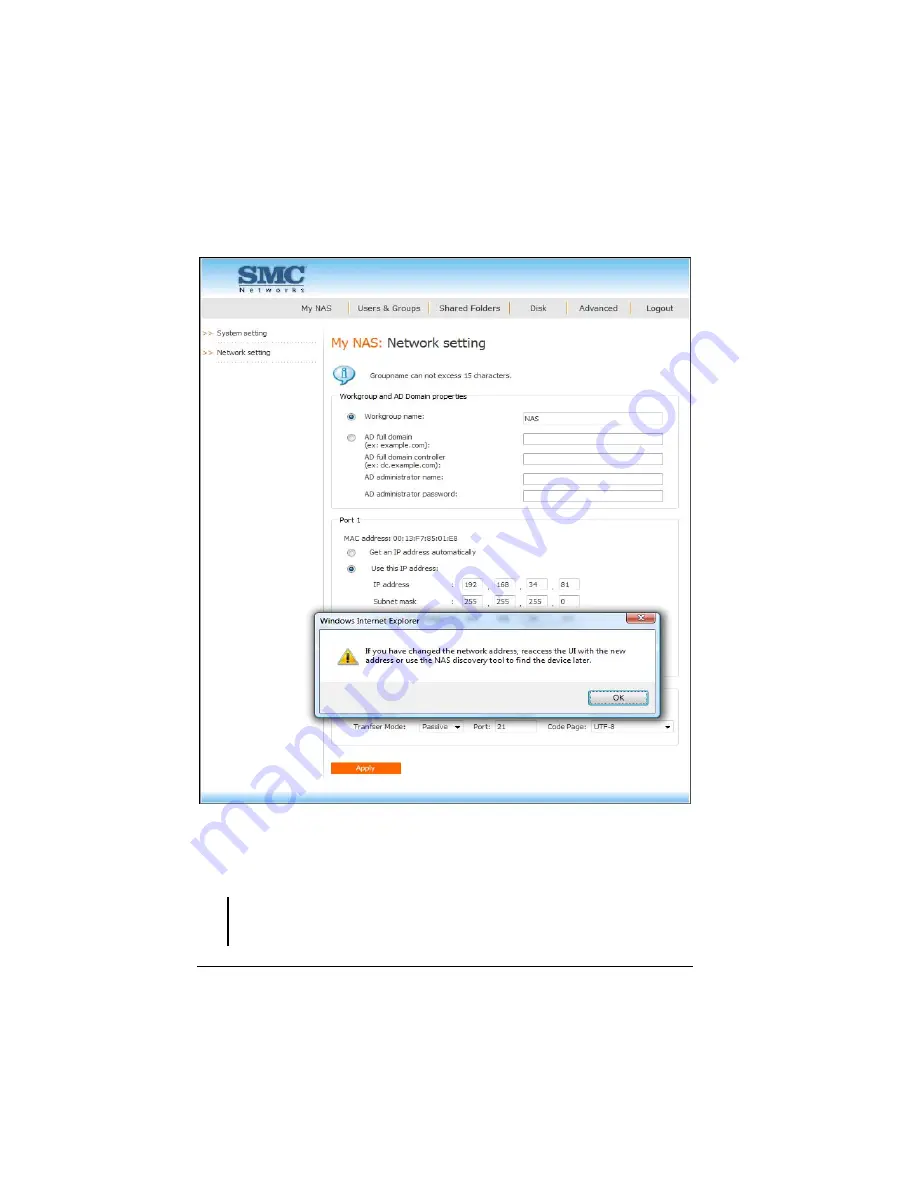
If you choose the option
Use this IP address
, the following appears.
4.
After making the necessary changes, click
Apply
.
5.
When the confirmation message appears, click
OK
for the changes to take
effect.
WARNING: If you change the Static IP (Use this IP address) back to Dynamic IP (Get an
IP address automatically), you need to shutdown the Storage System Management and
restart it again.
Содержание NAS04 - annexe 3
Страница 1: ...USER GUIDE SMCNAS04 SMCNAS24 TigerStore SMB Network Attached Storage Server...
Страница 2: ...SMCNAS04 SMCNAS24 User s Guide Revision 1 8 February 2008...
Страница 7: ......
Страница 11: ......
Страница 21: ......
Страница 27: ......
Страница 31: ...20 4 Click Finish when the following screen appears to exit installation...
Страница 32: ...21 5 Click Setup NAS Discovery Utility 6 The following screen appears Click Next...
Страница 37: ...26 14 The following screen appears...
Страница 49: ...38 18 When the hard disk drive appears on screen click CONFIGURE 19 The following screen appears Click OK...
Страница 54: ...43 25 The system will reboot and the following screen appears wait for approximately 3 5 minutes...
Страница 55: ...44 26 After rebooting log in by root again and no password is required...
Страница 56: ...45 27 The following screen appears click Upgrade 28 When the confirmation message appears click OK...
Страница 65: ...54 6 The system will reboot and the following screen appears wait for approximately 3 5 minutes...
Страница 66: ...55 7 After rebooting it will display your new RAID mode log in again...
Страница 67: ...56 8 The following screen appears click Upgrade 9 When the confirmation message appears click OK...
Страница 81: ...70 1 Click Network setting and the following screen appear...
Страница 83: ...72 Enable FTP Server To enable FTP server take note of the following z Transfer Mode Default is passive mode...
Страница 86: ...75 z Click File and the following screen appears...
Страница 98: ...87 3 Click Shared Folders and the following screen appears...
Страница 99: ...88 4 Select the shared folder and click Assign Access The following screen appears...
Страница 126: ...115 6 Select the shared folder e g USBBackup or sdb1 and click Assign Access The following screen appears...
Страница 127: ...116 7 Select the authorized user s and grant access right Read Only or Read Write Then click Apply...
Страница 141: ......
Страница 143: ...132 For non JAVA based...


