124
Reboot
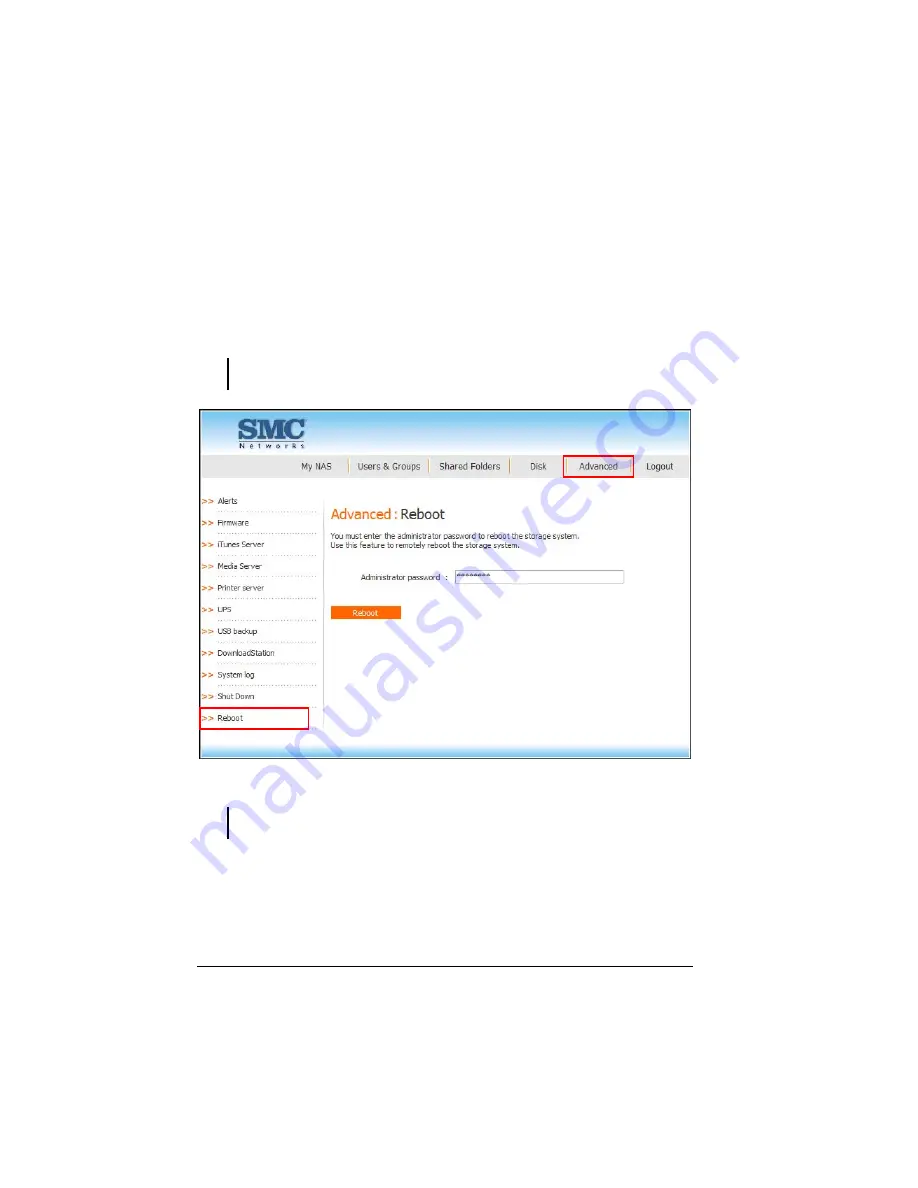
You can reboot the storage system remotely by using Storage System
Management. To use Storage System Management:
1.
Click
Reboot
on the
Advanced
page and the following screen appears,
allowing you to reboot the storage system.
CAUTION: Make sure no one is backing up a disk or using a shared folder before you
reboot the storage system.
2.
Enter the
Administrator password
.
NOTE: Maximum number of characters is 8. Can include any printable ASCII characters
but not ( ' ).
Содержание NAS04 - annexe 3
Страница 1: ...USER GUIDE SMCNAS04 SMCNAS24 TigerStore SMB Network Attached Storage Server...
Страница 2: ...SMCNAS04 SMCNAS24 User s Guide Revision 1 8 February 2008...
Страница 7: ......
Страница 11: ......
Страница 21: ......
Страница 27: ......
Страница 31: ...20 4 Click Finish when the following screen appears to exit installation...
Страница 32: ...21 5 Click Setup NAS Discovery Utility 6 The following screen appears Click Next...
Страница 37: ...26 14 The following screen appears...
Страница 49: ...38 18 When the hard disk drive appears on screen click CONFIGURE 19 The following screen appears Click OK...
Страница 54: ...43 25 The system will reboot and the following screen appears wait for approximately 3 5 minutes...
Страница 55: ...44 26 After rebooting log in by root again and no password is required...
Страница 56: ...45 27 The following screen appears click Upgrade 28 When the confirmation message appears click OK...
Страница 65: ...54 6 The system will reboot and the following screen appears wait for approximately 3 5 minutes...
Страница 66: ...55 7 After rebooting it will display your new RAID mode log in again...
Страница 67: ...56 8 The following screen appears click Upgrade 9 When the confirmation message appears click OK...
Страница 81: ...70 1 Click Network setting and the following screen appear...
Страница 83: ...72 Enable FTP Server To enable FTP server take note of the following z Transfer Mode Default is passive mode...
Страница 86: ...75 z Click File and the following screen appears...
Страница 98: ...87 3 Click Shared Folders and the following screen appears...
Страница 99: ...88 4 Select the shared folder and click Assign Access The following screen appears...
Страница 126: ...115 6 Select the shared folder e g USBBackup or sdb1 and click Assign Access The following screen appears...
Страница 127: ...116 7 Select the authorized user s and grant access right Read Only or Read Write Then click Apply...
Страница 141: ......
Страница 143: ...132 For non JAVA based...


