RPSB 1800/1802 Installation Guide
9
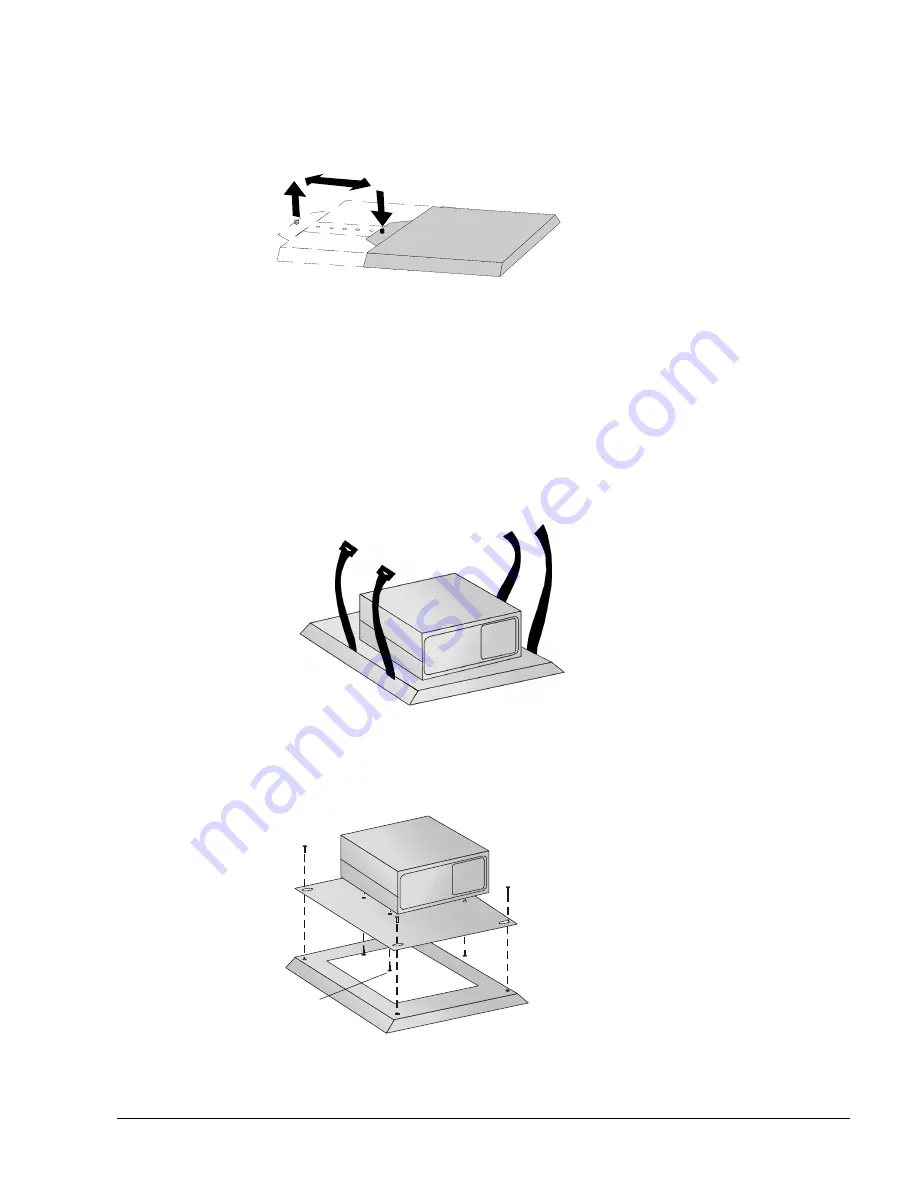
2. Move the sliding platform to the position that is appropriate for your projector by lifting
the captive pin on the rear edge of the platform, sliding the platform to the designated
hole, and then releasing the captive pin.
3. Refer to the
Projector Installation Reference List
to determine if your projector can be
bolted to the platform or if you should simply strap it to the platform. If your projector
can be bolted to the platform, turn to Step #5 below.
4. If you're strapping the projector to the platform, first ensure that the projector is
positioned properly on the platform. The projector should be pointing at and
perpendicular to the small mirror with the projector pointing at, centered and
perpendicular to the small mirror. Then loosely secure the projector to the platform
with the straps provided.
NOTE:
A centered image on the SMART Board can only be achieved if the projector is
placed
squarely
on the platform. Make sure the projector is parallel to both the front
and sides of the cabinet walls.
5. If your projector can be bolted to the platform, remove the top plate of the platform by
unscrewing the four screws that hold the platform top to its base. Keep these screws
close by for reinsertion in step 8 below.
Thumbscrews
WARNING
:
Never look into
the lens of the
projector when
it's turned on.
Содержание Rear Projection SMART Board 1800
Страница 1: ...1800 1802 E G F 1 C 5 4 B 3 2 1 A G D 10 10 9 8 7 6 3 2 F E ...
Страница 6: ...Contents ...


