•
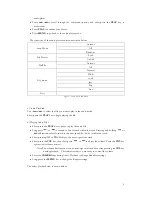
Right-click and select Paste. Your music folder will now be visible next to the AUDIO,
VIDEO, PICTURE, and EBOOK folders.
•
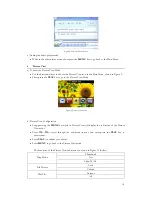
Go to Windows Media Player and add files to the Sync List that you would like
transferred to your player.
•
Hit “Start Sync” to transfer the files.
•
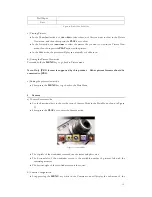
When transfer is complete, drag the “Music” folder back into the AUDIO folder on the
removable disk. Your files will now be available on the player.
6)
After copying is complete, safely remove the Removable Disk.
*Please be aware that the player does not support music purchased on iTunes because
those songs are copyright protected. You can download songs from websites such as
Emusic.com, MP3.com or any songs in MP3 Format will work with this player. Other sites
will also work – just make sure the files are not Protected WMA. For further assistance you
can email us at
3.
Adding Videos
*
Note: All videos must be converted into the correct format before transferring.
-
To install the Conversion Software from the CD that came with the player, insert the CD into
your computer. Open the CD folder and select AUTORUN. Next, select “Install Transcoding Tool”
and then click NEXT. Last, click INSTALL and the program will install to your computer. You are
now ready to convert videos.
1)
Connect your player using the USB cable.
2)
Open the Video Converter
-
Go to: Start Menu
→
Programs
→
MultimediaTranscoding Tool/Media Convert
3)
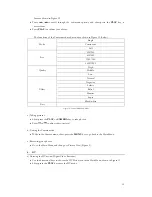
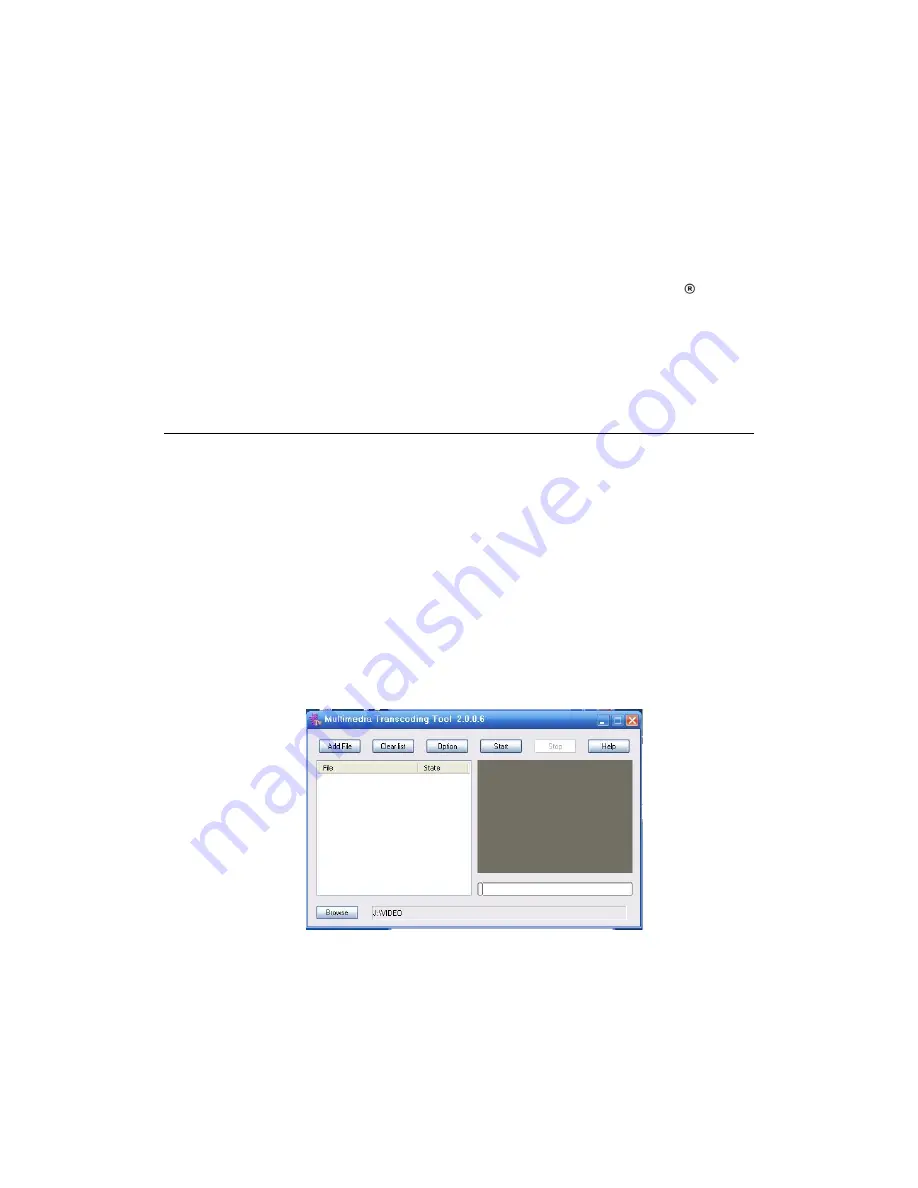
At the bottom of the converter box (Figure 1), click BROWSE.
4)
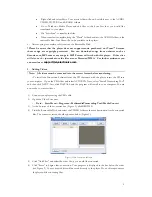
Find the Removable Disk, and select the VIDEO folder as the save destination for the converted
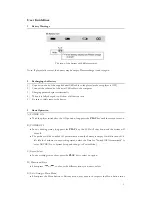
files. The converter screen should appear as below (Figure 1):
Figure 1: Video Conversion Software
5)
Click “Add Files” and select the video file(s) you would like converted.
6)
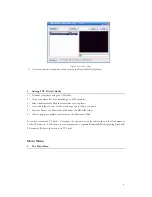
Click “Start” to begin video conversion. Your progress is displayed in the bar below the video
(see Figure 2). Your converted files will be saved directly to the player. Do not disrupt or move
the player while converting files.
5
Содержание SL414CM
Страница 1: ......


