3.
U-Disk Status
•
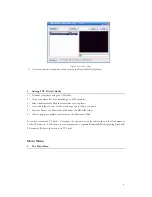
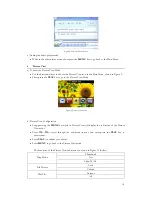
While the player is on, connect the player to PC with USB cable, and it is in U-Disk status.
4.
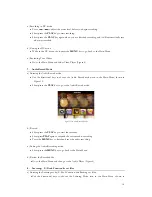
Adding a TF card
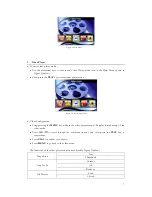
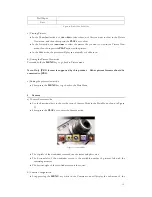
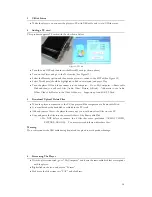
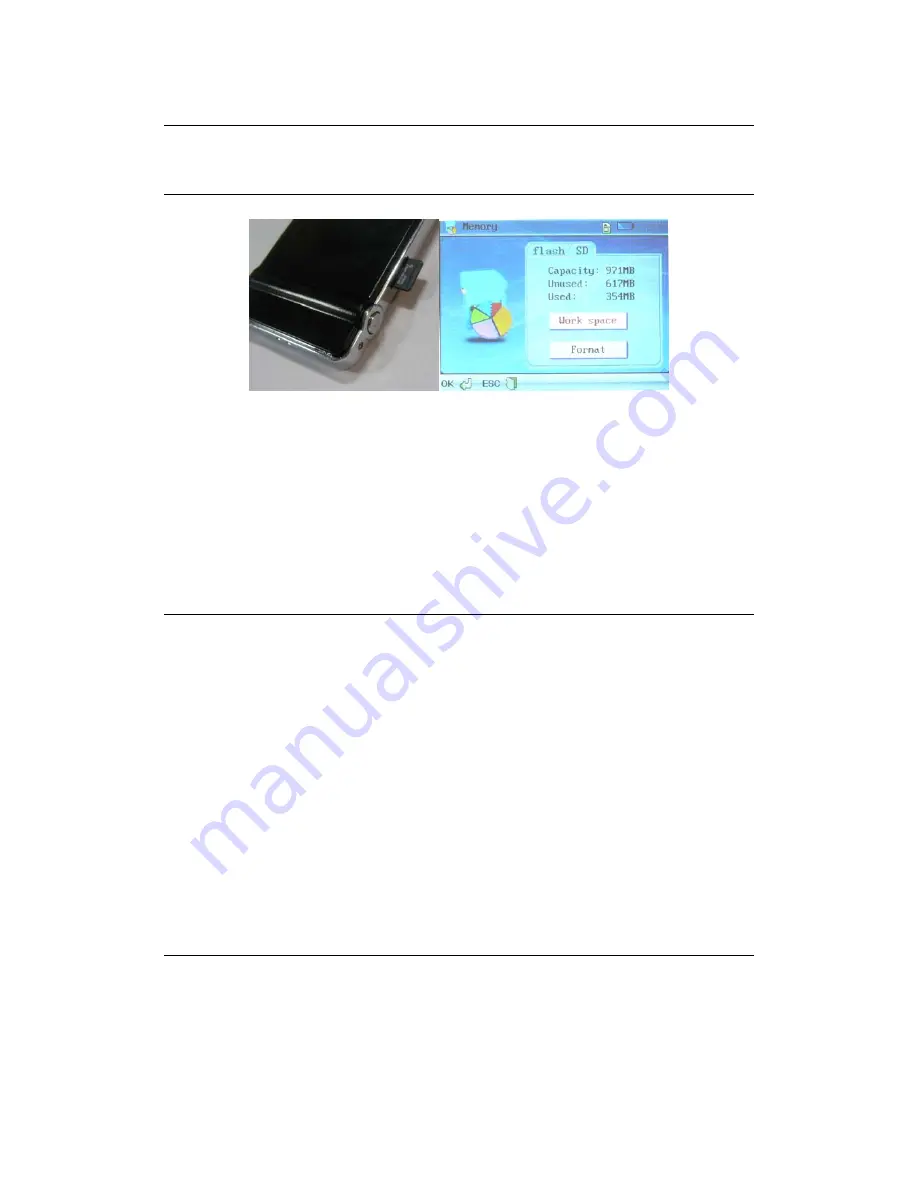
This product supports TF cards with the slot shown below:
Figure 22: TF Card
•
Turn the unit OFF and then insert the MicroSD card (as shown above)
•
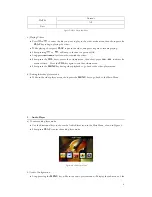
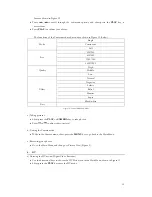
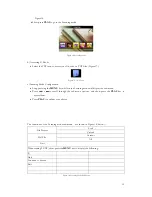
Turn on the Player and go to the Tools mode (See Figure 19)
•
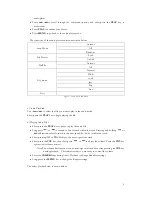
Select the Memory option and then use the arrows to switch to the SD Tab (See Figure 22)
•
Select Work Space (should be highlighted in Red once selected) and press Play.
•
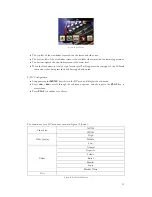
Turn the player Off and then connect it to the computer. Go to My Computer
→
Removable
Disk and then you will see 4 files (Audio, Video, Picture, E-Book). Add music to the Audio
Folder, Video’s & Movies to the Video folder, etc. Supports up to an 8GB TF Card.
5.
Download/Upload/Delete Files
•
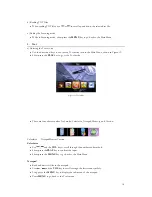
When the player is connected to the PC, the player will be recognized as a Removable Disk.
•
It is considered as the hard disk or softdisk in the PC itself.
•
Add and remove files to the player the same way you would move local files on your PC.
•
Copy and paste the files into the correct folders of the Removable Disk.
o
Do NOT delete or rename the 4 files that came pre-loaded (AUDIO, VIDEO,
PICTURE, EBOOK). You may create subfolders within these files.
Warning
:
Do not disconnect the USB cable during download or upload to avoid product damage.
6.
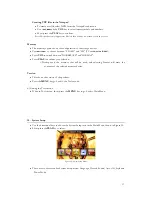
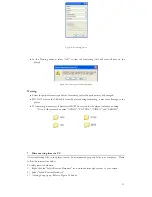
Formatting The Player
•
With the player
connected, go to “My Computer” and locate the removable disk that corresponds
with the player.
•
Right click on the icon and choose “Format”.
•
Make sure the file system says “FAT” and click Start.
20
Содержание SL414CM
Страница 1: ......

