background image

06

3. 2. 1  Remove the Upper Door  No. 03 (Pict.01) , pull the door Handle No. 19 (Pict.01) , and lift the 
door .
3. 2. 2   Remove the Lower Door No. 16 (Pict.01) as above explained .
3. 2. 3   Loose the Blade , turning the Regulator N. 01 (Pict.01) counter clockwise and take the Blade 
off the Wheels No. 04(Pict.01) .
3. 2. 4  Take away the staples No. 10 (Pict.01) that tie the Wheels No 04 (Pict.01) , and take the Wheels 
away pulling them out .
3. 2. 5  Wash all the parts with water and neutral soap , then dry them .
3. 2. 6  Never use hard or sharp objects such as : KNIVES, HOOKS, or similar, to clean meat hanging 
on the saw Doors . Use a plastic brush to remove it and to clean .
3. 2. 7  To assemble the several parts removed , proceed the inverse path .

IMPORTANT

Put Vaseline  in the Wheels No. 04 (Pict.01) hole each 15 days . Check the Blade No. 07 

(Pict.01)  position . The right position is with its teeth towards the front side of the saw, 

with the points looking down .

These Safety Rules were made to orient and to instruct the users of the saws , and the people 
who will be responsible for its maintenance .
The  saw  shall  only  be  delivered  to  the  user  in  good  use  conditions    ,  and  the  user  shall  be 
instructed by the dealer , about how to use safely the saw  .
The user shall only operate the saw after complete knowledgement of the cares to be taken , 
after reading carefully the present Instructions Manual . 

4. GENERAL SAFETY RULES

25

Tabla - 02

*  La maquina no liga

*     L a   m a q u i n a   e s t a  
desconectada  de  la  red 
eléctrica.

*  Falta de Energía Eléctrica

*    Averigüe  si  hay  energía 
eléctrica

*  Ligue el cable eléctrico  de la 
maquina en la red eléctrica

*  Olor de quemado o humo

*    Problema  con  el  motor  o 
otros circuitos eléctricos

*  Llame a su revendedor 

*  Correa patinando

*  Hoja con baja tensión

* Ajuste la tensión de la correa 
de acuerdo con el ítem 5.2 

*    Haga  la  calibración  de  la 
hoja de acuerdo con el ítem 2.2

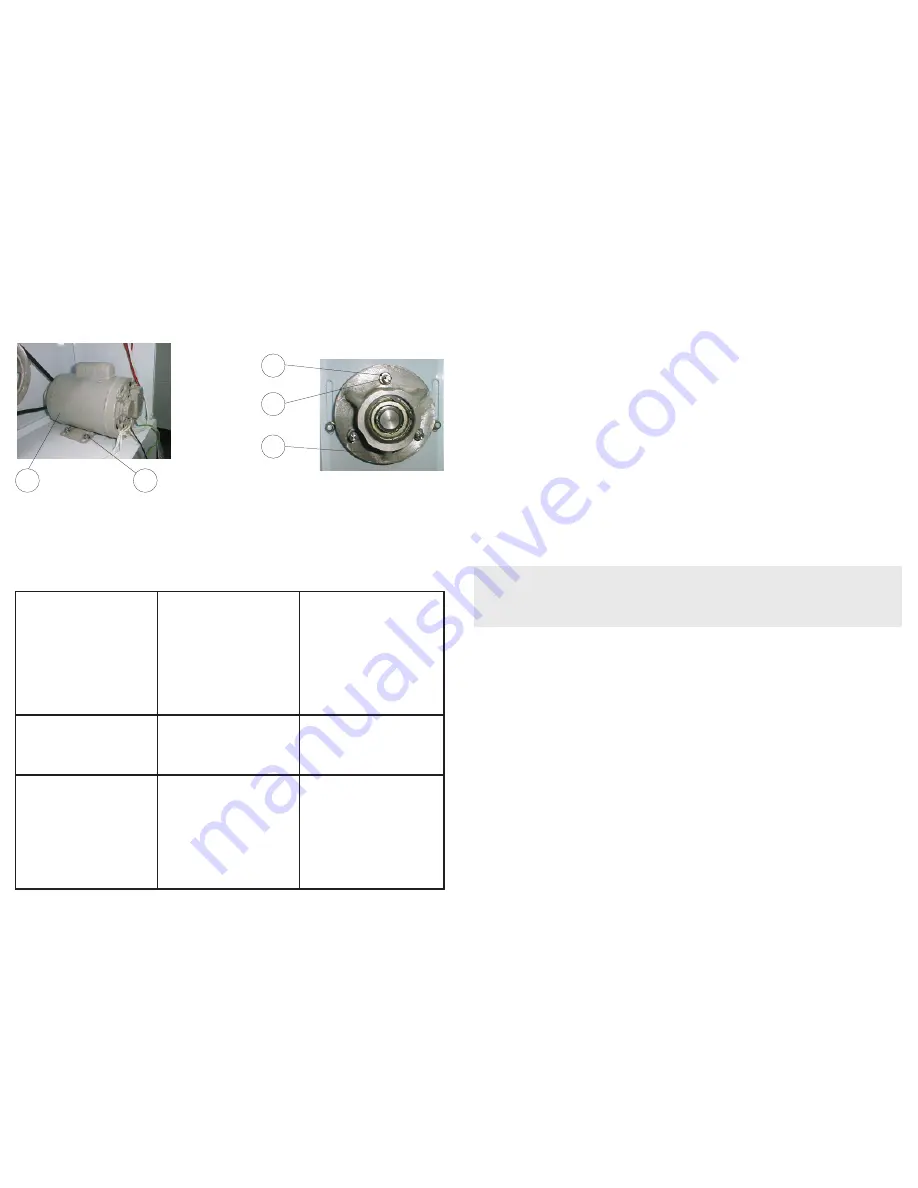
Foto - 02

02

01

Foto - 03

02

03

01

* La maquina liga, pero 
cuando el producto entra en 
contacto con la hoja, la 
misma para o gira en baja 
Rotación

Содержание Fleetwood SKG

Страница 1: ...NSTRUCCIONES OFFICE 12550 Biscayne Blvd Suite 800 3 North Miami FL 33181 Phone 305 868 1603 Fax 305 866 2704 WAREHOUSE 71 Bloomfield Ave Newark NJ 07104 Phone 973 482 5070 Fax 973 482 0725 Cell 973 98...

Страница 2: ......

Страница 3: ...SUMMARY INDICE 1 ENGLISH 01 2 ESPA OL 14 SKG...

Страница 4: ...ion Fundamentals Practices 4 4 Operation 4 2 Cares and Observations before to Switch On the Saw 4 5 After the Work Ends 4 3 Routine Inspection 4 6 Maintenance Performance 4 7 Notices 06 07 08 08 09 09...

Страница 5: ...he saw blade No 07 Pct 01 even with the saw switched off because the blade hassharpedges 1 1 4Never adjust the blade guide No 06 Pct 01 nor the cut regulator No 14 Pct 01 with the saw bladeinmovement...

Страница 6: ...tion wrong voltage nor to the extent that Products or parts have been used other than in conformance with operating and maintenance instructions subjected to misuse or abuse or damaged by accident act...

Страница 7: ...a SKYFOOD EQUIPMENT LLC SKYFOOD Sales Representative distributor or dealer are deemed offerings to purchase until accepted by SKYFOOD SKYFOOD reserves the right to accept orders in full or in part Acc...

Страница 8: ...14 Pict 01 to have a uniform thickness slice Withdrawing the MEAT do be careful that it does not touch on the back side smooth side of the Blade No 07 Pict 01 doing such the Blade will have no risk t...

Страница 9: ...he points looking down These Safety Rules were made to orient and to instruct the users of the saws and the people who willberesponsible foritsmaintenance The saw shall only be delivered to the user i...

Страница 10: ...puladefijaci n No 16 Foto 01 en el sentido anti horario para poder mover el Regulador de Corte para la izquierda o para la derecha conforme lla distancia que usteddeseadejardesdeelReguladorhastalahoja...

Страница 11: ...garantizar un buen funcionamiento de la maquina y una vida longa de las correas estasdebenestarbienreguladas Casosequedenflojas lascorreas iran patinardurantelaoperaci n Tambi n debe se cuidar para qu...

Страница 12: ...4 4 Operation 4 5 After the Work Ends 4 6 Maintenance Performance 4 7 Notices 22 4 4 1 Avisos No trabaje con pelo largo que pueda tocar cualquier parte de la maquina pues el mismo podr a causar serio...

Страница 13: ...ator Using the Spherical Handle No 18 Pict 01 move the Cut Regulator on the fixed table No 15 Pict 01 increasingordecreasingthedistancefromtheblade asitisneeded FinallyturnthehandleNo 18 Pict 01 clock...

Страница 14: ...pontos o terminales con altos voltajes Cuando tocados pueden ocasionar graves choques el ctricos o hasta la muertedeuna persona Nunca toque un comando manual bot n llave el ctrica etc con las manos z...

Страница 15: ...ba No 10 queest enlafrentedelosvolantes 3 2 5 Lavetodaslaspartesconaguacaliente yjab n sec ndolasenseguida 3 2 6 Nunca use herramientas como cuchillas tenedores ganchos o otros pararemoverresiduosdeca...

Страница 16: ...ea prove da con el Calibrador de Tensi n opcional gire l manipulo Foto 01 No 01 hasta que el calibrador empiece a escapar eso significa que la hoja alcanz su tensi ncorrecta IMPORTANTE Nunca coloque s...

Страница 17: ...aje Potencia kg h at 1000 110 220 50 ou 60 1 1 1850 915 824 103 125 430 390 1 5 V Hz CV kW h mm mm mm mm mm kg kg Frecuencia Consumo Altura Ancho Profundidad Peso Neto Peso Bruto Altura de Corte Ancho...

Страница 18: ...rante la operaci n 1 1 7Use guantesdeacerodurantelaoperaci n 1 1 8Mantengalasmanoslejosdelaspartesmovibles 1 1 9Nuncaliguelamaquinaconlasmanos loszapatosoropasmojadas 1 1 10Nuncaliguelamaquinaconunade...

Отзывы: