


SUR-35 User Manual
Ch.
SUR-35 User Manual
Ch.
Page
23
Using Pre-programmed Manufacturer Codes
The SUR-35 is pre-programmed with many
manufacturers’ codes to operate a wide range of TVs,
VCRs, DVDs etc… These are useful if you have lost the
original remote. However, because of the great variety and
number of remotes on the market, not all functions may
work when using the pre-programmed codes. If you have
the original remote, it is recommended you teach the SUR-
35 the functions most important to you.
(See Using the
Learning Function.)
Note
: Some codes are designed to operate more than one
model. It may take several tries to find the code that works
with your unit.
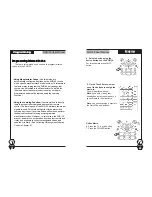
To program a manufacturer’s code for a device, follow
these steps:
Press and hold the
SETUP
button on the Touch Screen
for 3 seconds.
Press each number button (2,
4, 6, 8) until it disappears.
Use the arrow buttons on the
Touch Screen to select
CODE
and then press the OK button.
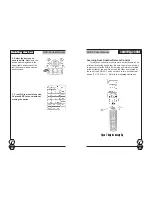
1.
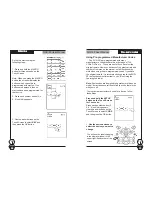
Use the device buttons to
select the device you want to
change.
P
PP
PPre-set codes
re-set codes
re-set codes
re-set codes
re-set codes
33333
You will see the label changing
in the display window in the
upper right-hand corner of the
screen.
&
&
&
&
&
1
Page
38
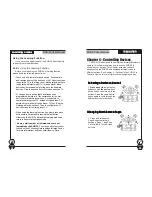
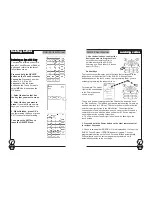
Set up the macro using the
following steps:
1. Press and hold the
MACRO
button for three seconds on the
Touch Screen.
Note: When you press the MACRO
button, the screen will display the
buttons which currently are
programmed with macros. If no
buttons are displayed, then no
macros have been programmed for
that device.
2. Press each number button (2, 4,
6, 8) until it disappears.
3. Use the arrow buttons on the
Touch Screen to select
KEY
and
then press the
OK
button.
Macros
Macros
Macros
Macros
Macros
55555


