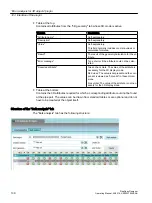
● Results table:
– The table analyzes whether the geometry can be calculated:
Green check mark: Geometry calculated correctly
Red "X": Geometry not calculated correctly
– If the start object is a pipe spec or the base object of a pipe spec element: The geometry
is checked for the nominal diameter range specified by the pipe spec.
– If the start object comes from the pipe part catalog: The geometry for the nominal
diameter range specified by the pipe part on the "Display for nominal diameter range"
tab is checked.
● Area underneath the table:
Displays a progress bar and outputs the status of the analysis.
12.4
Checking the pipe part geometry
12.4.1
Checking the pipe part geometry for errors
Procedure
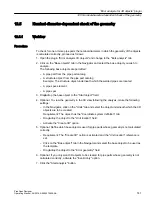
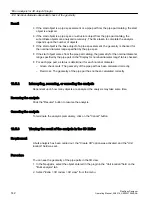
To check whether the geometry attributes of a pipe part have been calculated correctly for a
given nominal diameter, proceed as follows:
1. Open the "Error analysis for 3D objects" plugin. The "Detail evaluation" tab is active.
2. Drag&drop an object into the "Analyzed object" field. You have the following options:
– 3D engineering object
– Base object from the pipe part catalog
– Base object of a pipe part within a pipe spec
3. Set the important values for the geometry calculation via the plugin's toolbar.
4. Start the calculation.
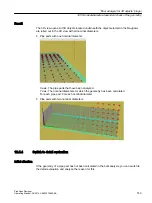
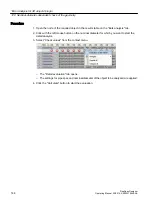
5. Use the results to identify the error sources.
"Error analysis for 3D objects" plugin
12.4 Checking the pipe part geometry
PipeSpec Designer
138
Operating Manual, 09/2014, A5E32076948-AA
Содержание COMOS
Страница 8: ...Table of contents PipeSpec Designer 8 Operating Manual 09 2014 A5E32076948 AA ...
Страница 10: ...Publisher PipeSpec Designer 10 Operating Manual 09 2014 A5E32076948 AA ...
Страница 70: ...Calling the PipeSpec Designer PipeSpec Designer 70 Operating Manual 09 2014 A5E32076948 AA ...
Страница 118: ...Documenting pipe specs PipeSpec Designer 118 Operating Manual 09 2014 A5E32076948 AA ...
Страница 120: ...Creating a revision of pipe specs PipeSpec Designer 120 Operating Manual 09 2014 A5E32076948 AA ...

