


Shure Incorporated
6/44
•
•
•
•
•
•
1.
2.
3.
1.
2.
3.
You can also turn off automatic coverage in Settings to manually position up to 8 lobes.
Web Application Setup
After completing this basic setup process, you should be able to:
Access the MXA920's web application
Add coverage areas
Route audio to other Dante devices using Dante Controller
You will need:
Cat5e (or better) Ethernet cable
Network switch that provides Power over Ethernet (PoE)
Step 1: Install and Connect
Install the microphone and connect it to a PoE port on the network switch using Ethernet cable.
Connect the computer running Shure Web Device Discovery and Dante Controller to the same network.
Open Shure Web Device Discovery. Find the MXA920 in the list of devices, and doubleclick to open the web applica
tion.
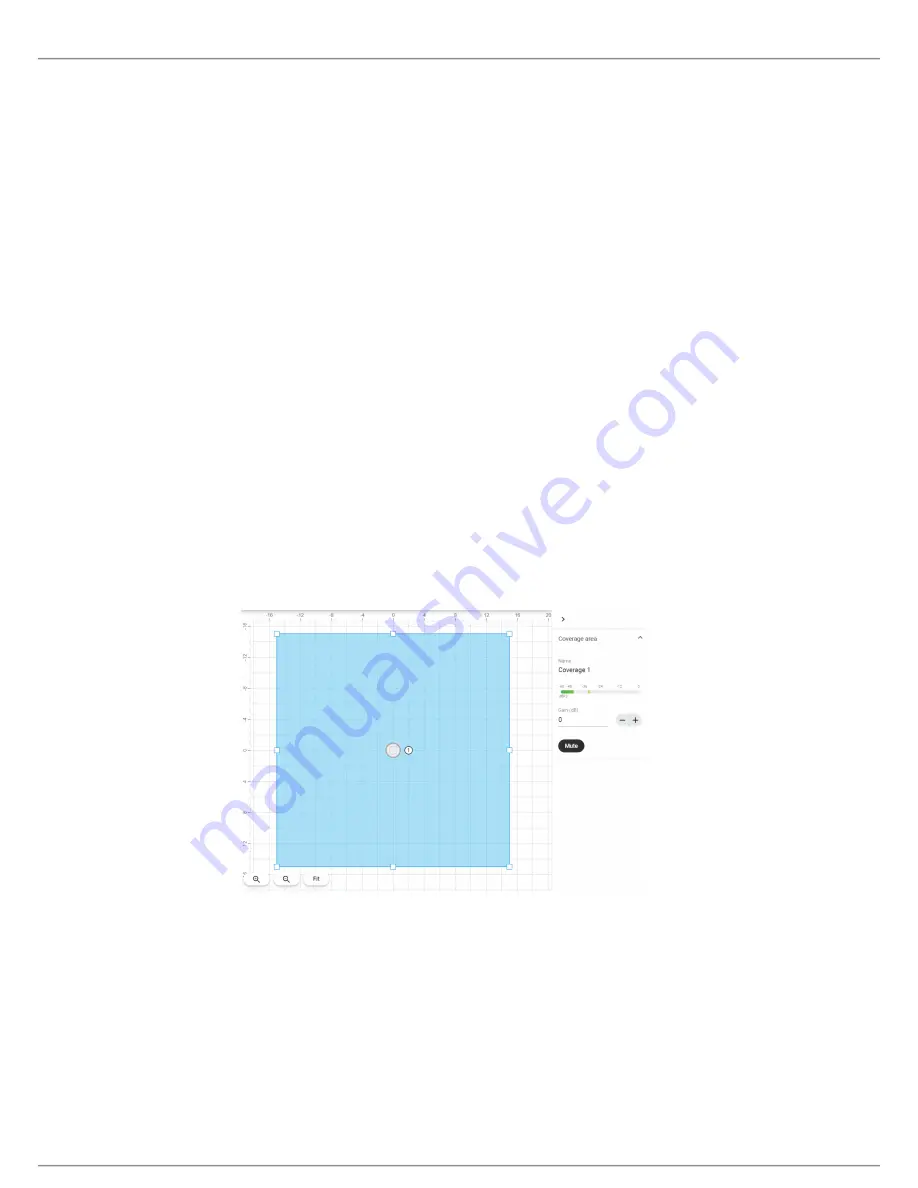
Step 2: Add Coverage
The default setting is a 30 by 30 foot (9 by 9 meter) dynamic coverage area. Any talker inside has coverage, and anything out
side that area won't be picked up.
To add more coverage areas:
Go to
Coverage
>
Add
coverage
.
Choose a dynamic or a dedicated
coverage area. You can add any combination of up to 8 coverage areas per micro
phone. Move and resize as needed.
Set up a way to listen to the microphone directly (
, for example). Adjust the gain and DSP
as needed to get a good room sound. There are gain faders for each coverage area and for the automix output.
You can also turn off automatic coverage in Settings to manually position up to 8 lobes.


