SHOWTEC 50701 Скачать руководство пользователя страница 19


18 


Ordercode: 50701 

SM-16/2 

Product Specifications 

 
Model:  

SM-16/2 

Input Voltage: 

DC 12V, 500mA (power adapter is included) 
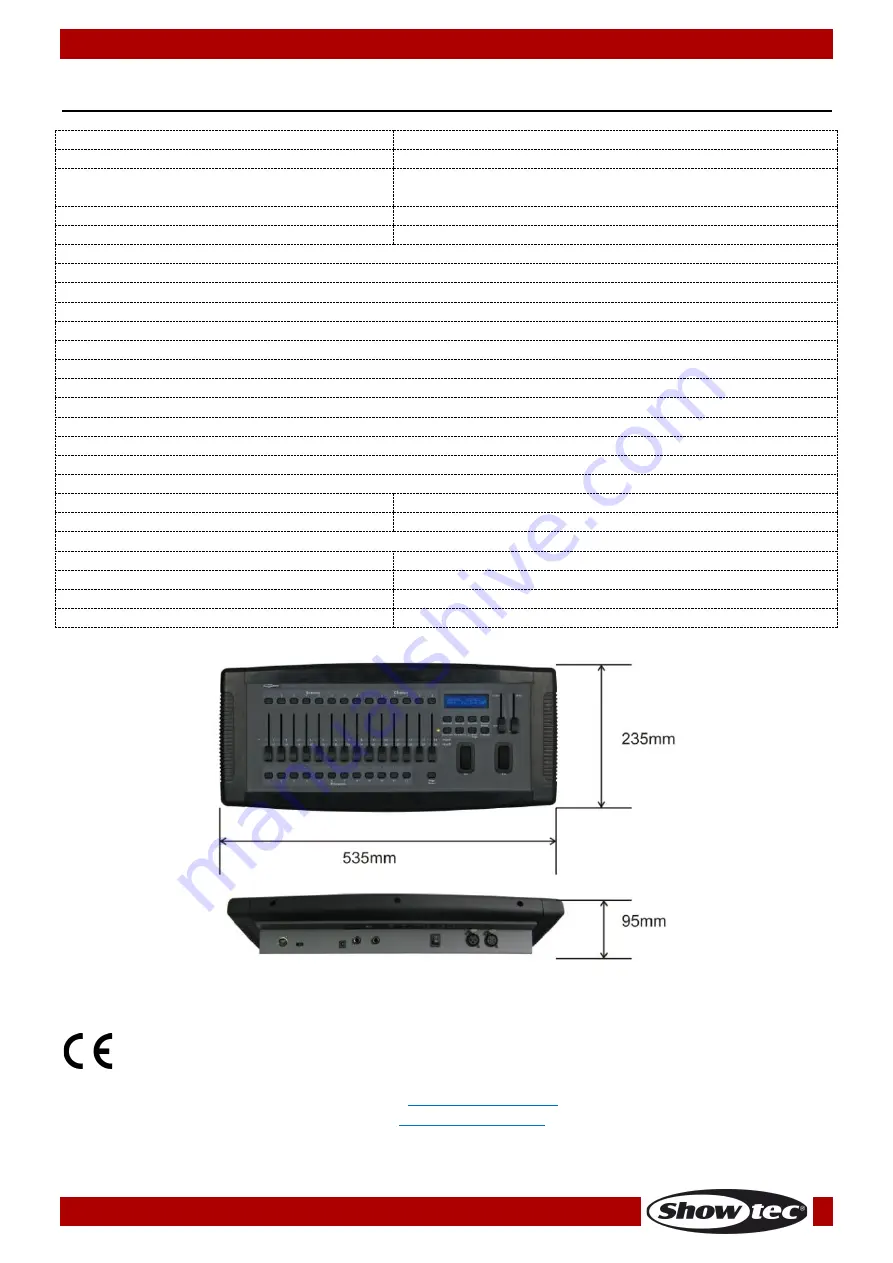
Dimensions: 

535 x 235 x 95 mm (LxWxH) 
4HE (4U) 19" rack mount 

Weight: 

4 kg 


Features: 
Controls up to 384 DMX channels; up to 12 intelligent lights with 32 channels each 
30 banks of 8 scenes, a maximum of 240 scenes 
30 banks of 6 chases containing 180 chases 
Patch mode: Each fixture has free assignable channels 
Programmable speed and fade time 
Reversible sliders  
Sequential linking of chases 
Re-assignable channels 
Music-controlled, tap-sync and auto run 
Polarity selector 
Output connector: 3-pin/5-pin XLR female 
MIDI compatible 
Housing:  

Grey Metal & Flame-retardant plastic 

Connections:  

Power adapter & Data connector 

 
Max. ambient temperature t

a

40°C 


Minimum distance: 


Minimum distance to lighted object: 

1 m 


Design and product specifications are subject to change without prior notice. 


Website: 

www.Showtec.info


Email: 

[email protected]


Содержание 50701

Страница 1: ...SM 16 2 V2 Highlite International B V Vestastraat 2 6468 EX Kerkrade the Netherlands Ordercode 50701 MANUAL ENGLISH...

Страница 2: ...nt optional setup 10 Programming 11 Entering Program Mode 11 Create a Scene 11 Edit a Scene 11 Scene Copy 12 Delete a Scene 12 Delete All Scenes 12 Bank Copy 12 Bank Delete 12 Chase Programming 13 Cre...

Страница 3: ...ur shipment includes Showtec SM 16 2 12V 500mA DC power adapter 1 5 m User manual Safety Instructions Every person involved with the installation operation and maintenance of this device has to be qua...

Страница 4: ...uck disconnect mains power supply immediately Have a qualified engineer inspect for safety before operating If the device has been exposed to drastic temperature fluctuation e g after transportation d...

Страница 5: ...er UPS packing or double boxing is always a safe method to use Note If you are given an RMA number please include the following information on a piece of paper inside the box 01 Your name 02 Your addr...

Страница 6: ...ach 30 banks of 8 scenes a maximum of 240 scenes 30 banks of 6 chases a maximum of 180 chases Patch mode each fixture has free assignable channels Programmable speed and fade time Reversible sliders S...

Страница 7: ...e value mode between and 0 255 10 Speed fader Move the fader to adjust the hold time of a scene or a step within a chase range from 0 1 second to 10 minutes 11 Fade Time fader Move the fader to adjust...

Страница 8: ...s chases and blackout using a MIDI device 27 DC input 12V 500 mA Power supply 28 Power switch ON OFF Installation Remove all packing materials from the SM 16 2 Check if all foam and plastic padding is...

Страница 9: ...pan and tilt mirror however DMX controllers can use this term to control any DMX 512 compatible device as a generic fixture MIDI is a standard for representing musical information in a digital format...

Страница 10: ...re controlling 4 moving mirrors and 4 moving yokes the color gobo and dimmer channels may not line up ideally on the physical faders Use this function to re assign the dimmer color and gobo channels t...

Страница 11: ...XTURE buttons 1 and 2 press and hold down the MIDI ADD button 07 Release FIXTURE button 1 first before releasing FIXTURE button 2 08 Release the MIDI ADD button 09 All FIXTURE LED indicators will flas...

Страница 12: ...next FADE 07 Tap the MIDI ADD button 08 Choose one BANK 01 30 Press the Up and Down arrow bank buttons to change if necessary 09 Select the desired SCENE button to store All LEDs will blink The displ...

Страница 13: ...04 To exit program mode press and hold down the PROGRAM button for 3 seconds The controller will default to a BLACKOUT when exiting program mode Note The action of deleting a scene is actually a value...

Страница 14: ...k number This will be the scene which you will be adding STEP LED must be on 04 Press the BANK UP DOWN buttons to scroll through the chase and arrive at the step number which you would like to add or...

Страница 15: ...cenes in a bank will chase Running in Auto Mode 01 Press and hold down the AUTO DEL button until the display shows AUTO 02 Change BANK programs by pressing the BANK UP DOWN buttons if necessary 03 You...

Страница 16: ...ss and release the AUTO DEL button The corresponding LED will blink 03 Adjust the SPEED and FADE TIME faders until you reach satisfying results 04 You can override the speed and fade time by tapping t...

Страница 17: ...o set 03 Press and hold down the MIDI ADD button to store midi setup settings MIDI NOTE FUNCTION TURN ON OFF 00 to 07 Scenes 1 8 in BANK 1 08 to 15 Scenes 1 8 in BANK 2 16 to 23 Scenes 1 8 in BANK 3 2...

Страница 18: ...below in sequence until a solution is found Once the unit operates properly do not carry out following steps Showtec SM 16 2 This troubleshooting guide is meant to help solve simple problems If a prob...

Страница 19: ...ch mode Each fixture has free assignable channels Programmable speed and fade time Reversible sliders Sequential linking of chases Re assignable channels Music controlled tap sync and auto run Polarit...

Страница 20: ...2015 Showtec...

Отзывы: