22
Order code: 44510
Pixel Controller
3. Kling-Net
In this menu you can set the Kling-Net settings.
01)
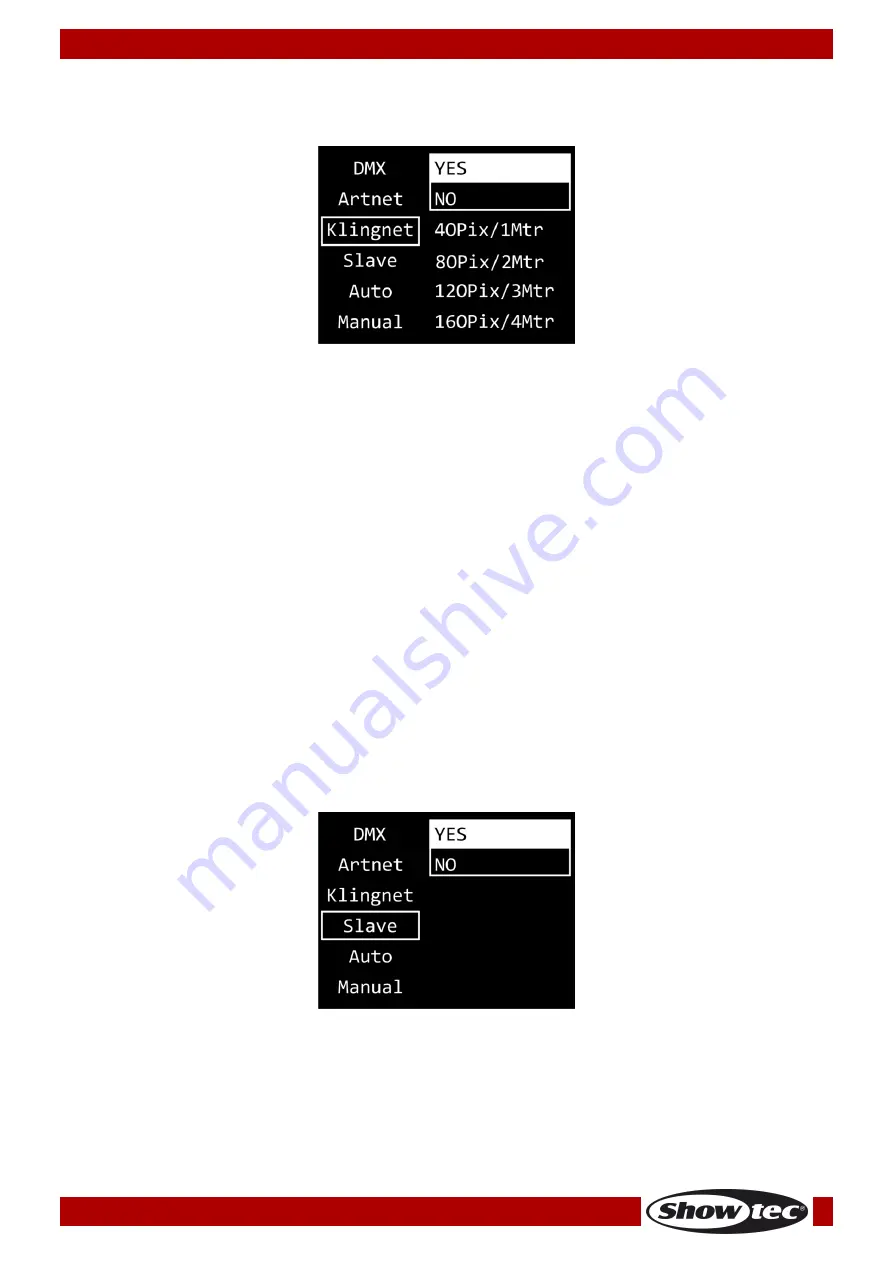
When the display shows KLINGNET, press the ENTER button to open the menu. The display will show:
02)
Press the UP/DOWN buttons to select the YES/NO field. Press the ENTER button to confirm.
03)
Press the UP/DOWN buttons to select YES or NO. If you choose YES, Kling-Net protocol will be active.
04)
Press the ENTER button to confirm your choice.
05)
Press the UP/DOWN buttons to select the mode selection field and press the ENTER button to
confirm.
Note: It is important to choose the mode appropriate to the number (length) of connected
Pixelstrips.
06)
Press the UP/DOWN buttons to select one of the 4 modes:
●
40 pixels, 1 meter (1 m Pixelstrip per output)
●
80 pixels, 2 meters (2 m Pixelstrip per output)
●
120 pixels, 3 meters (3 m Pixelstrip per output)
●
160 pixels, 4 meters (4 m Pixelstrip per output)
07)
Press the ENTER button to confirm your choice.
Note: The Pixel Controller does not automatically detect whether Kling-Net data signal is received or not.
Activate Kling-Net control.
4. Slave
In this menu you can set the device as a slave.
01)
When the display shows SLAVE, press the ENTER button to open the menu. The display will show:
02)
Press the UP/DOWN buttons to select YES or NO. If you choose YES, the device will react the same as
the master device.
03)
Press the ENTER button to confirm your choice.
Содержание 44510
Страница 18: ...17 Order code 44510 Pixel Controller Menu Overview ...
Страница 34: ...33 Order code 44510 Pixel Controller Notes ...
Страница 35: ...34 Order code 44510 Pixel Controller ...
Страница 36: ... 2020 Showtec ...


