


Automatic Tool Changer (ATC) Installation Manual • December 1, 2016
© Copyright 2016 ShopBot Tools, Inc.
page 40
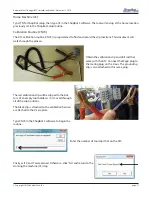
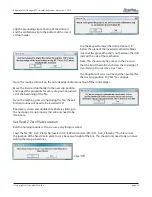
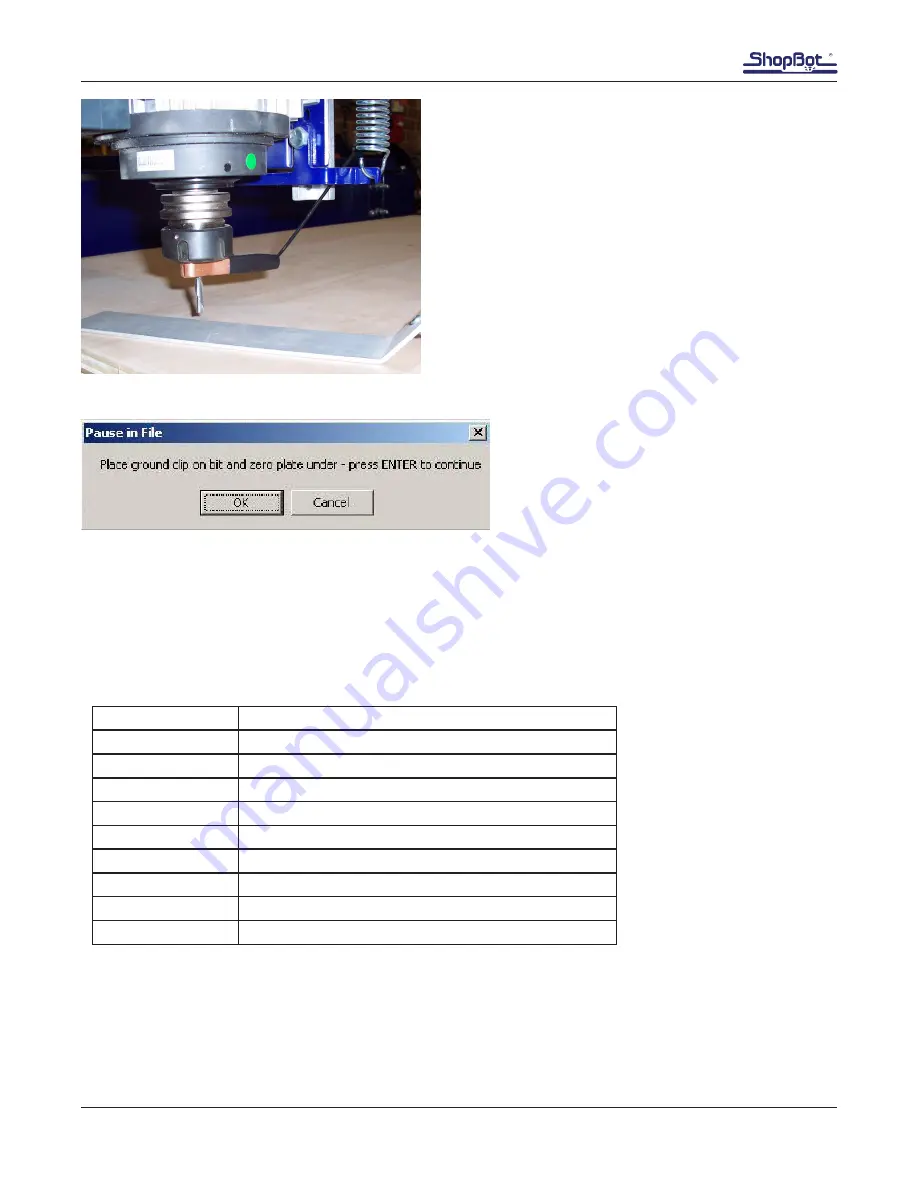
When the bit is located over the area needed to set as zero,
type “C2” (“Zero Z-Axis w/ Z zero Plate”).
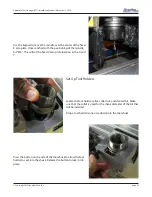
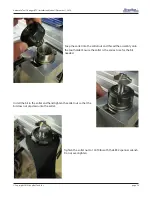
Place the Z zero plate under the bit and place the
grounding clip on it. Click “OK” when both are in
place. The Z-axis will touch off the plate twice, and
record this distance for use on all the tools until
this Z offset is reset.
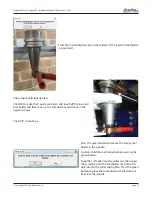
This records a Z offset height within the ShopBot user variables and applies this to all the other tools in the
tool rack.
Note that the Z offset is reset to the Z home position any time the C3 routine is run. To permanently change
the Z home position, refer to the Get plate offset (CN73) section of this document.
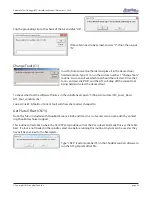
Regularly Used ATC Files
C1
Change tool
C2
Zero Z-axis using Z zero plate
C3
Home X, Y, and Z axes using proximity switches
C5
Spindle warmup routine
C6
Turns spindle on
C7
Turns spindle off
C9
Automatic tool change called from within part file
CN72
Zero tools in rack
CN73
Get plate offset (set Z-axis home position)
CN74
Calibration for tools in rack
Create a Tool Change File
The design software must first have the information to enable the ATC to do a tool change. For the software to
work correctly, the tooling must be designated to specify particular tool holders.
When setting up a tool database inside the design software, create a group named “Tool Changer” or “ATC”.


