Improving Print Quality
78
5
If the bottom diagonal lines still
have breaks, repeat Steps 1
through 4 to clean the nozzles
again. Repeat several more times if
necessary.
•
If the print quality is still not
satisfactory after cleaning the
nozzles several times, continue with
Step 6.
6
Open the cover and remove and
then reinstall the print cartridge
(see the procedure beginning on
page 13).
7
Repeat the nozzle cleaning
procedure. If the lines are still
broken, wipe the nozzles as
explained in the following section.
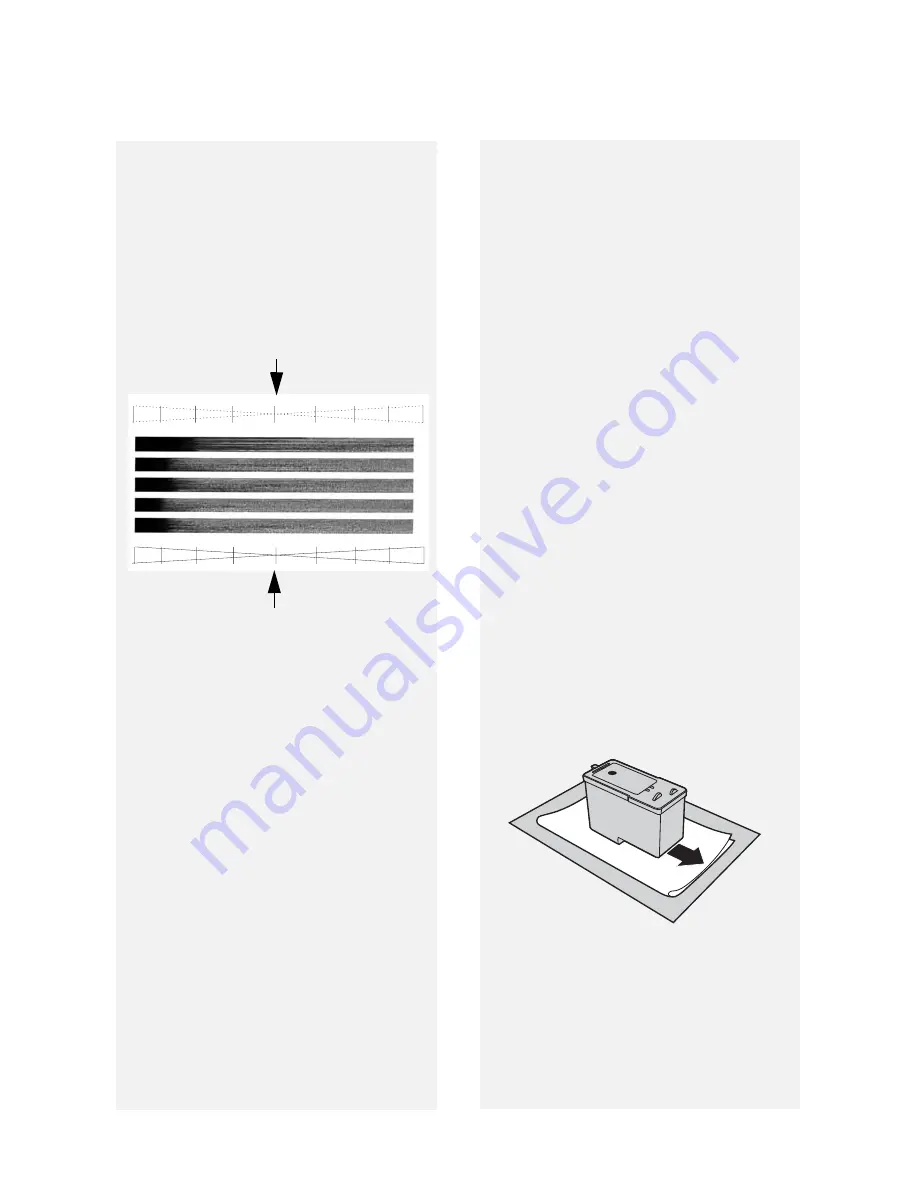
Breaks in the diagonal lines at the top
of the page indicate clogged nozzles.
Unbroken lines at the bottom of the
page indicate the nozzles were cleaned.
Wiping the print nozzles and
contacts
If you have cleaned the print nozzles as
explained in the previous section at
least three times and print quality is still
not satisfactory, try wiping the print
nozzles and contacts.
1
Open the cover and remove the
print cartridge (see the procedure
beginning on page 13).
•
CAUTION! DO NOT
touch the gold
contact area of the cartridge or the
contact area of the cartridge holder
with your fingers.
2
Place two or three sheets of paper
on a table or other flat surface.
Moisten a clean, lint-free cloth with
warm water and place the cloth on
the paper.
3
Gently press the nozzles against
the cloth for about three seconds,
and then move the cartridge slowly
in the direction shown to wipe the
nozzles.
4
Using another clean section of the
cloth, repeat the above step.
4
Compare the diagonal lines above
the printed bars to the diagonal
lines below the printed bars.
•
Look for breaks in the diagonal lines
above the bars. Breaks indicate
clogged nozzles.


