CHAPTER 6. FIRMWARE UPDATA PROCEDURES/EDID WRITING PROCEDURES
PN-T321/T322B
FIRMWARE UPDATA PROCEDURES/EDID WRITING PROCEDURES
6 – 3
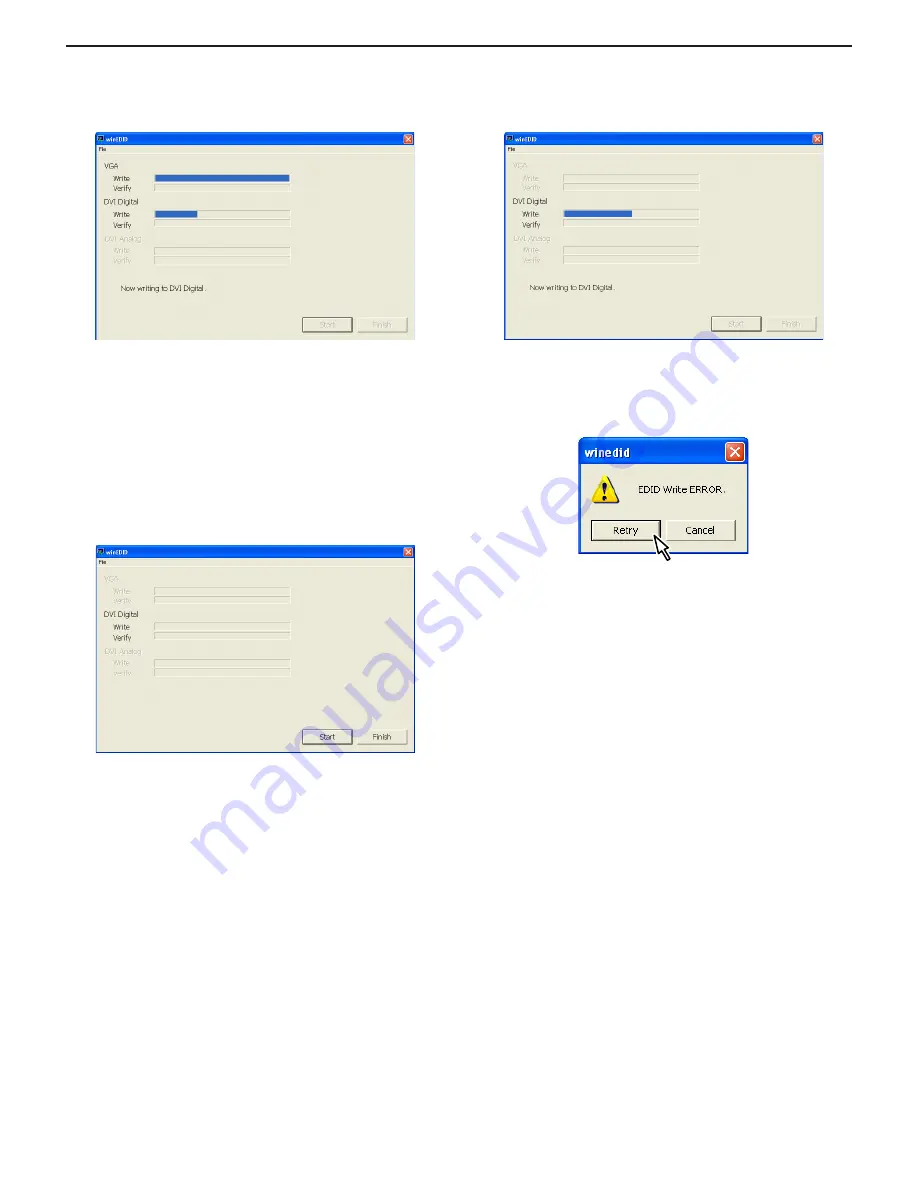
6 ) Click [Start] button.
7 ) The window below is displayed.
On the above screen EDID is written and verified. If the operation is
interrupted before completion, the connection may be improper.
Check for it. After completion of writing, the click [Finish] button.
8 ) Write the EDID of the DVI connector.
Select “PNxxxxx write EDID (PC DVI)” from the “Contents” described
in Step 3).
9 ) The window for checking the execution content is displayed. If it is
OK, press [YES] button.
10) When the following window is displayed, connect the monitor to the
jig.
SETTING ON THE MONITOR SIDE
Connect the DVI-HDMI cable to the monitor and the jig.
3
Refer to page 6 - 6 "
■
DVI".
Cancel write-protect of EDID.
(Refer to 5) to cancel write-protect of EDID)
11) Click [Start] button.
12) The window below is displayed.
On the above screen EDID is written and verified. If the operation is
interrupted before completion, the connection may be improper.
Check for it. After completion of writing, click [Finish] button.
13) In case of an error occurs in writing or verifying
If an error occurs in writing or verifying, the above window is dis-
played.
When [Retry] button is pressed, EDID writing and verifying are per-
formed again. Check the connection between the monitor and the
PC, cancel write-protect again, and repeat the procedures from 1).
14) When writing is normally completed or when [Cancel] button is
pressed on the EDID error screen, the display returns to the win-
dow of 5). Then writing of another set can be performed continu-
ously.
15) Turn off the main power.


