24
FU-28H-S
REPLACEMENT OF MAIN PARTS
Be sure to return all screws to their original positions and tighten appropriately when reassembling the air purifier after
repair. Different screws are used for different purposes based on characteristics such as head type, diameter, and length.
You should also make sure that no lead wires are caught in unit parts and that connectors have been inserted securely.
After reassembling the purifier, use the control buttons on the remote control or on the purifier itself to check for proper
unit operation and verify that there are no unusual vibrations or sounds coming from the purifier.
<< PRECAUTIONS WHEN HANDLING PWB >>
Connect harnesses in accordance with the color labels on PWB. (Press harnesses firmly together until they lock into place.)
Always wear a grounding band to counteract static electricity when handling PWB K. (The LSI [microcontroller],
EEPROM, and 2-color blue and green LEDs are particularly susceptible to static electricity and require extra care.)
Do not place PWB K on Styrofoam or mirror mats that are prone to collect static electricity.
WARNING
Unplug the air purifier before attempting to repair or disassemble the unit (there is a danger of electrical shock).
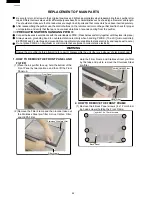
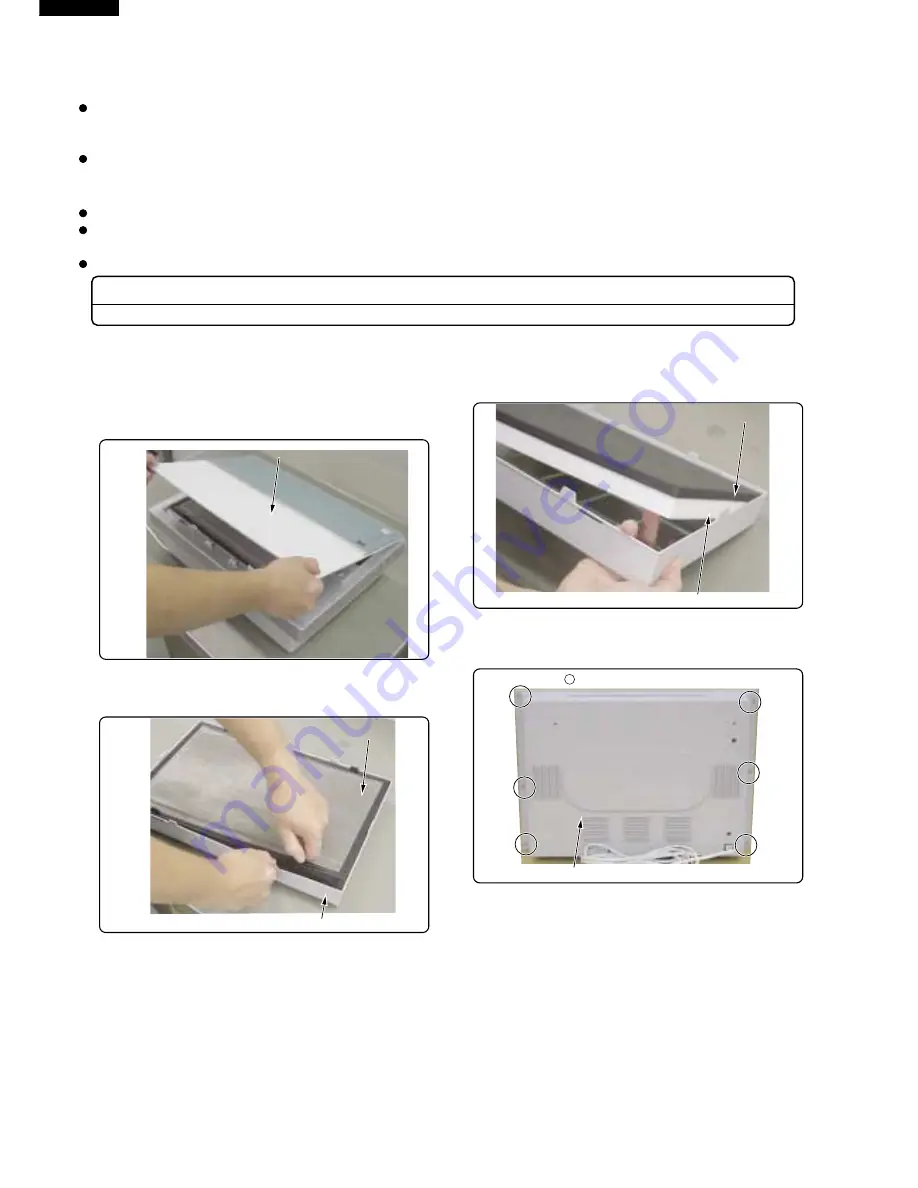
1. HOW TO REMOVE THE FRONT PANEL AND
FILTER
(1) Place the air purifier face up, hold the bottom of the
Front Panel by two locations, and then lift the Front
Panel up.
Front
Front Panel
anel
Front Panel
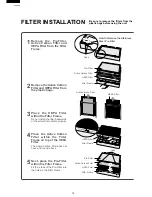
(2) Remove the Filter Frame and then in order take out
the Stainless Steel pre-filter, Active Carbon Filter,
and HEPA Filter.
Stainless
Stainless Steel pre-filter
teel pre-filter
Filter Frame
Filter Frame
Stainless Steel pre-filter
Filter Frame
Hold the Filter Frame and Stainless Steel pre-filter
by the tabs and pull to remove the Stainless Steel
pre-filter.
Active Carbon
Active Carbon Filter
ilter
HEPA
HEPA Filter
ilter
Active Carbon Filter
HEPA Filter
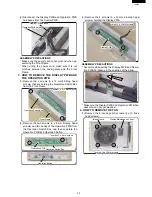
2. HOW TO REMOVE THE FRONT FRAME
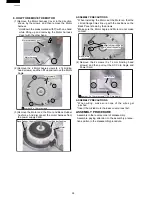
(1) Remove the 6 Back Panel screws (4 x 12 mm bind-
ing head screws) holding the Front Frame.
symbol: 4 x 12 mm screws
symbol: 4 x 12 mm screws
Back
Back Panel
anel
symbol: 4 x 12 mm screws
Back Panel
Содержание FU-28H-S
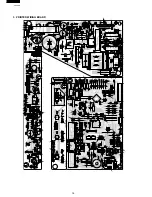
Страница 16: ...16 FU 28H S 3 PRINTED WIRING BOARD ...
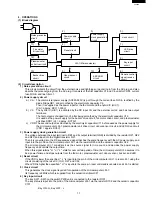
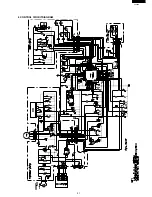
Страница 21: ...21 FU 28H S 6 CONTROL CIRCUITDIAGRAM ...

