13
CD-DVD500H
ENGLISH
1
2
3
4
5
6
7
8
9
10
11
12
13
14
15
Preparation for use
–
Speakers
–
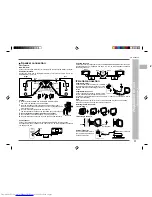
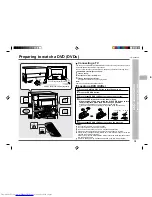
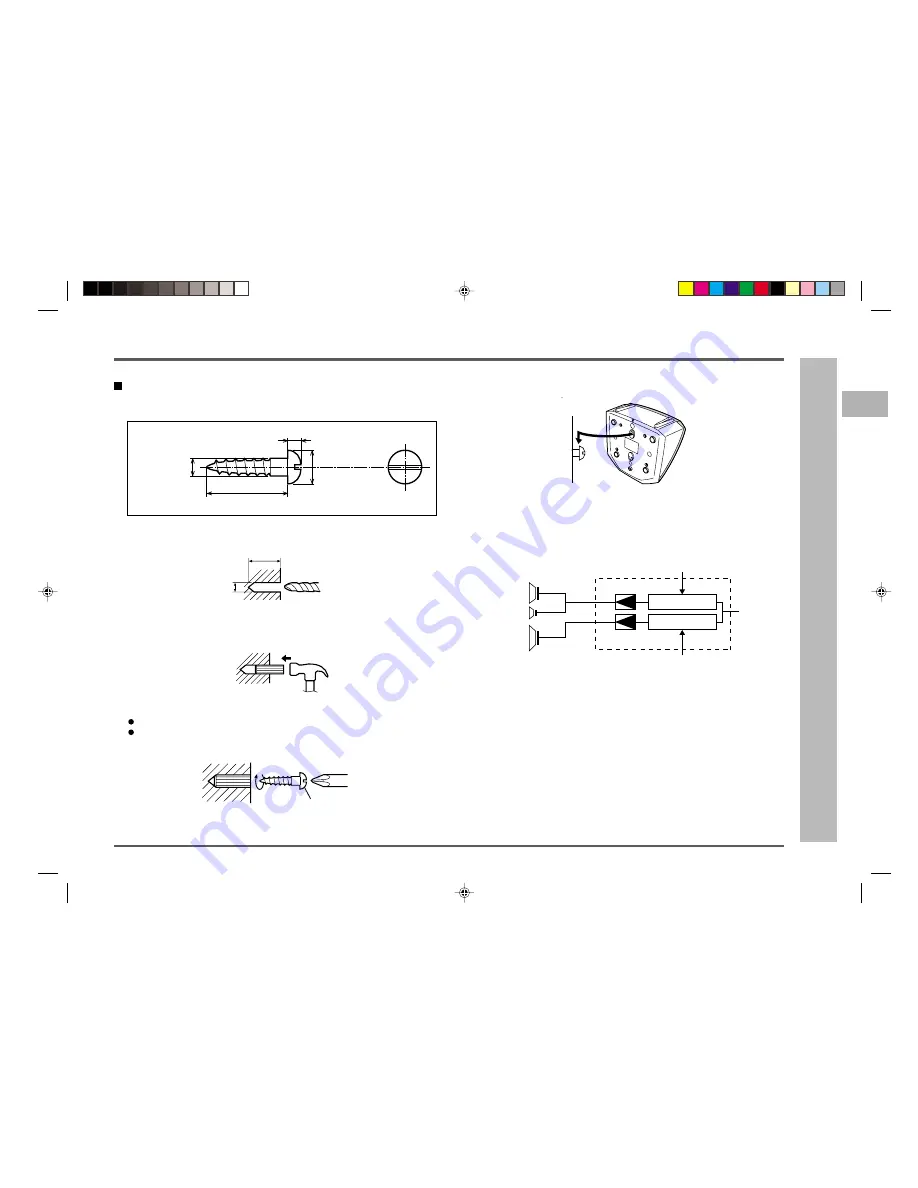
To install the surround speakers on the wall
Sharp designed the surround speakers so you may hang them on the wall.
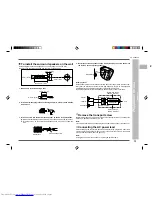
Be sure to use the correct type and size of screw, as shown below.
1. Make a hole in the wall using a drill.
2. Drive a wall mount plug into the hole using a hammer, until it is flush with the
wall surface.
3. Drive one screw into the wall for each speaker, as shown in the illustration.
Make sure that both the screw and the wall can support a load of 20 kg (45 lbs.).
Drive the screws, so the screw head extends about 5 mm (3/16") out from the
wall.
Speakers (continued)
3.2 mm (1/8")
5 mm (3/16")
Min. 22 mm (7/8")
9 mm (3/8")
Bi-amp system:
Each speaker unit has a built-in subwoofer (low frequency range) which is driven sepa-
rately from the woofer and tweeter (mid-to-high frequency range). Two independent
amplifiers which have individual frequency characteristics are used.
By amplifying separately the two frequency bands, clearer sound is achieved.
■
Remove the transport screw
Before turning the power on, be sure to remove the transport screw on the back of the
unit using a flat-blade screwdriver or a coin.
Note:
This screw is required when transporting the unit again. Please keep it (see page 72).
■
Connecting the AC power lead
After checking all the connections have been made correctly, plug the AC power lead
of this unit into the AC socket. When you plug in the unit for the first time, the unit will
enter the demonstration mode (see page 14).
Note:
Unplug the unit if it will not be used for a prolonged period of time.
4. Install the surround speakers on the wall by inserting the screw heads into
the slots on the back of the speakers.
32 mm (1-1/4")
8 - 9 mm (3/8")
Wall surface
Wall mounting screw
Wall surface
Subwoofer
Woofer
Tweeter
Power amplifier
Mid-to-high range
(200 Hz - 20 kHz)
Pre-amplifier
Power amplifier
Pre-amplifier
Ultra-low range
(60 Hz - 200 Hz)
L-ch


