


24
Menu Multiswitch
Green button [Menu] >[ Multiswitch]
Some of the common light sets need an
additional
multiswitch or nautic module
in
the radio. Such a module can be used as a
channel extension to get more servos in the
model or more switching functions. Normally
an additional multiprop, nautic or multiswitch
decoder is necessary.
With the HS16 this channel extension is
already built-in. The HS16 supports systems
from Robbe/Futaba als well as Graupner/JR
and of course Servonaut MultiBus on
channel 7 and 8.
After each time switching the multi-
switch function on/off the receiver
needs to be bound again to set the changes.
Your radio shows a hint to remind you.
See chapter
Servonaut MultiBUS
and
Instructions for using Multiswitch Decoder
Menu buttons
[OK]
Green
Back to the higher-level menu.
[Reset]
Red
Deletes all settings on this page and
restores the factory settings.
[1v2]
Blue
Shows the number of pages and turns to the
next one. Page 1 is for channel 7, page 2 for
channel 8.
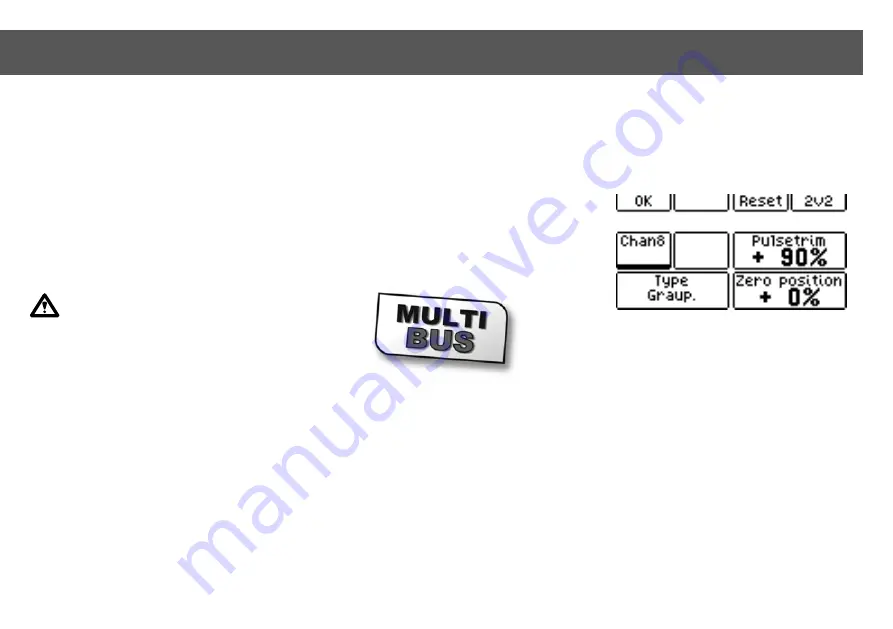
Softkeys
[Channel7] [Channel8]
Switches the multiswitch function for the
channel on/off (on = black underlined, see
screenshot).
[Type]
Switches between
Robbe/Futaba and
Graupner/JR system.
[Pulsetrim]
Allows the fine tuning of the impulse length.
This adjustment is only an emergency
option - contact the Servonaut Team via
email at
[Zero position]
Allows the fine tuning of the impulse length.
This adjustment is only an emergency
option - contact the Servonaut Team via
email at
10.3 Menu Multiswitch
Nautic-, Multiswitch-, Multiprop function on channel 7 and 8