34
2.
Search for desired recording by entering search parameters. Search parameters include Camera #,
Video/File Type, and Start/End Time.
3.
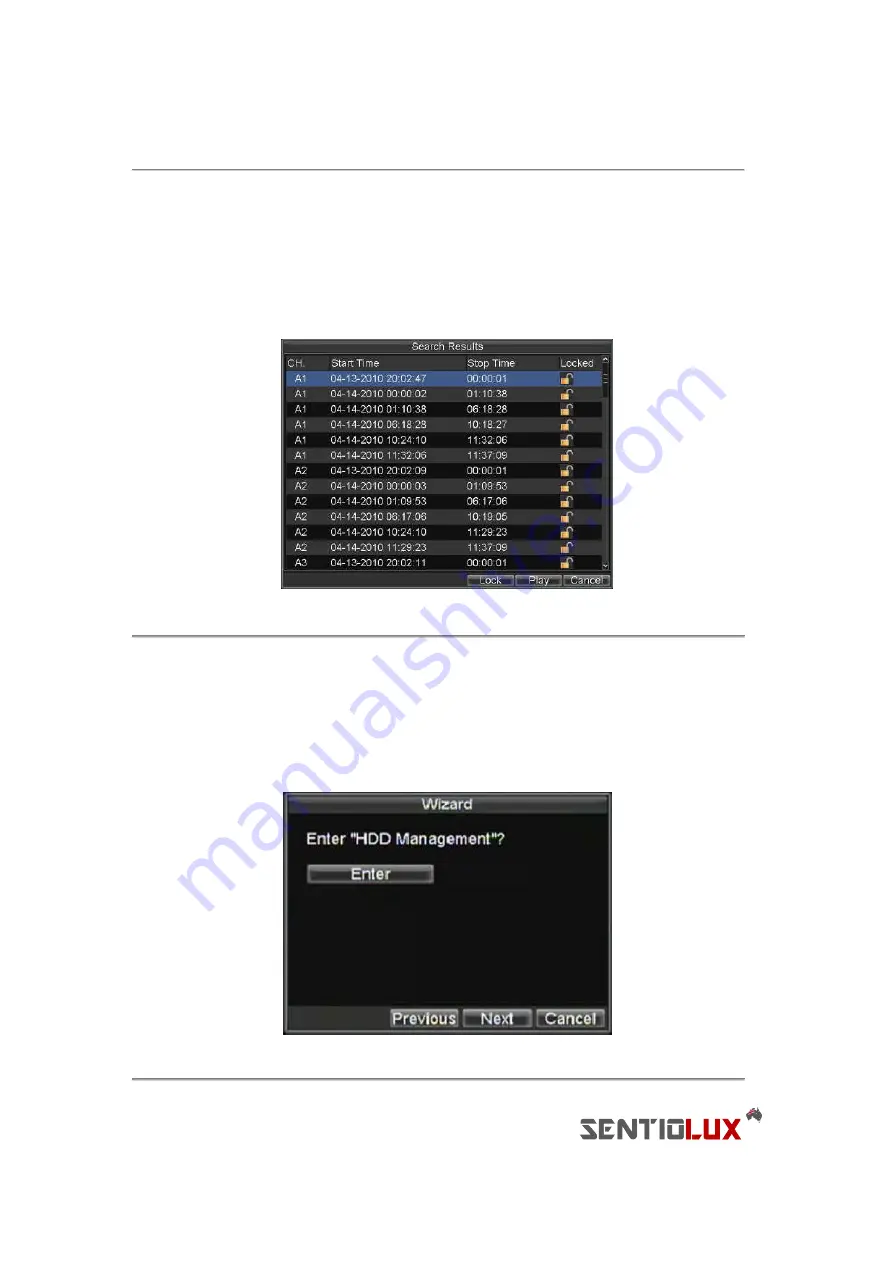
Click the Search button. A list of recordings (similar to Figure 7), matching the search parameters will
be displayed.
4.
Select the file you would like to lock/unlock.
5.
Click on the Lock button to lock file. If the file is already locked, click on the Unlock button to unlock
file. Locked files will be shown with a closed lock while unlocked files with an opened lock.
6.
Click Cancel to exit out of the Video Search menu.
Figure 7. Video Search Result List
Setting HDD to Read-Only
To set a HDD to read-only:
1.
Navigate to the HDD Management menu by going to Menu > HDD Management. The HDD
Management menu is shown in Figure 8.
Figure 8. HDD Management Menu
Содержание RTDVD-8100-4CIF Series
Страница 1: ...RTDVR 8100 4CIF Series DVR USER S MANUAL Version3 1 0...
Страница 7: ...6 C H A P T E R 1 Introduction...
Страница 17: ...16 C H A P T E R 2 Getting Started...
Страница 24: ...23 C H A P T E R 3 Live Preview...
Страница 30: ...29 C H A P T E R 4 Record Settings...
Страница 39: ...38 C H A P T E R 5 Playback...
Страница 44: ...43 Figure 7 Digital Zoom Area Selection...
Страница 45: ...44 C H A P T E R 6 Backup...
Страница 50: ...49 C H A P T E R 7 Alarm Settings...
Страница 61: ...60 C H A P T E R 8 Network Settings...
Страница 70: ...69 C H A P T E R 9 PTZ Controls...
Страница 77: ...76 C H A P T E R 1 0 Camera Management...
Страница 81: ...80 C H A P T E R 1 1 HDD Management...
Страница 87: ...86 C H A P T E R 1 2 DVR Management...
Страница 98: ...97 Figure 17 Log Search Export Menu 7 Click Cancel to exit out of menu...
Страница 99: ...98 C H A P T E R 1 3 Appendix...


