Care & Maintenance
206
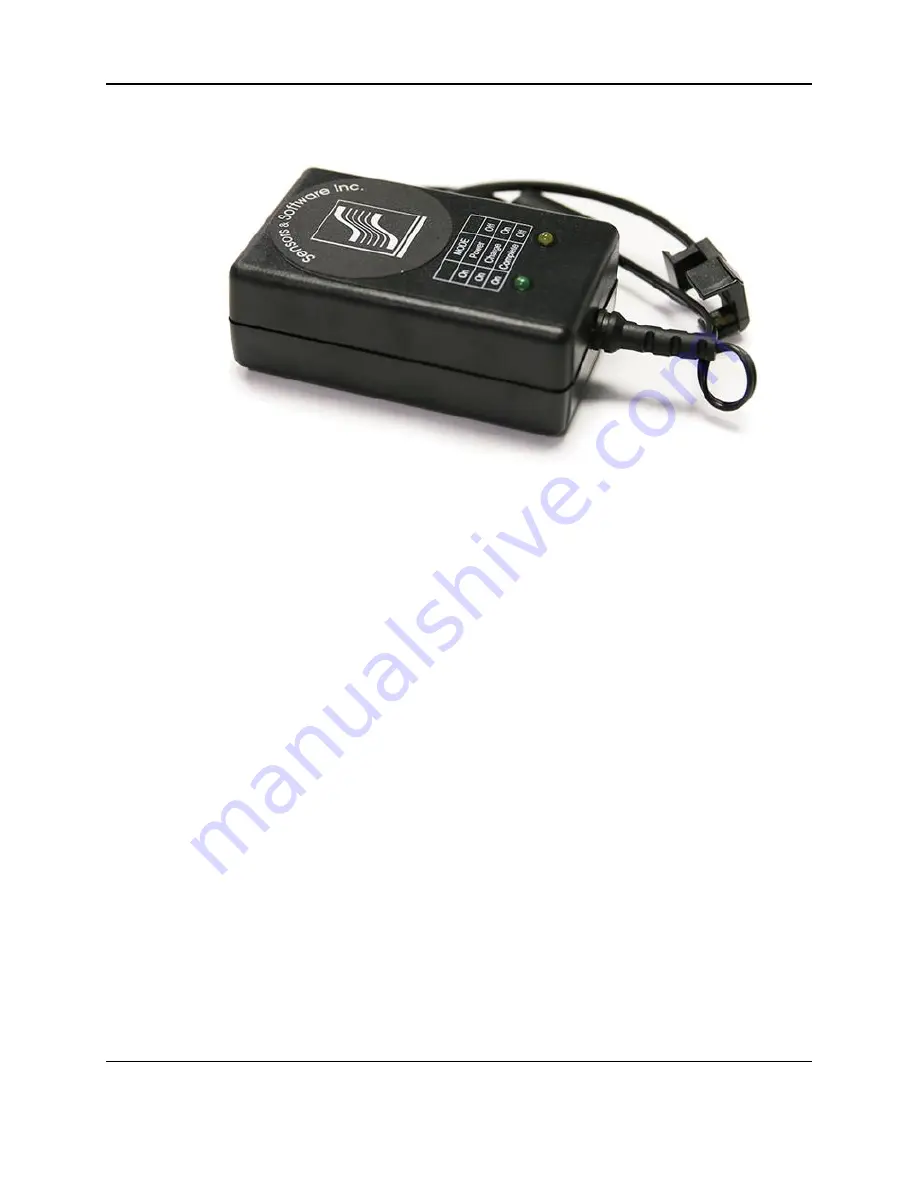
Figure 13-3: Battery charger for the transmitter and receiver batteries.
Charge batteries at room temperature whenever possible.
If the voltage of the discharged battery is measured some time after they have been charged, it
will be higher than 10.2 volts (this is normal). Do not mix charged and discharged batteries and
DO NOT attempt to use discharged batteries a second time.
If a battery has been deeply discharged or left in a discharged condition for some period of time
it may not accept charge immediately when it is connected to the charger (the fast charge LED
will not light). If the fast charge light does not come on within 6 hours the battery should be
considered damaged and discarded.
Do not assume that a battery that is still charging after 8 hours is nearing the end of its
charge cycle. Typical charging time for an empty battery is 12 hours from start of fast
charge. When charging a depleted battery, it is normal for the charge light to go out after
6-8 hours. The charger has gone into trickle mode only and the battery must remain in
the charger for the minimum 12 hours required.
Ensure that the batteries are fully charged before storing. If practical, store the batteries in a
cool place, 10C (a refrigerator is ideal), but make sure the temperature is not likely to drop
below -30 C or the electrolyte may freeze and possibly split the case.
The large battery and belt batteries are fused to protect the system. For the belt battery, remove
the battery from padded casing and check the 5 Amp fuse. Replace the fuse if necessary. For
Содержание pulseEKKO
Страница 1: ...2005 00040 09 ...
Страница 2: ...ii ...
Страница 4: ...Warranty Confirmation iv ...
Страница 10: ...x ...
Страница 14: ...Introduction 2 ...
Страница 72: ...Assembling Full Configurations 60 ...
Страница 80: ...Getting Started 68 ...
Страница 116: ...Tools and Preferences 104 ...
Страница 180: ...Collecting Data 168 ...
Страница 185: ...Slice View 173 Figure 8 4 Varying the Grid Lines from top to bottom ON PARTIAL and OFF settings ...
Страница 190: ...Map View 178 ...
Страница 198: ...Managing Data 186 ...
Страница 221: ...Care Maintenance 209 ...
Страница 222: ...Care Maintenance 210 ...
Страница 226: ...Technical Specifications 214 ...
Страница 228: ...Appendix A 216 ...
Страница 234: ...Appendix B 222 ...
Страница 236: ...Appendix C 224 ...
Страница 238: ...Appendix D 226 ...
Страница 246: ...Appendix E 234 ...
Страница 248: ...Appendix F 236 ...
Страница 250: ...Appendix G 238 ...


