System Configuration
123
6.2.3
GPR Trigger
This allows you to setup how the GPR system will trigger the transmitter to fire and collect a
data trace. Pressing the
GPR Trigger
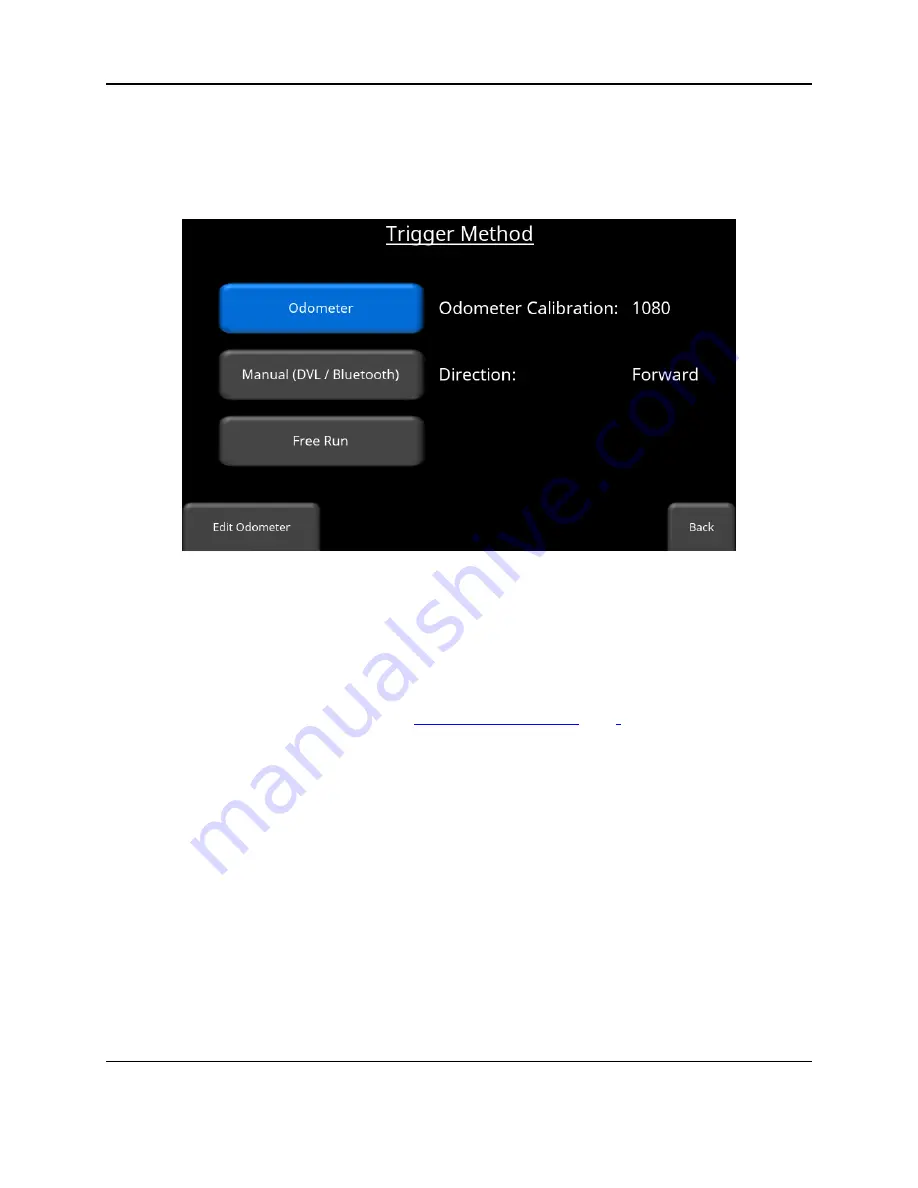
button will display a screen (Figure 6-16) where you can
select and configure the various trigger methods.
Figure 6-16: Trigger Method
•
Odometer
– If you have a setup containing a wheel, then you will likely use this option.
As the odometer wheel moves one step size, it will cause the transmitter to fire. This is
the easiest mode to operate in, as you don’t have to worry about collecting data at
equally spaced intervals. Pressing the
Edit Odometer
button takes you to the screen in
Figure 6-17, where you can setup and calibrate the odometer
if you haven’t already.
Essentially this is the same as the
.
Содержание pulseEKKO
Страница 1: ...2005 00040 09 ...
Страница 2: ...ii ...
Страница 4: ...Warranty Confirmation iv ...
Страница 10: ...x ...
Страница 14: ...Introduction 2 ...
Страница 72: ...Assembling Full Configurations 60 ...
Страница 80: ...Getting Started 68 ...
Страница 116: ...Tools and Preferences 104 ...
Страница 180: ...Collecting Data 168 ...
Страница 185: ...Slice View 173 Figure 8 4 Varying the Grid Lines from top to bottom ON PARTIAL and OFF settings ...
Страница 190: ...Map View 178 ...
Страница 198: ...Managing Data 186 ...
Страница 221: ...Care Maintenance 209 ...
Страница 222: ...Care Maintenance 210 ...
Страница 226: ...Technical Specifications 214 ...
Страница 228: ...Appendix A 216 ...
Страница 234: ...Appendix B 222 ...
Страница 236: ...Appendix C 224 ...
Страница 238: ...Appendix D 226 ...
Страница 246: ...Appendix E 234 ...
Страница 248: ...Appendix F 236 ...
Страница 250: ...Appendix G 238 ...


