66
© Sealevel Systems, Inc.
SeaI/O | SL9049 11/2021
Configuring an Ethernet (E-Series) Module, Continued
If the module does not change or respond, the PC and the module may be on different subnets. Proceed
to the “Resetting An Ethernet SeaI/O Module” section on the following page.
Start MaxSSD (Start
→
All Programs
→
Sealevel SeaMAX
→
MaxSSD) and choose the correct IP address to
communicate with the “base” Ethernet SeaI/O module. Ensure a successful Get operation (refer to the MaxSSD
section of this manual for more information).
Set the slave ID of the “base” Ethernet SeaI/O module using the rotary switch o
r software selection method
discussed in the Setting Device Address section on the previous pages. This guarantees that any expansion
modules connected next will not conflict with the “base” module. Perform another Get operation to verify that
you can co
mmunicate with the “base” Ethernet SeaI/O module at the new slave ID.
Configure the SeaI/O modules one at a time. Set the address to a hardware slave ID other than “0” or a
software slave ID other than 247, which avoids device conflicts during setup.
Aft
er the “base” Ethernet SeaI/O module is successfully communicating via MaxSSD, you can proceed with
adding SeaI/O expansion modules (N-series). Refer to the Configuring Expansion Modules section on the
previous pages.
Resetting an Ethernet SeaI/O Module
An Ethernet SeaI/O module may become no longer visible in the module list in the Ethernet Config utility if the
Ethernet SeaI/O module has been configured to use a different subnet than the host computer.
In other cases, the Ethernet SeaI/O module doesn’t
appear in the module list due to a DHCP discovery failure.
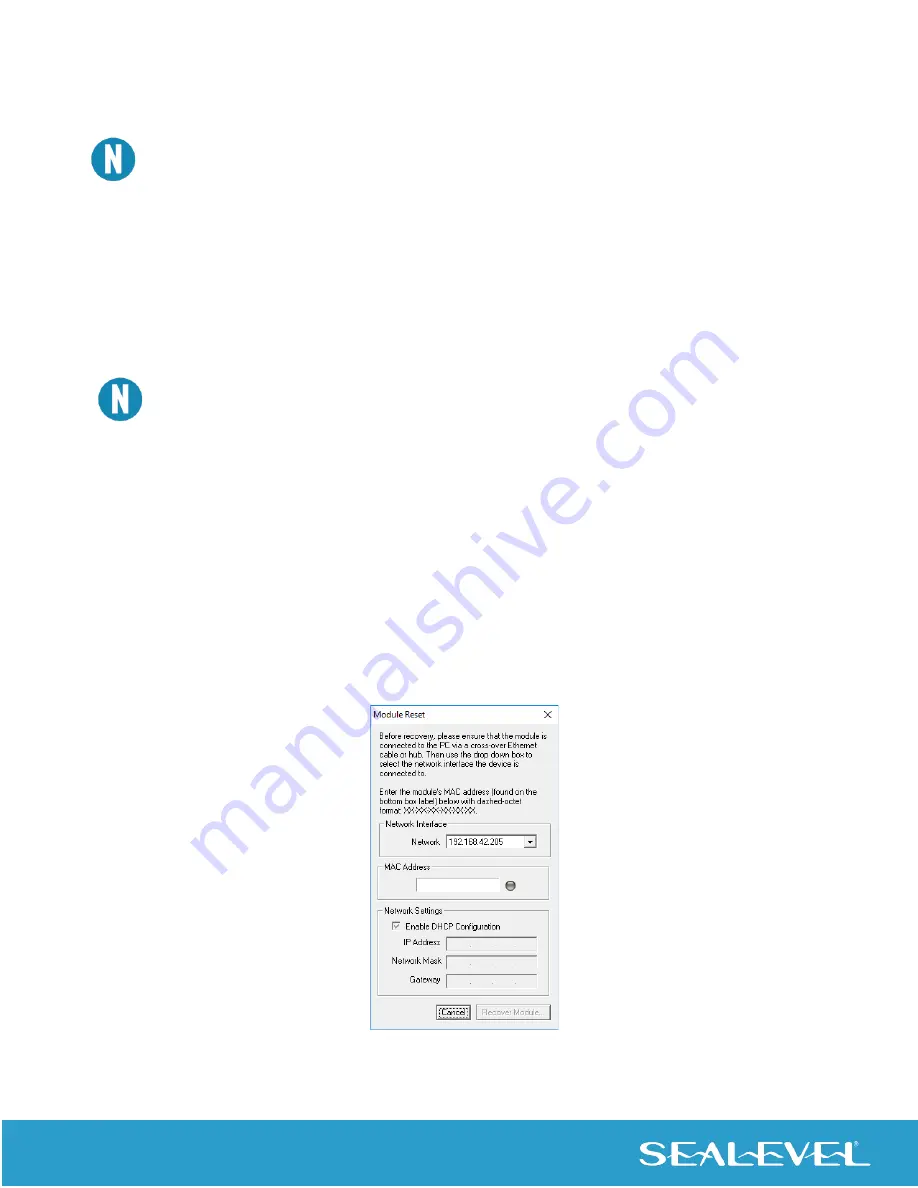
In either case, clicking on the “Recover Module” button (see image on previous page) in the Ethernet Config
utility will bring up the “Module Reset” window shown below.


