System Operation Manual
SAT-DN-00434, Rev. B
LOBO
2017-05-16
Page 84 of 86
Copyright
2017 Sea-Bird Scientific. All rights reserved.
13
Appendix A – WET Labs Cycle PO
4
Configuration
The Cycle PO
4
has several operating modes and must be configured properly to operate as expected with
the STOR-X.
To ensure proper configuration, use the following procedure:
1.
Follow all safety precautions as outlined in the Cycle PO
4
documentation.
2.
Disconnect the STOR-X to Cycle cable at the Cycle connector.
3.
Dismount the Cycle from the LOBO frame.
4.
Install the reagents as per the Cycle Quick Start Guide or Cycle User’s Guide.
5.
Install the Cycle Host software as per the Cycle Quick Start Guide.
6.
Set your PC clock to the UTC time zone (see step 14 below). You can restore local time after
configuring the Cycle.
7.
Using the WET Labs supplied cable, connect the Cycle to the PC and power source.
8.
Start the Cycle host program on the PC.
9.
Select the PC COM port the Cycle is connected to.
10.
Supply power to the instrument.
11.
If you will be deploying the
Cycle immediately, prime it as per the Cycle User’s Guide; otherwise it
can be set to self prime in the field later.
12.
Select
Tools->Deployment Wizard
.
13.
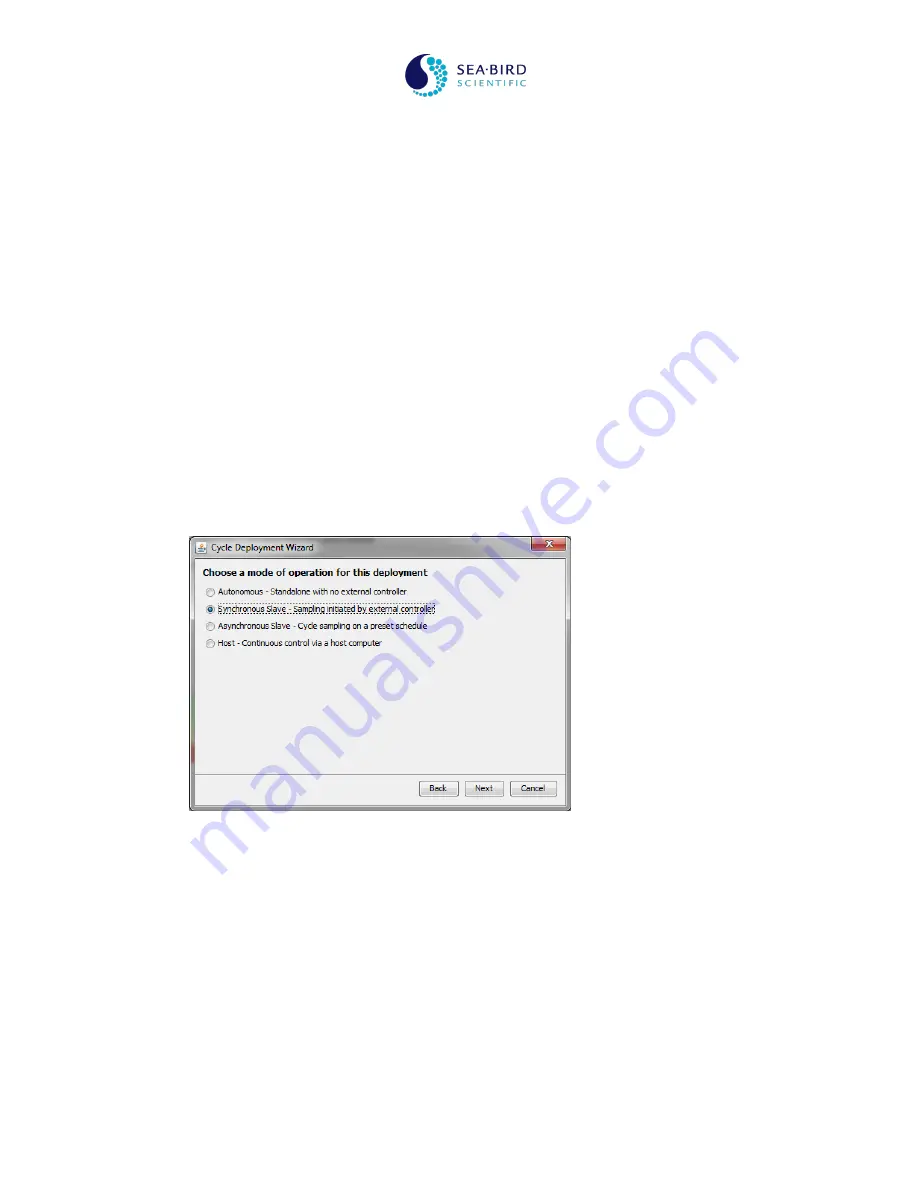
Select
Synchronous Slave
then click Next.
14.
For proper operation, the Cycle clock must be set to the same time zone as the STOR-X, as the
STOR-X will extract the clock from the Cycle data and generate a binary timestamp from this time
for use by data extraction tools, including SatCon and LOBOviz. If these clocks are not
synchronized, the data will not be aligned properly in time during analysis. The STOR-X will have
been set to UTC time at Sea-Bird Scientific, and normally the Cycle has been set to UTC at Sea-Bird
Scientific as well. Sea-Bird Scientific does not recommend changing from UTC. If you have set your
PC clock to UTC as requested above, configure the wizard dialog box as shown below; if not, set
the “Synchronize Cycle clock to host?” option to No. You may also enter a different on boar
d data
directory if you wish. When finished, select Next.


