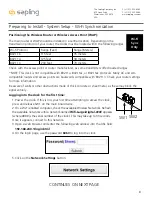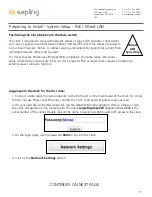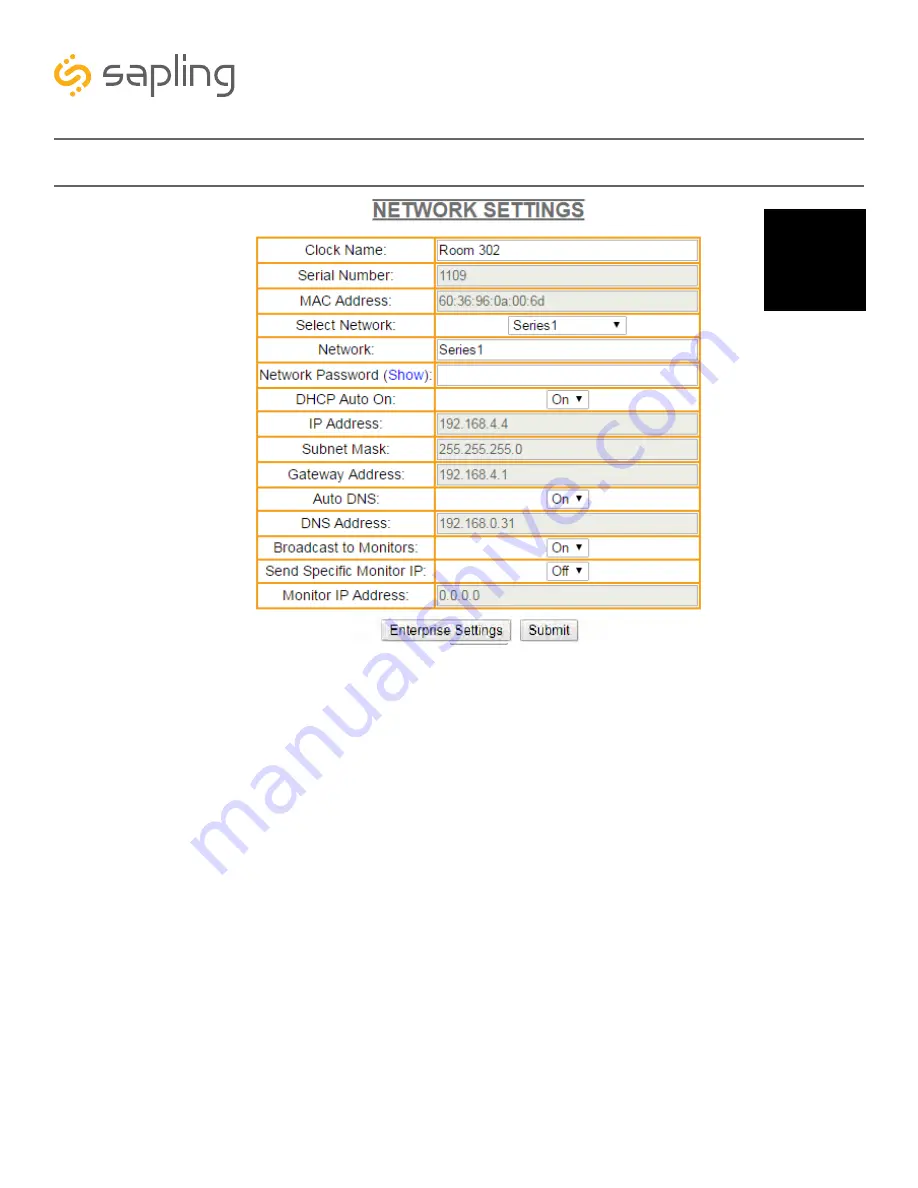
6. Change the name of the clock to something memorable, or appropriate to the location where the clock is
being installed.
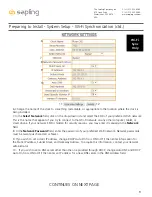
7. In the
Select Network
field, click on the drop-down list and select the SSID of your preferred Wi-Fi network.
This is the name that appears if you try to connect to that Wi-Fi network on any other computer, tablet, or
smart phone. If your network SSID is hidden for security reasons, you may enter it manually in the
Network
field.
8. In the
Network Password
field, enter the password of your preferred Wi-Fi network. Network passwords
must be twenty-six characters or fewer.
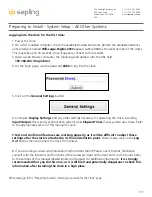
9. If you wish to set a static IP address, change DHCP Auto On from ON to OFF, then enter information for
the Static IP address, Subnet Mask, and Gateway Address. To acquire this information, contact your network
administrator.
10. If you wish to set a DNS server other than the one provided through DHCP, change Auto DNS and DHCP
Auto On from ON to OFF, then enter an IP address for a new DNS server in the DNS Address field.
7
9
8
10
11
12
6
9
The Sapling Company, Inc.
670 Louis Drive
Warminster, PA 18974
USA
P. (+1) 215.322.6063
F. (+1) 215.322.8498
www.sapling-inc.com
Preparing to Install - System Setup - Wi-Fi Synchronization (ctd.)
Wi-Fi
Sync
Only
CONTINUES ON NEXT PAGE


